
The Complete Guide: How to Make a Picture Bigger Without Losing Quality
Explore details about how to make a picture bigger without losing quality


Ever tried to make a picture bigger without losing quality? You’re not alone. Without the right tools, upscaling is a tough nut to crack. Yet, its role in a photo’s visibility and versatility can never be overemphasized. When you upscale an image, you make it suited for wider displays without a drop in quality. In this piece, we will be looking at how to make a picture bigger without losing quality. Read on to upscale your photos.
- How to Make a Picture Bigger Without Losing Quality Using Zawa Image Upscaler
- How to Enlarge an Image Using Photoshop
- 3 Best AI Tools to Enlarge Images
- Zawa Image Upscaler
- Upscale Media
- ON1 Resize AI
- Why Images Lose Quality When Enlarged
- Enlarging a low-resolution image
- Relying on Interpolation
- Bilinear
- Bicupic
- Compression
- Bit Depth Restriction
- Software limitation
How to Make a Picture Bigger Without Losing Quality Using Zawa Image Upscaler
You can get a top-quality image after upscaling. Zawa’s Image Upscaler is built to allow anyone to enlarge images without worrying about a drop in quality. Here are the steps to achieve this:
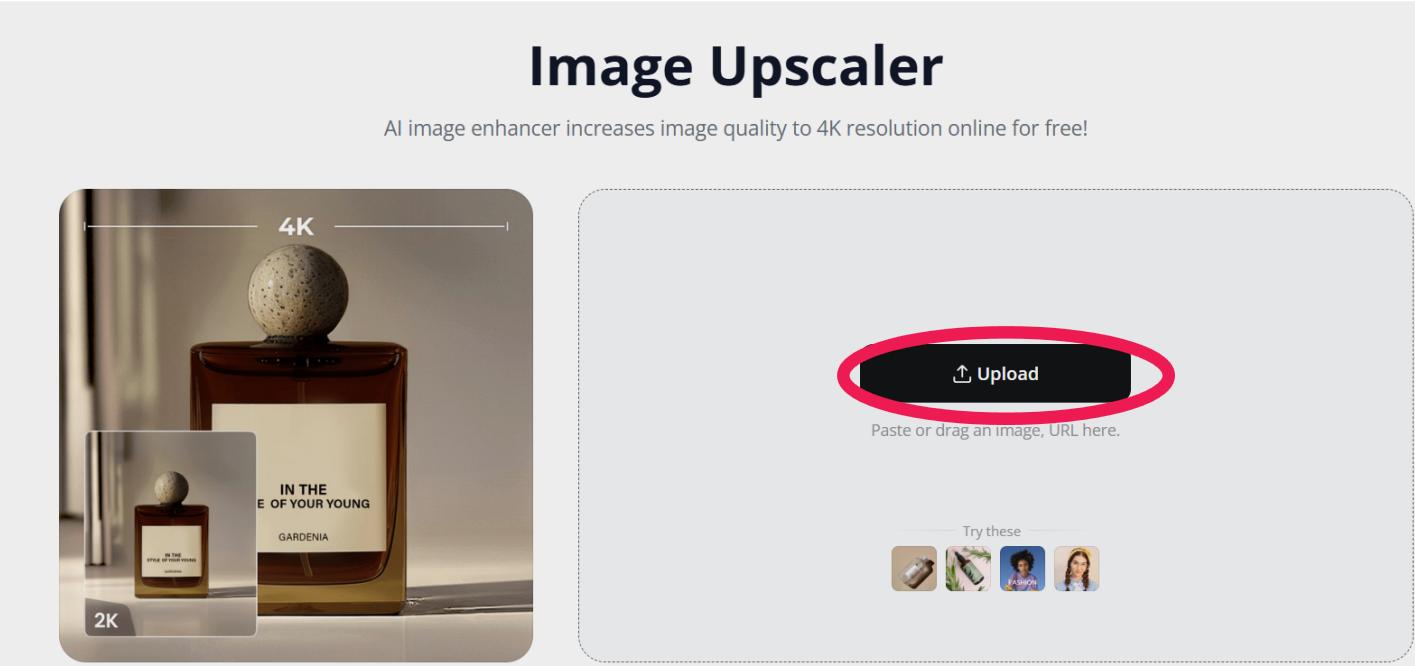
Step 1 - Open Zawa Image Upscaler
Visit the Zawa website and proceed to the Image Upscaler.
Step 2 - Upload Image
Submit the photo to be enlarged by clicking the ‘Upload Image’ button.
Step 3 - Pick a Scale
Select your preferred Upscaler size depending on your image enlargement needs by clicking any of the relevant options: ‘2 times’, ‘4 times’, or ‘8 times’.
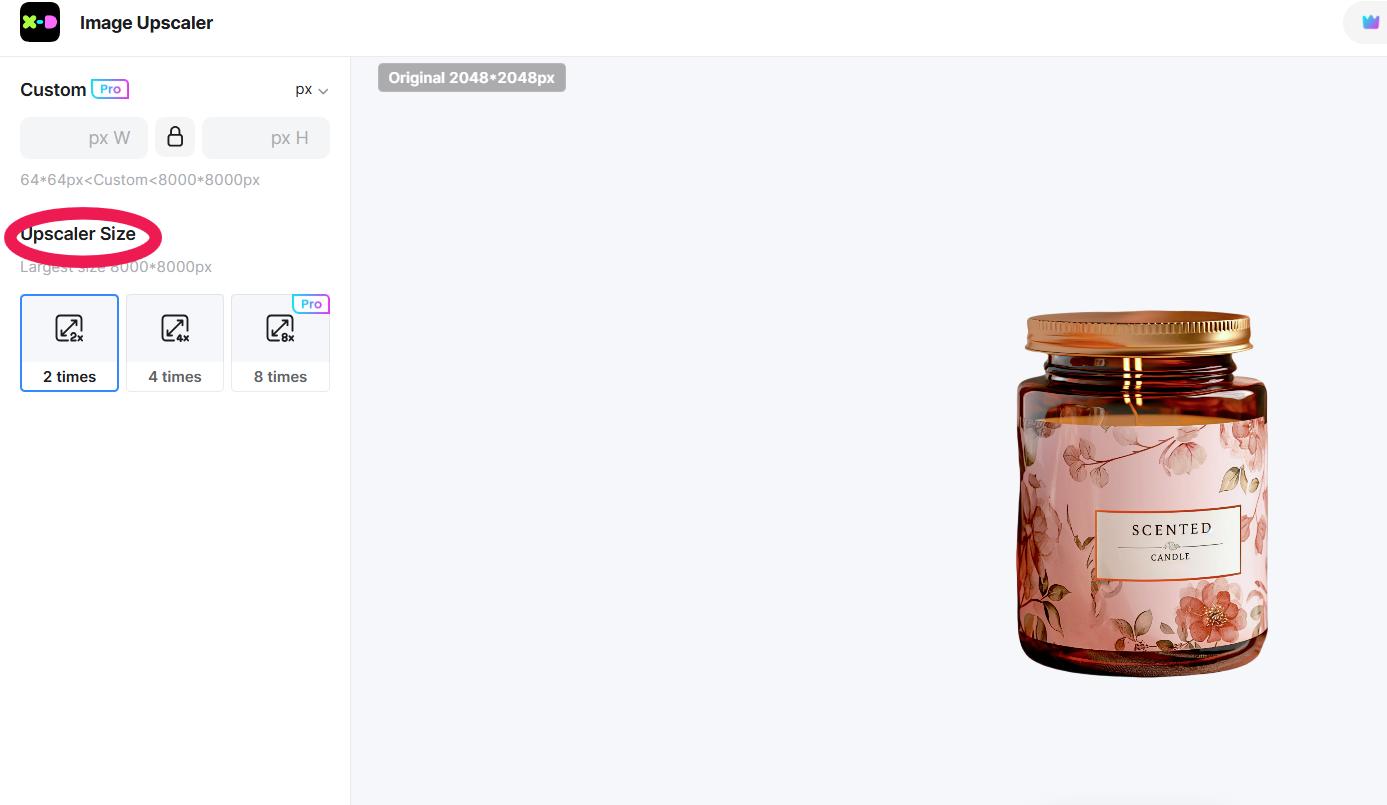
Entering some specific photo dimensions (px, mm, cm) in the custom spaces provides a path to a more accurate image enlargement.
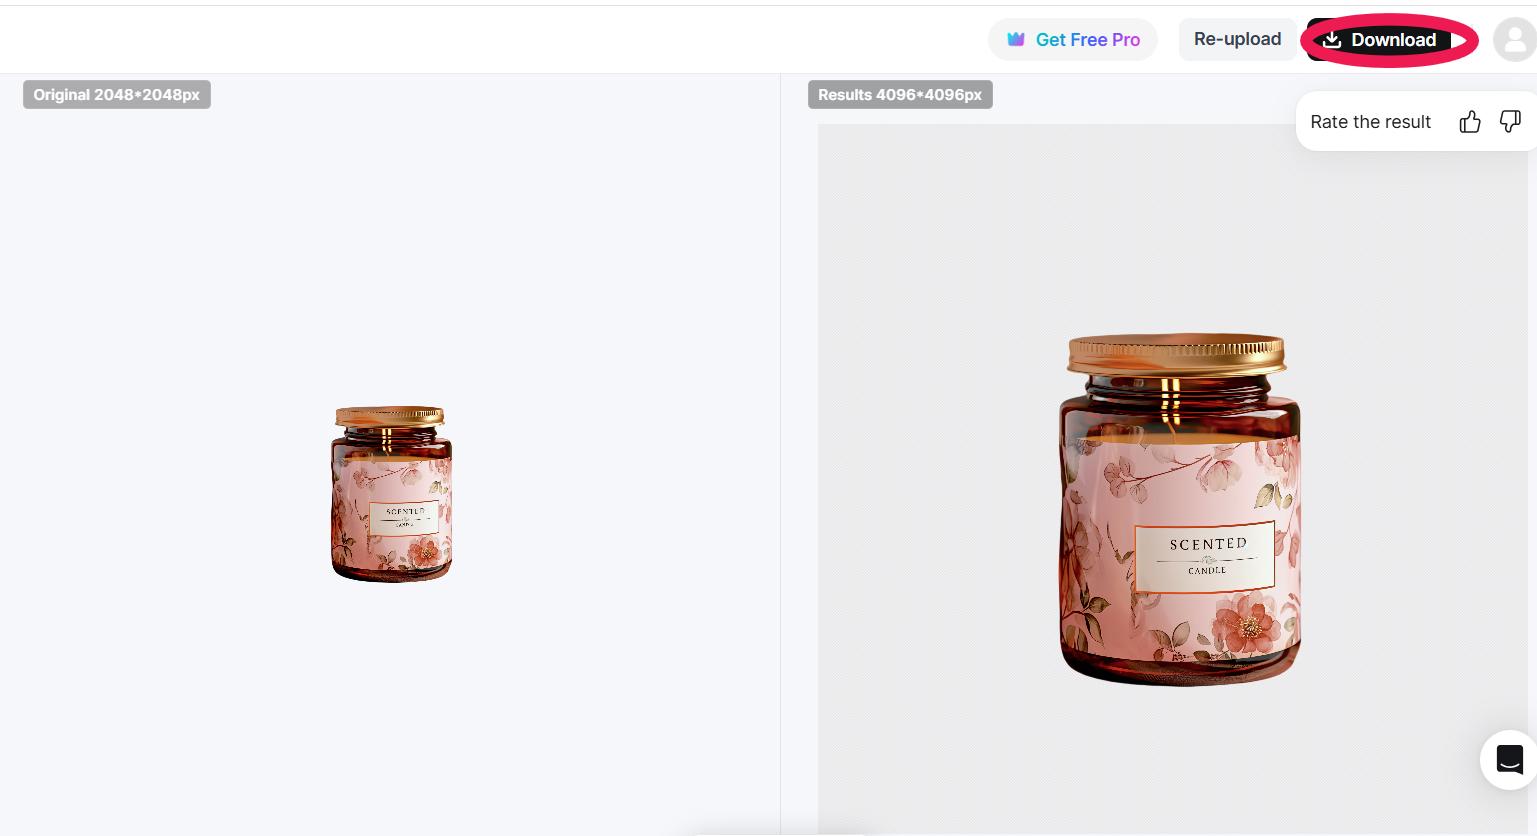
Step 4 - Upscale the Image
With the right ‘Upscale Size’ option selected, click the ‘Edit Size’ to apply the size adjustment. This takes a few seconds as the image is upscaled.

Step 5 - Download the Image
Once the photo enlargement meets your expectations, use the ‘Download’ button to save the image in your preferred file format.
How to Enlarge an Image Using Photoshop
Images can be enlarged using Adobe’s Photoshop. This can be done through the steps below:
Step 1 - Open the Image in Photoshop
Open the Photoshop app on your PC. On the home page, click the ‘Open’ button to upload the image to be enlarged.
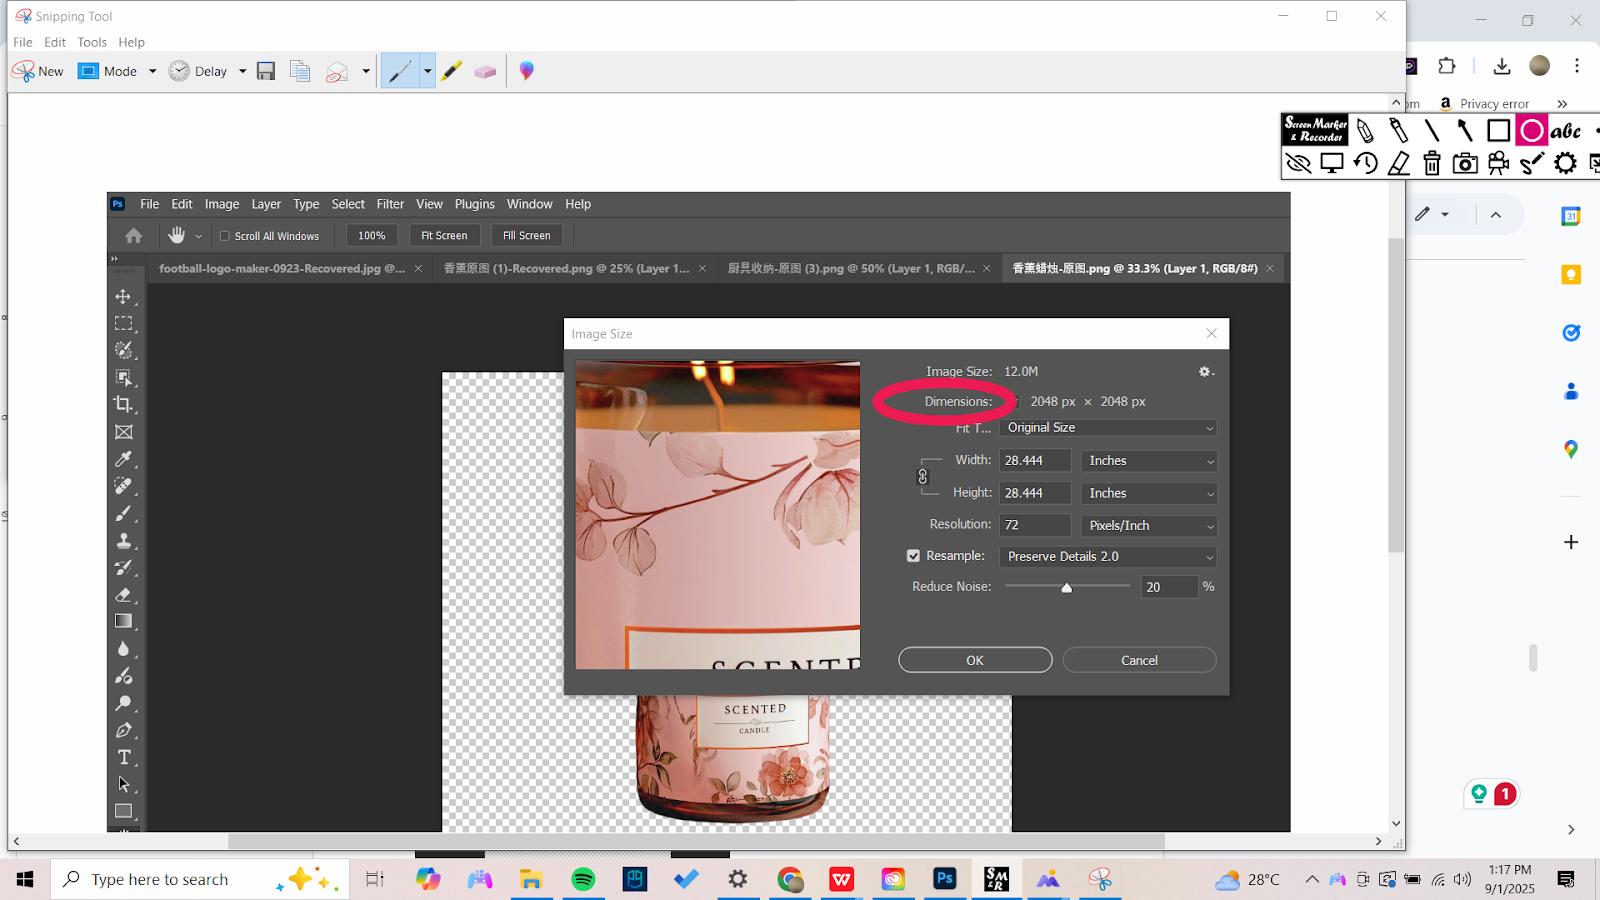
Step 2 - Proceed to Image Size
Tap the Image button from the list options at the top left corner, and select ‘Image Size' from the drop-down menu.
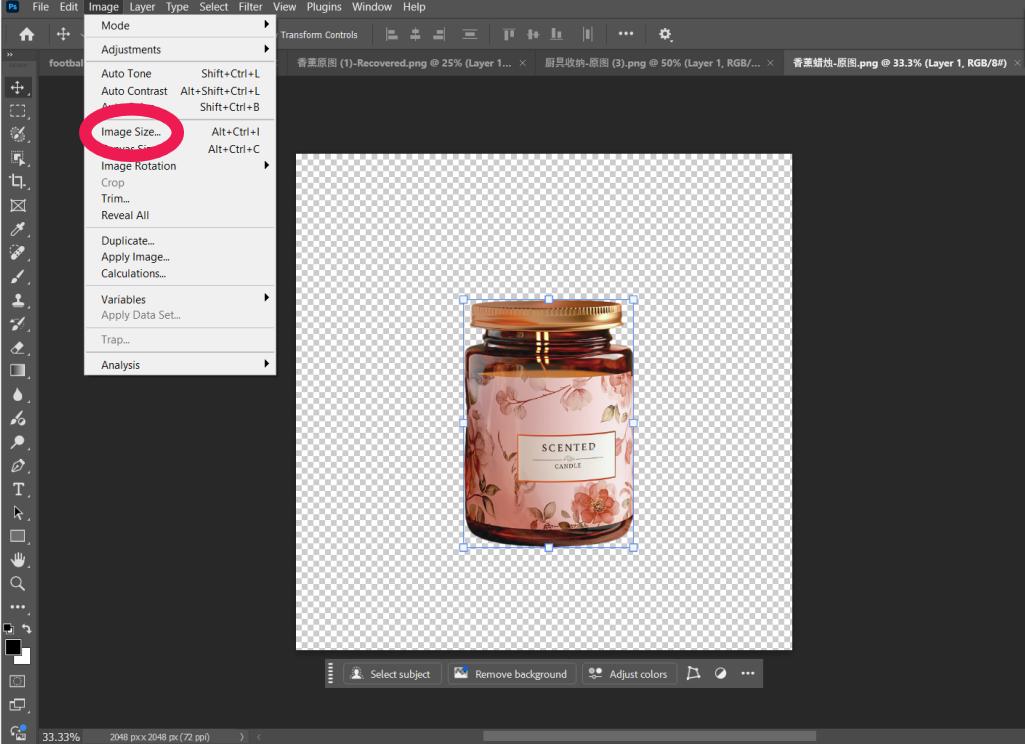
Step 3 - Choose Dimension
Enter the desired width and height in the named spaces provided. Keep the aspect ratio of the image constant by selecting the chain icon beside the dimensions.
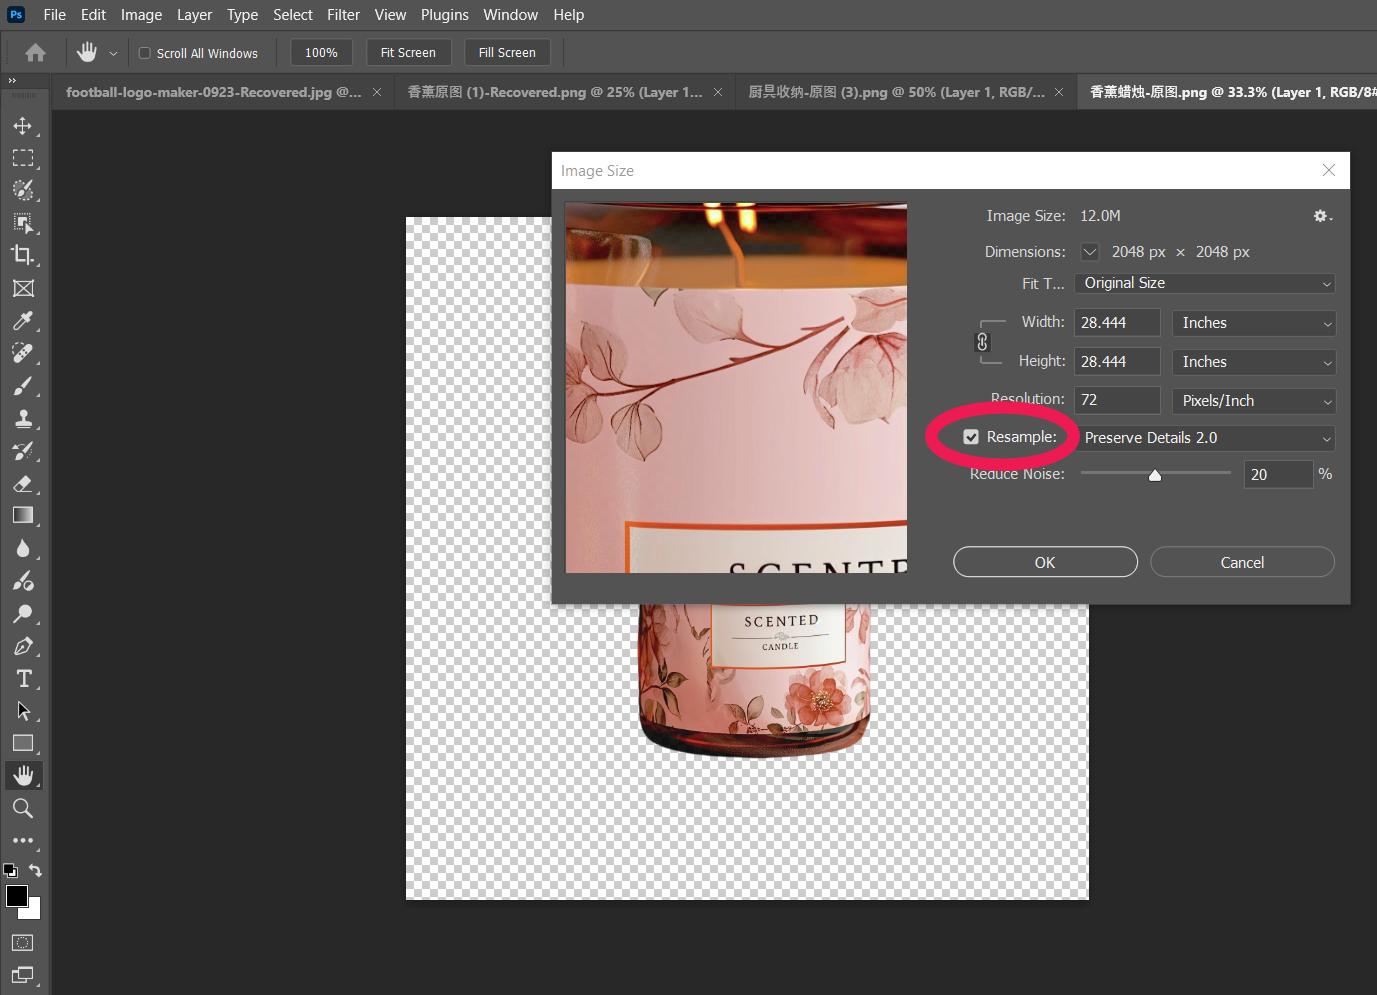
Step 4 - Upscale
Check the ‘Resample’ box and choose ‘Preserve Details 2.0’ from the drop-down menu. This will support the enlargement of the image by adding pixels to the new image size. Fiddle with the ‘Reduce Noise’ slider to manage any noise in the image. Then, proceed to click the ‘OK’ button to apply the changes.
Step 5 - Export
Click the ‘File’ button at the top left of the editing screen. Select ‘Export’ to choose either the ‘Quick Export as PNG’ or ‘Export As’ depending on preferred file format.
3 Best AI Tools to Enlarge Images
Artificial Intelligence (AI) can be used to make a picture bigger without losing quality. And there are tools that rely on this technology to achieve this feat. Here are the best AI tools for upscaling images:
Zawa Image Upscaler
With Zawa, you get an Image Upscaler that allows the enlargement of photos, so they are clear and sharp with no quality loss. Using the image editing tool, photos get enlarged in seconds. Also, you get multiple scale options to cater to more image enlargement choices.
Upscale Media
This AI-based application provides a simple image upscaling solution. Upscale.Media allows users to enlarge images for their various needs. With this application, higher resolutions for images are possible.
ON1 Resize AI
Another AI application that works great for photo enlargement is ON1 Resize AI. Powered by artificial intelligence, this software allows you to resize an image to a larger form without losing details. It’s integrated into popular editing software like Photoshop, ensuring access to valuable features like tilling, flexible AI models, and more.
Why Images Lose Quality When Enlarged
To make a picture bigger without losing quality, you have to understand why this problem persists. Here are the common causes:
Enlarging a low-resolution image
Most media files consist of a finite number of pixels. Information stored in a pixel expresses its color and brightness. When the photo is enlarged, its pixels get expanded. This is usually not a problem as long as the image’s resolution isn’t exceeded. However, if the image gets enlarged beyond its resolution, the pixels in the photo become rather large as they have to occupy the spaces formed. This often leads to pixelation, which makes the image unclear.
Relying on Interpolation
Some editing tools attempt to fix pixelation through interpolation. With interpolation, new pixels are created to match the expanded image. Interpolation consists of three distinct methods. These are:
Nearest Neighbor - this creates new pixel data based on the ‘nearest neighbor’ pixel data. This approach ignores all other factors that might help improve the new pixel data. Though it produces new pixels quickly, the resulting image is blurry with jagged edges.
Bilinear
This interpolation technique forms new pixels relying on four distinct pixel data points. By using a weighted data average from four different pixels, Bilinear delivers better image quality than the Nearest Neighbor approach, but clarity is still a problem since the average pixel data is quite limited.
Bicupic
This method creates new pixels using the data of 16 surrounding pixels. Though the image is clear and more detailed, the new pixels created are still based on estimates.
Unfortunately, they guess the number and attributes of the pixels needed, which fails at matching the actual image data. The result is an unclear photo, which isn’t fit for the desired purpose.
Compression
JPEG, a popular image format, stores media files by reducing their size. This is usually done through compression. Though on the surface, compression ensures media files don’t take up too much space. Yet, it removes certain details in the photo. In the original size, this isn’t a problem. However, when you attempt to enlarge such a photo, the gaps in detail, such as patches and color banding, become visible.
Bit Depth Restriction
The bit depth of an image represents the color capacity of the pixels in the media. If the bit depth is low, enlarging such an image means pixel colors are poorly captured. This is often seen as banding in gradients and distorted transitions.
Software limitation
Editing tools vary in how they upscale images. Most still rely on outdated techniques, which result in poor quality results. This is especially evident when enlarging photos with fine details like hair strands.
Sophisticated applications like Zawa’s Image Upscaler allow you to enlarge your photos without encountering these challenges. This is possible through its use of AI technology to introduce pixels that are as close to the original.
Related articles

What is a PNG and How to Convert It?

How to Remove the Kling AI Watermark

How to Remove Gemini Watermark?
