
How to Use Grok for AI Image Generation: A Complete Step-by-Step Guide
A practical step-by-step guide to using Grok for AI image generation, with clear prompting techniques to help you create high-quality visuals more effectively.

AI image generation is rapidly transforming how creators, marketers, and designers produce visual content. With tools like Grok, turning simple text into high-quality images is no longer a complex or time-consuming process.
However, many users still struggle with one key question: how to use Grok effectively to generate images that actually match their vision. They either cannot find the feature, write prompts that feel too vague, or fail to refine results properly.
This guide focuses on the practical side. Instead of just explaining what Grok is, it shows you exactly how to use it step by step—and how to improve your results through better prompting.
What Is Grok AI Image Generation?
Grok is an AI assistant developed by xAI and integrated directly into the X platform. In addition to handling text and coding tasks, it can generate images using advanced diffusion-based models.
What makes Grok different is its speed, accessibility, and conversational workflow. Unlike other image generators that rely on separate tools or platforms, Grok allows you to create and refine images within a single chat interface.
This conversational approach is especially useful because it removes the need to rewrite prompts constantly. Instead, you can adjust your image step by step, making the process feel more natural and efficient.
Another advantage is its ability to handle detailed prompts and render text within images more clearly than many older models. This makes it suitable for both creative exploration and practical design tasks.
How to Use Grok to Generate Images
To get started with Grok image generation, you need to follow a simple but structured process. Once you understand these steps, the workflow becomes very intuitive.
Step 1: Get Access to Grok
Before anything else, you need access to Grok through an X Premium or Premium+ subscription.
After subscribing, the Grok feature will become available inside your X account. Premium+ usually provides better access to the latest models, which can affect image quality and speed.
Step 2: Open the Grok Interface
Once your account is ready, navigate to Grok:
-
On desktop, look for the Grok icon in the left sidebar
-
On mobile, find it in the bottom navigation menu
Clicking it opens a chat-style interface. This is where all image generation happens.
Step 3: Write Your First Image Prompt
Grok does not automatically assume you want an image—you need to clearly tell it.
A simple structure works best:
Generate an image of [subject], in the style of [style], with [details].
For example:
Generate an image of a futuristic city, glowing neon lights, cinematic lighting, ultra-detailed.
At this stage, your goal is not perfection. You are creating a base image to work from.
Step 4: Refine and Improve the Result
This is where Grok becomes powerful.
Instead of rewriting your prompt, you can continue the conversation and improve the image step by step. For example:
-
Make the lighting darker and more dramatic
-
Add reflections on the ground
-
Increase detail in the background
Each instruction updates the previous result. This iterative workflow allows you to move from a rough idea to a polished image much faster than starting over each time.
Why This Process Matters
Many beginners fail because they treat image generation as a one-step action. In reality, the best results come from iteration, not a single perfect prompt.
Once you understand this workflow—generate, evaluate, refine—you will get consistently better results from Grok.
How to Write Effective Prompts
This is the most important part of the entire process.
In most cases, the difference between a generic image and a stunning one comes down to the quality of the prompt.
A strong prompt is not necessarily longer—it is more precise and structured.
The most effective prompts usually include three key elements:
subject, style, and visual details.
Start with the subject. Instead of using vague terms, describe exactly what you want to see. Then add a clear artistic or visual style, such as digital illustration, photorealistic, or cinematic. Finally, include details that define the mood and composition of the image.
For example, instead of writing:
a dog
You can gradually improve it:
a golden retriever →
a golden retriever in a park →
a golden retriever, soft natural lighting, shallow depth of field, warm tones, high detail
This progression shows how adding specific visual information improves the output.
Lighting and atmosphere are especially powerful. Words like golden hour, neon glow, foggy environment, or studio lighting can completely change how the image feels. These elements help the AI understand not just what to draw, but how it should look.
Another important factor is composition. Including details like camera angle, focus, or framing can make the image feel more professional. For instance, adding “close-up shot” or “wide-angle view” provides clear visual direction.
At the same time, it is important to avoid overloading your prompt. Adding too many unrelated or conflicting ideas can confuse the model and reduce quality. A clean and focused prompt will almost always perform better than a long but messy one.
Finally, remember that prompting is an iterative process. You do not need to get everything right in the first attempt. Generate a base image, evaluate it, and refine it step by step.
Example Prompts
Understanding structure is useful, but seeing full prompts makes a bigger difference. In real usage, effective prompts are usually more detailed and layered rather than short one-line descriptions.
Here are a few realistic examples that show how advanced prompts are written and why they work.
Example 1: Photorealistic Style
Basic prompt:
A dog in a park.
Advanced prompt:
A hyper-realistic golden retriever sitting in a sunlit park, soft natural lighting, shallow depth of field, warm color tones, highly detailed fur texture, 85mm lens photography, blurred background, professional DSLR quality, ultra high resolution
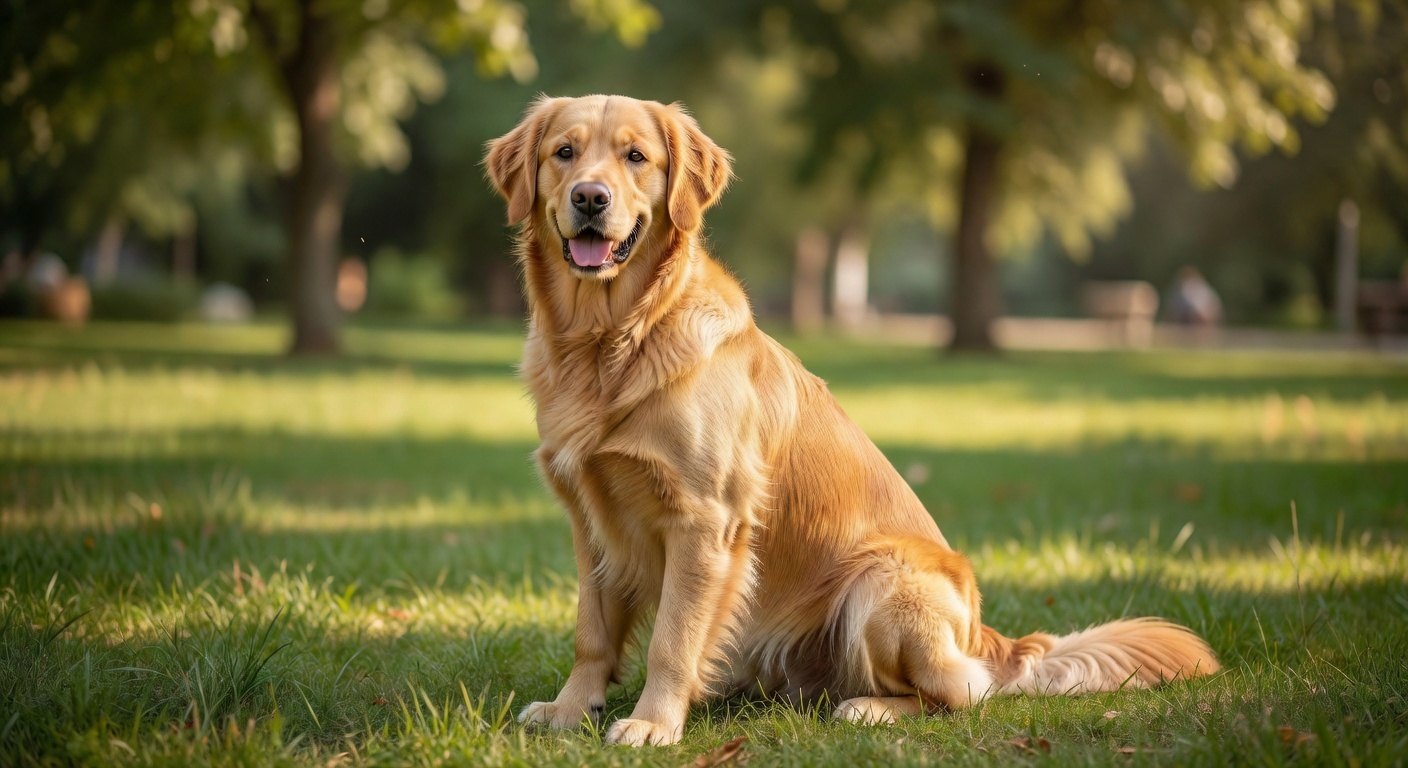
This works better because it defines not only the subject, but also the lighting, camera style, and level of detail.
Example 2: Cinematic Scene
Basic prompt:
A city at night.
Advanced prompt:
A futuristic cyberpunk city at night, glowing neon signs, wet streets reflecting light, cinematic lighting, foggy atmosphere, high contrast shadows, ultra-detailed environment, wide-angle shot, dramatic perspective, 4K digital art
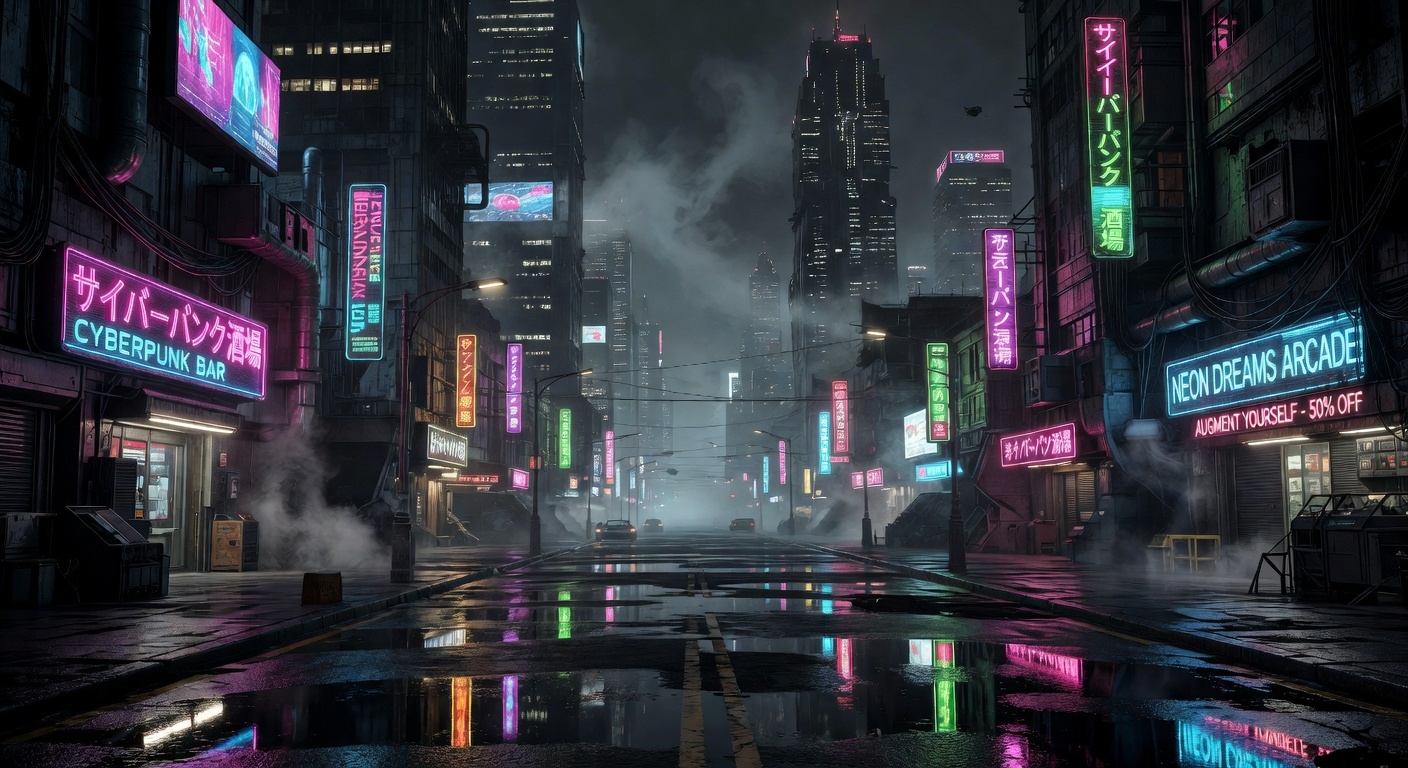
Here, the atmosphere and environment details create a much more immersive result.
Example 3: Character Design
Basic prompt:
A warrior character.
Advanced prompt:
A fantasy female warrior wearing detailed silver armor, long flowing hair, standing in a misty battlefield, dramatic backlighting, cinematic composition, highly detailed textures, epic atmosphere, concept art style, ultra high resolution
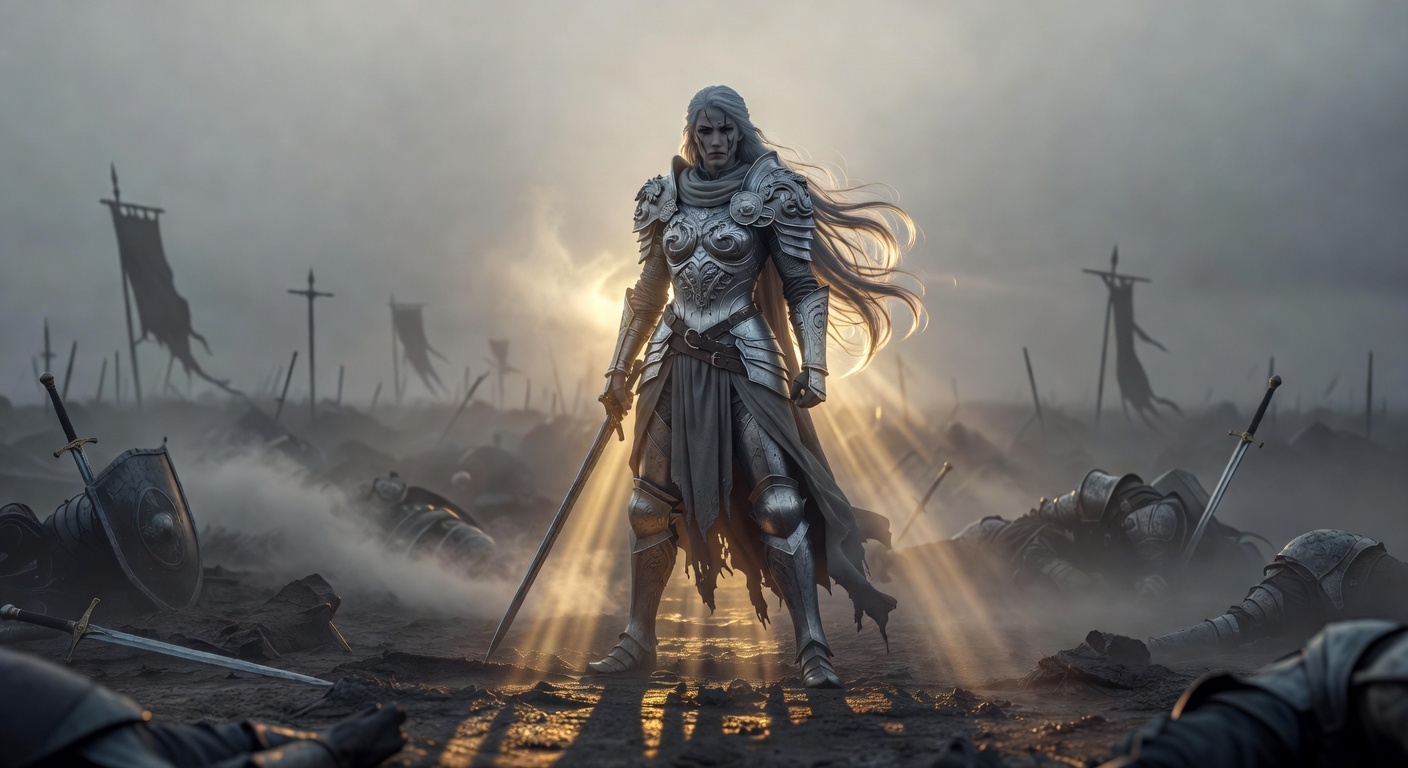
This type of prompt is closer to what designers or game artists would actually use.
Example 4: Clean UI / Product Style
Basic prompt:
A modern workspace.
Advanced prompt:
A clean modern workspace setup, minimal desk, laptop with soft screen glow, neutral color palette, natural window lighting, soft shadows, Scandinavian interior style, high-end editorial photography, ultra sharp details
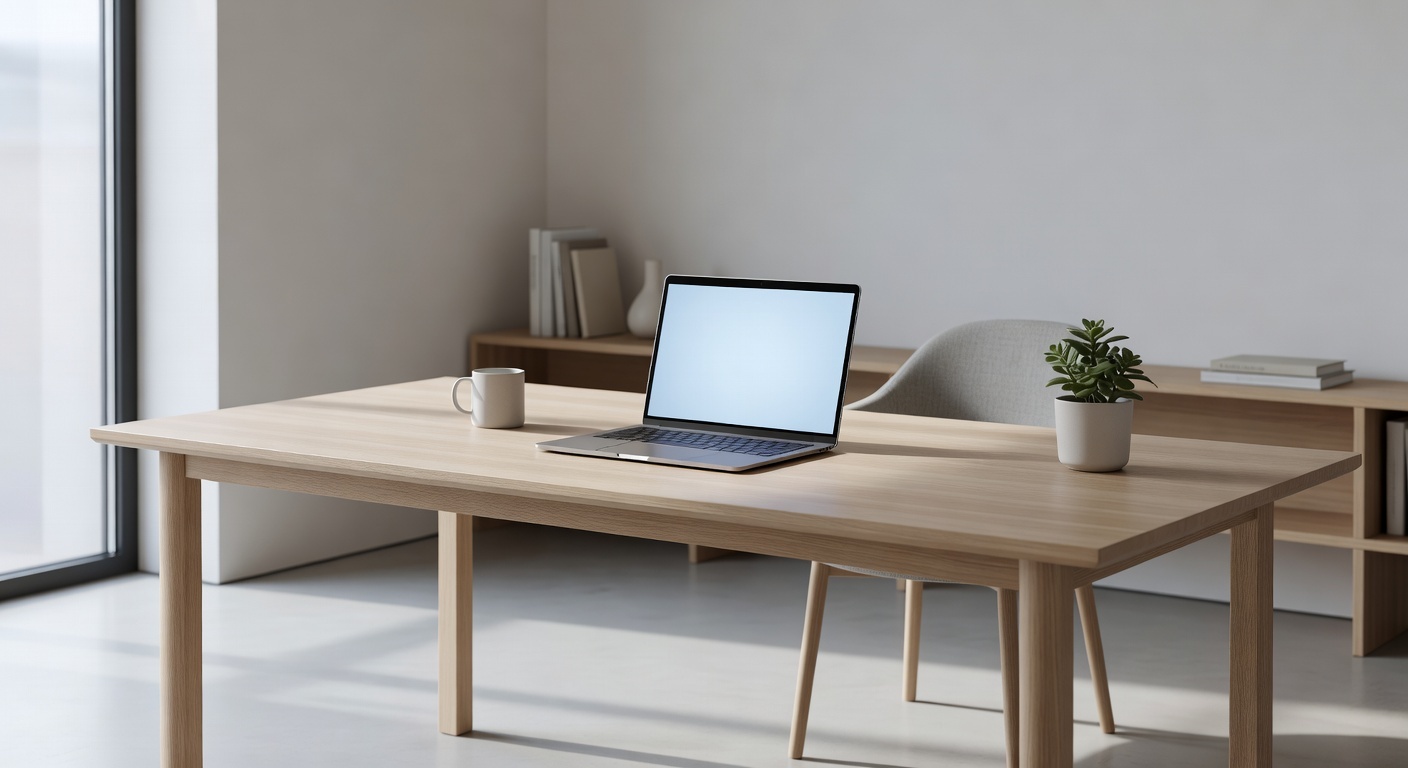
This shows how pro mpts can be used for branding or content visuals.
Key Takeaway
Strong prompts are not just longer—they are more intentional.
They combine subject, style, lighting, and composition in a way that gives the AI clear visual direction.
If your results feel generic, the issue is usually not the tool—it is the level of detail in the prompt.
Conclusion
Learning how to use grok for AI image generation is less about mastering the tool itself and more about learning how to communicate visually through prompts.
Once you understand how to structure your prompts and refine results step by step, creating high-quality images becomes much faster and more intuitive. Over time, this process becomes second nature, allowing you to turn ideas into visuals with speed and precision.
The key is simple: start with a clear idea, describe it well, and improve it through iteration.
Related articles
Veo 4 Could Change AI Video From Clip Generation to Scene Direction
GPT-Image-2 May Be Coming Soon
PixVerse vs Runway: Which AI Video Tool Is Better in 2026?
How to Use Pixverse V6: The Complete Step-by-Step Guide to AI Video Generation
How to Use Grok for AI Image Generation: A Complete Step-by-Step Guide
Why Grok AI Restricts Content (And How to Get Better Answers)
Is Grok Better Than ChatGPT? Key Differences You Need to Know

What Is Seedream 5.0 Lite and How to Use It to Create AI Images

How to Prompt with Kling: Examples and Pro Tips

Top 30 Prompts for Seedream Image Creation: A Detailed Guide

What is Seedance and how to use it

20 Seedance Prompts for AI Video Creation: Ready-to-Use Examples

Nano Banana 2 vs. Nano Banana Pro: What’s the Difference? (2026 Updated)

Nano Banana vs. Sora AI: Which Gen AI Tool Should You Use?

10 Viral Social Media Prompts You Can Create with Nano Banana Pro
Nano Banana for Fashion: AI-Powered Virtual Try-On Images

Nano Banana 2 vs Nano Banana 1 — What's Changing in Google's AI Image Editing Revolution?

The Super-Brain in Your Pocket: Speculating on Google's Next-Gen Nano Banana 2 (Pro)

How Zawa Nano Banana 2 (Pro) Reinvents Posters, Logos, and Brand Visuals

Nano Banana 2 (Pro) is HERE: The Game-Changing AI Upgrade for Zawa!

Most popular AI models you should know in 2026 (Tested & Tried)
What is Kling AI – A Complete Guide

How to Use Nano Banana?-Next-Gen AI Image Generator

A Complete Guide on How to Blend Photos with Nano Banana AI

How Big Is A 16x20 Photo?

Google Gemini 3 Pro: The Next Great Leap in AI Development

How To Generate Viral AI Videos With Sora 2 + Nano Banana 2 (Pro)
Gemini 3 Pro VS Gemini 2.5 — What to Expect from Google's Next AI Leap

Gemini 3 Pro & Nano Banana 2 (Pro): Release May Delay!

12 Best MidJourney Alternatives to Use For Image Generation

8 Best Image Extender Tools: The Ultimate AI Photo Background Expanders

15 Best AI Video Generators in 2025

10 Best AI Video Enhancers to Upscale Your Videos

10 Best AI Tools in 2025 for Powerful Image, Video, and Voice Generation

18 Best AI Tools for Small Businesses That Save Time and Cut Costs

10 Best AI Models You Should Know

20 Best AI Marketing Tools You Should Know in 2026

The Top 15 Best AI Logo Generators You Need to Know

13 Best AI Image Generators in 2025: Full Comparison

13 Best AI Headshot Generators for Professional Photos

8 Best AI Hairstyle Generators

We Tested Best AI Art Generators of 2025 — Here's What Actually Works

What are the Best AI Agents?

8 Best 3d Figure AI Tools for Stunning Creations

Seedream 4.5 vs Nano Banana Pro

I Tested Sora 2: The Essential Use Cases for Filmmakers and Marketers

Sora 2 vs ImagineArt AI — Which AI Creative Tool Wins in 2025?

Sora 2 vs Sora 1: What You Need to Know

Sora 2 vs Veo 3: A Head-to-Head Comparison for Video Content

Top 4 Best AI Image Generators for Realistic Photos and More

Top 6 AI Video Generators for Beginners and Experts

Top 6 Most Popular AI Image Generators: Complete Explanation
The Best Roles for Veo 3.1: Where Google's New AI Video Model Excels

What Are 3D Figures? A Beginner’s Guide to Collectibles and Models
What Are AI Agents? Understanding Their Role in the Next Tech Era

Hailuo AI Review – A Complete Guide [2025]

What is Luma AI – The Complete Guide

What is Nano Banana AI: 8 Best Use Cases for Generating Realistic Images

What is Runway AI – The Complete Guide
What Is Sora 2 AI -The Complete Guide

What is Sora AI and How Does it Work
What is VEO 3.1? The Video Model That Demands Creative Control
What is Veo 2 and How Does it Work: The Ultimate Veo 2 Guide
What is Veo 3 and How Does it Work – A Detailed Guide

The Creator's Guide to Veo 3.1: What's Changed and How to Use it
What's New in Veo 3.1 + Nano Banana 2 (Pro): Top Features Not to Miss
What is Krea AI and How Does it Work

Seedance 2.0: Next-Gen AI Video Generation for Modern Creators

14 Best AI Productivity Tools That You Need in 2025
