
How to Remove Watermark in Photoshop: 7 Methods Tested (2026)
Photoshop offers 7 ways to remove watermarks - each suited to a different background type. This guide covers when to use each tool, shows real before-and-after results, and flags the most common mistakes that leave visible artifacts.


Most guides on removing watermarks in Photoshop treat it like there is one answer. There is not. Pick the wrong tool for the background you are working with and the result will look worse than the original watermark.
Generative Fill on a plain sky background wastes time on a job the Spot Healing Brush handles in 15 seconds. The Clone Stamp on a complex portrait scene will leave visible artifacts that take 20 minutes to fix by hand. Method selection matters more than execution speed.
This covers all seven current Photoshop watermark removal tools, what each one is actually good for, real test results on three difficulty levels, and the six mistakes that produce visible artifacts. There is also a browser-based option at the end for situations where Photoshop is not available.
Which Photoshop Tool to Use - Matched to Watermark Type
Scanning all seven methods when you only need one wastes time. Use this as a decision guide instead.
-
Spot Healing Brush: Works on small text or logos over a plain background. Sky, skin, solid wall. Fastest method, no setup needed.
-
Clone Stamp Tool: Use this on grass, brick, fabric, wood grain, or any textured surface where the auto-fill tools guess wrong.
-
Lasso with Content-Aware Fill: Medium-sized logos or text blocks on moderately complex backgrounds. Quicker than Clone Stamp for larger selections.
-
Content-Aware Fill Panel: Watermarks over repeating patterns or gradients. This is the one that lets you tell Photoshop exactly which areas to sample from.
-
Patch Tool: Medium to large watermarks where the surrounding texture is consistent enough to drag and swap.
-
Generative Fill (Photoshop 2024 and later): Semi-transparent or complex watermarks over faces, detailed scenes, or backgrounds that would require hours of Clone Stamp work.
-
Remove Tool (Photoshop 2025 and later): Subjects, people, or larger objects in varied scenes. Smarter than Spot Healing; upgraded with Firefly AI in 2025.
Not sure which one applies? Start with the Spot Healing Brush. It handles more cases than people expect. If the output patches or smears, shift to Clone Stamp or the Content-Aware Fill panel depending on how much detail surrounds the watermark.
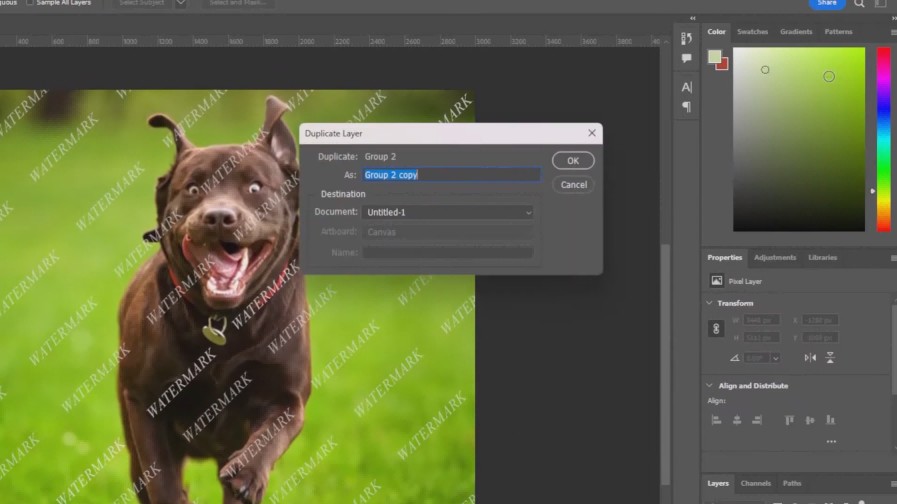
Step-by-Step: How to Remove a Watermark in Photoshop (All 7 Methods)
One step applies to everything here before you touch any tool: press Ctrl+J on Windows or Cmd+J on Mac to duplicate the background layer. Work on the copy, not the original. You cannot undo what you cannot recover from. Mac users swap Ctrl for Cmd and Alt for Option throughout.
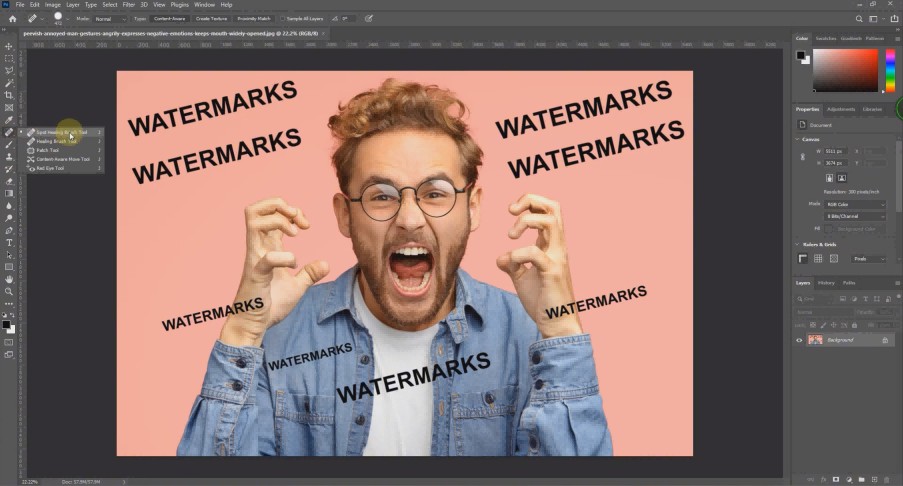
Method 1 - Spot Healing Brush (Fastest for Simple Backgrounds)
Best for small text watermarks on plain, uniform backgrounds. No source point needed. Photoshop samples automatically.
Step 1: Duplicate and Select Tool
Press Ctrl+J to copy the layer. Grab the Spot Healing Brush from the toolbar, the one with the band-aid icon. In the options bar at the top, change Type to Content-Aware so Photoshop reads surrounding pixels before filling.
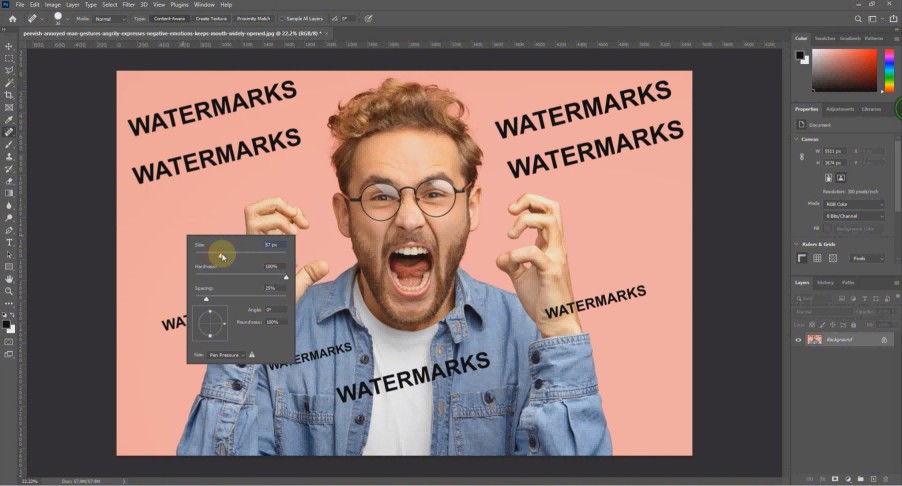
Step 2: Size the Brush
The brush needs to be slightly wider than the watermark text. Use the bracket keys to resize fast. Zoom in with Ctrl and the plus key until you can clearly see the edges of the watermark. Working zoomed out is how people miss edge artifacts.
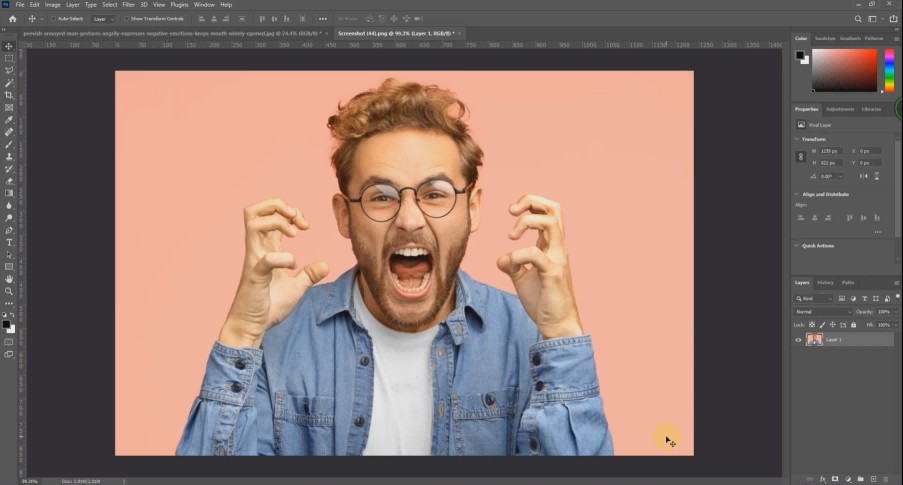
Step 3: Paint and Check
Click or drag over the watermark. Do it in short strokes on longer text rather than one sweep across everything. When done, zoom to 100 percent and look at the filled area closely before saving. On plain backgrounds this typically cleans up in one pass.
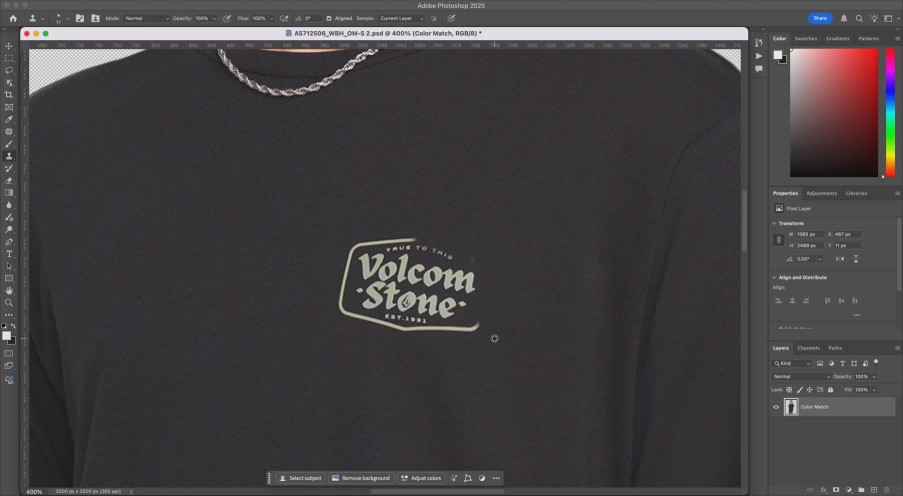
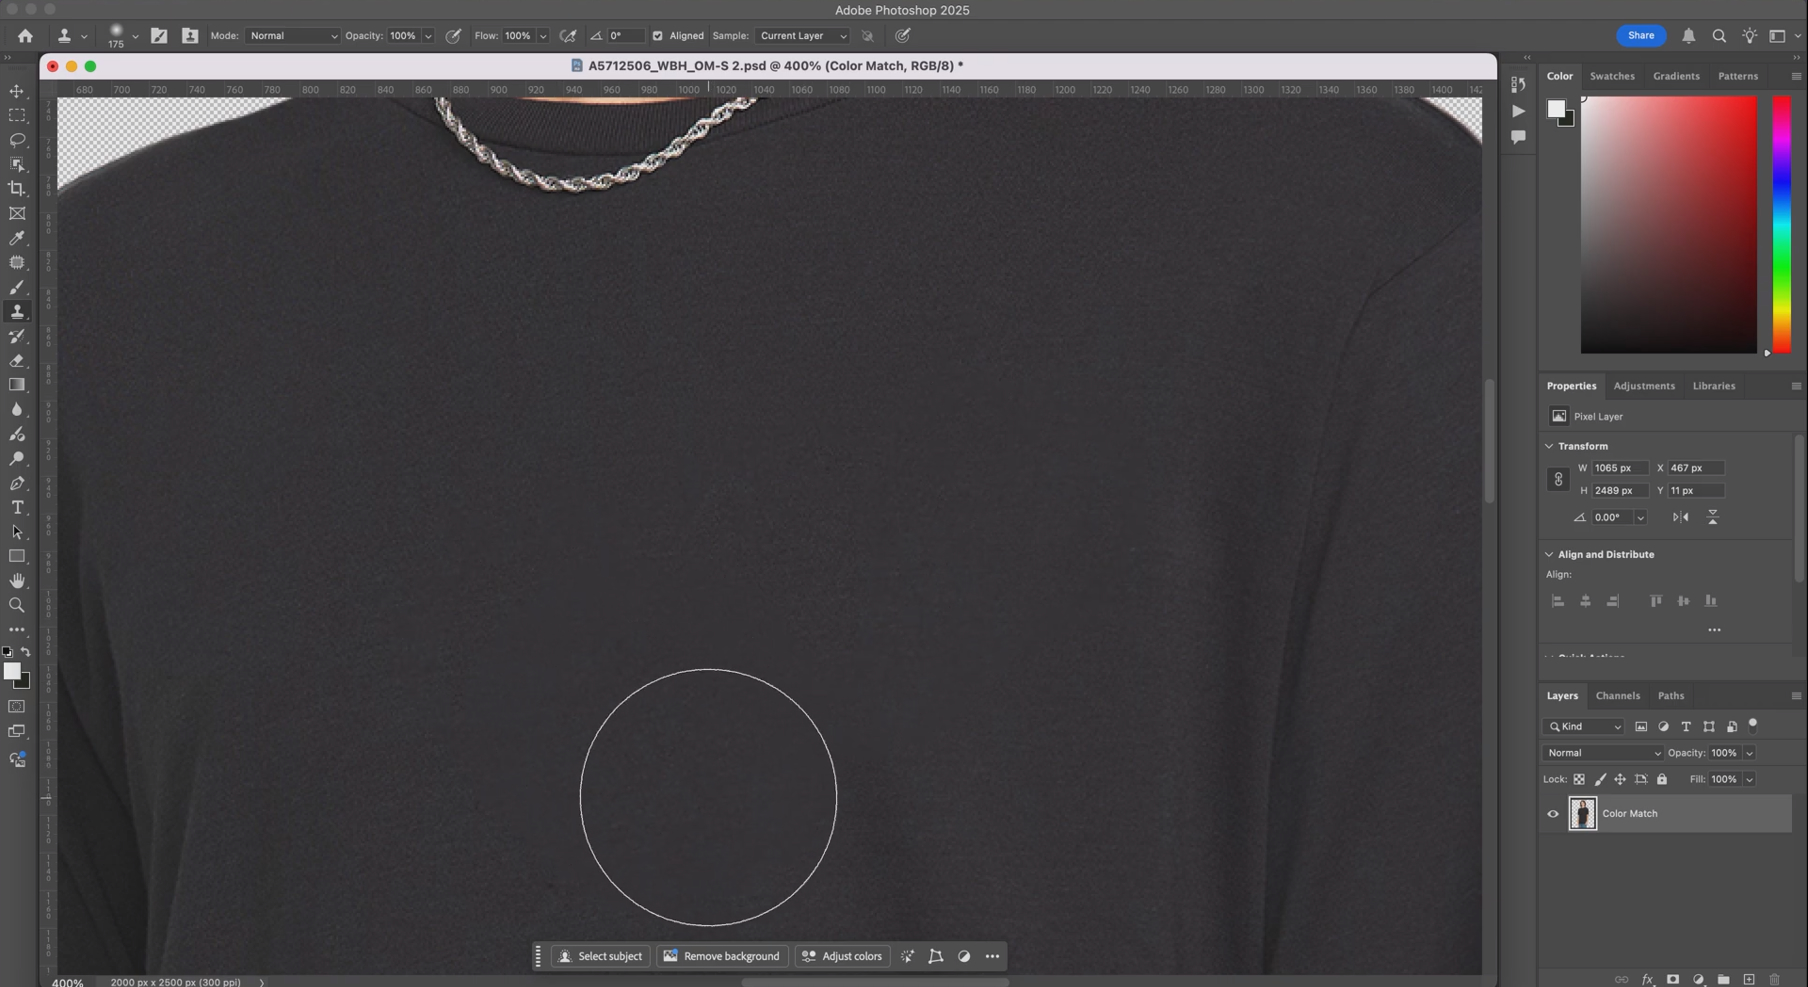
Method 2 - Clone Stamp Tool (Best Control on Textured Backgrounds)
The go-to for textured backgrounds. More work than the Spot Healing Brush, but it gives you direct control over what gets sampled.
Step 1: Sample a Clean Area
Duplicate the layer, then select the Clone Stamp. Hold Alt and click on a clean section of the background near, but not touching, the watermark. That click sets the source point Photoshop copies from.
Step 2: Paint in Short Strokes
Paint over the watermark in short strokes. After every two or three strokes, hold Alt and click a fresh source point in a different clean area. Cloning from one spot the whole time creates an obvious repeating texture pattern. Varying the source prevents it.
Step 3: Clean Up the Edges
Zoom to 200 percent when you think you are done and check the boundary of the cloned area. The Clone Stamp does not blend edges the way Healing tools do. A few passes with the Spot Healing Brush along any visible seam lines tidies these up fast.
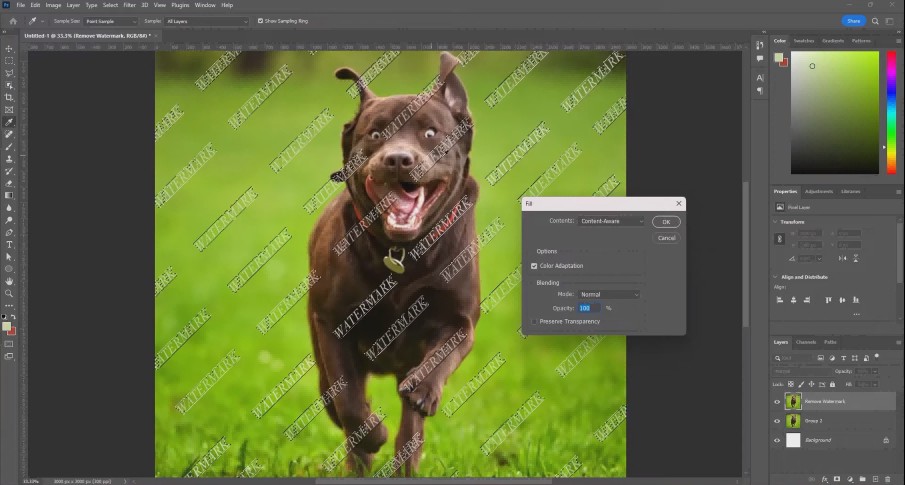
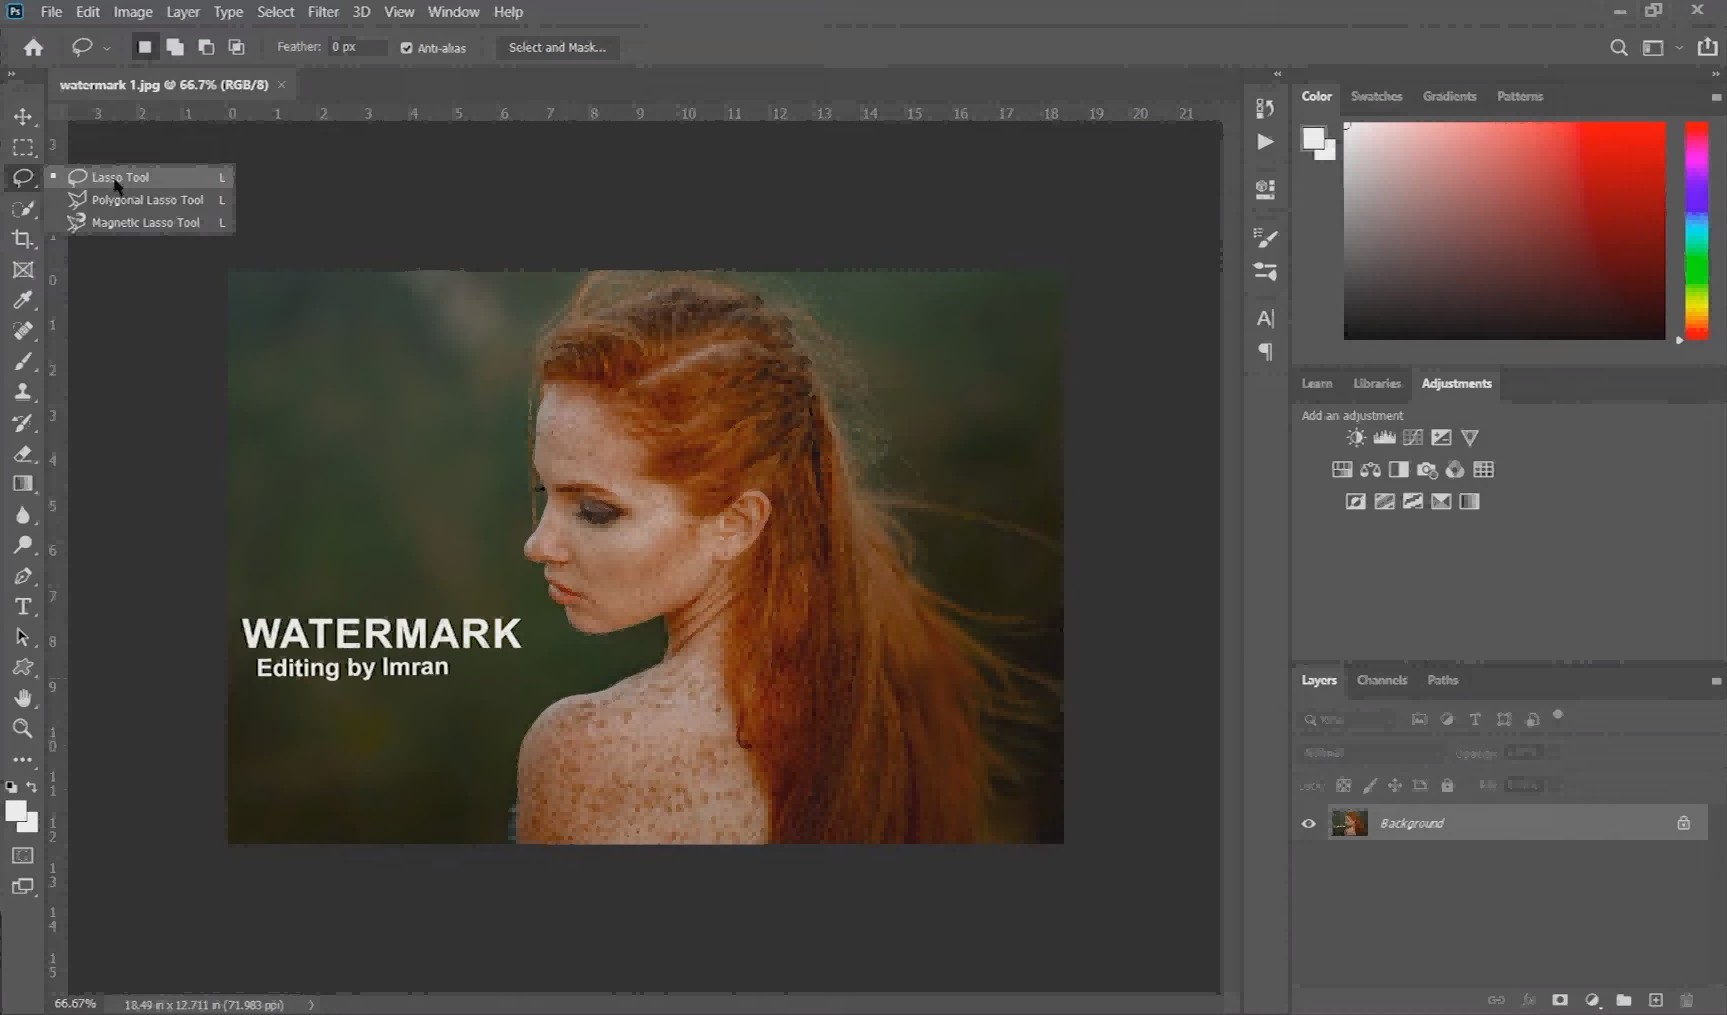
Method 3 - Lasso + Fill (Quick for Medium Logos)
Good for medium-sized logos where you do not want to paint stroke by stroke.
Step 1: Draw a Loose Selection
Duplicate the layer. Pick the Lasso Tool and draw around the watermark, leaving a small margin between the selection edge and the actual mark. The looser the selection, the more background context the fill algorithm gets to work with.
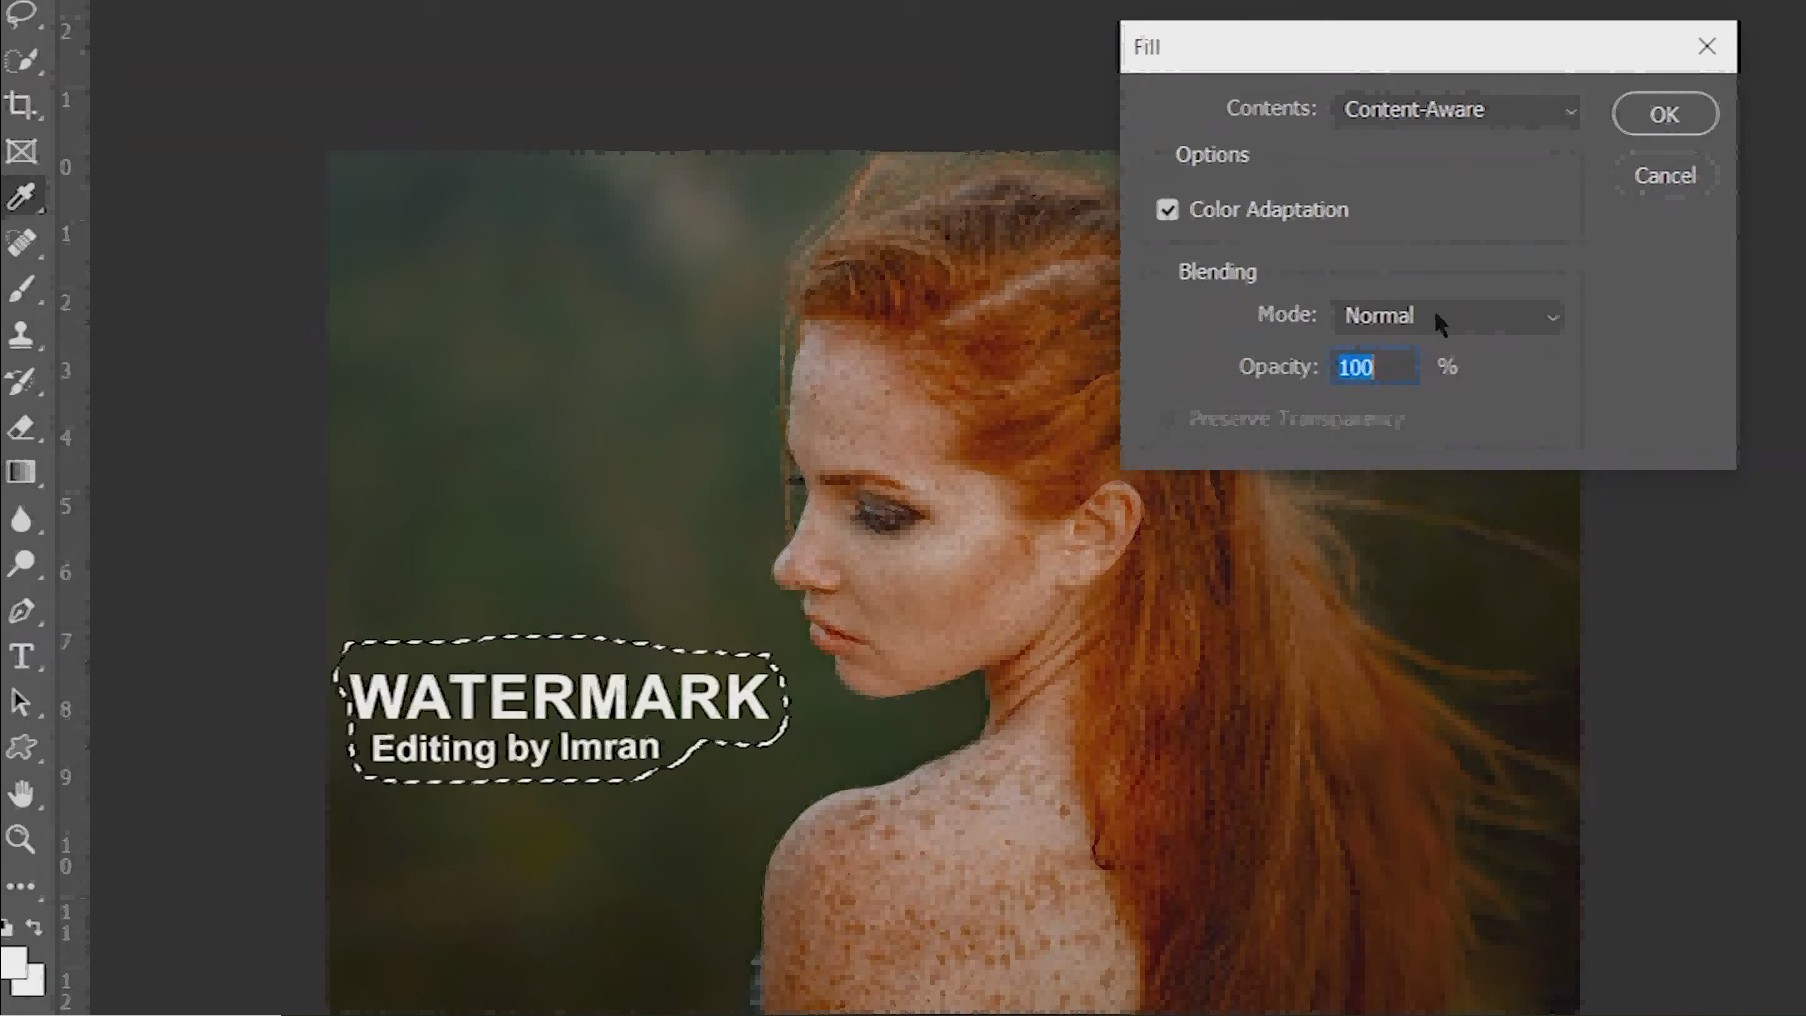
Step 2: Run Content-Aware Fill
Go to Edit, then Fill, or press Shift+F5 directly. Under Contents, pick Content-Aware. Leave Mode at Normal and Opacity at 100 percent. Click OK, then press Ctrl+D to drop the selection.
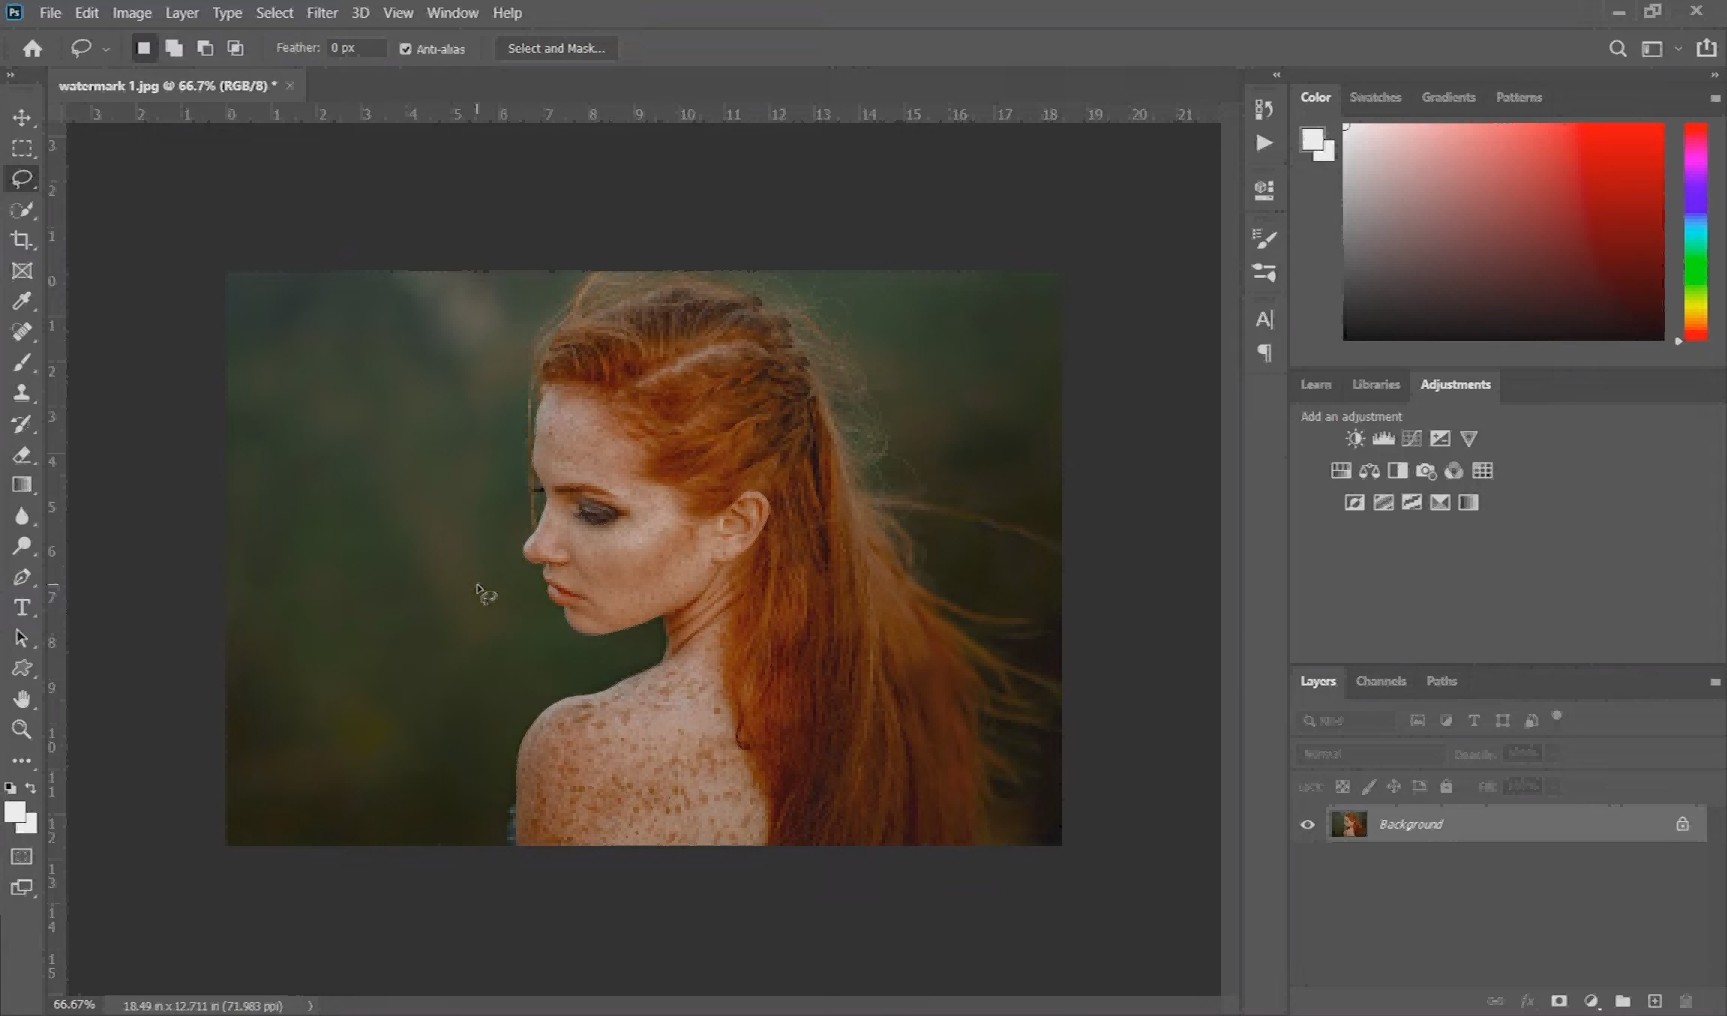
Step 3: Refine if Needed
If the fill has a visible seam or color mismatch, run the Spot Healing Brush along those areas. Lasso plus a Spot Healing pass handles most medium watermarks faster than any manual cloning approach.
Method 4 - Content-Aware Fill Panel (More Sampling Control)
The standard Fill dialog is a black box. This version lets you see and control exactly what Photoshop is sampling from.
Step 1: Choose the Lasso tool
Duplicate the layer and then proceed to select the Lasso tool. Alternatively, you can also choose the Object Selection or Quick Selection tool as well.
Step 2: Select the watermark area and choose to fill
After that, select the watermark using whatever selection tool you have chosen. Once done, go to Edit and choose Content-Aware Fill. Ensure you select your desired options, such as Mode and Opacity.
Step 3: Remove watermarks, refine, and export
Clean up remaining edge artifacts on the new layer with Healing Brush or Clone Stamp. Once done, proceed to export your image.
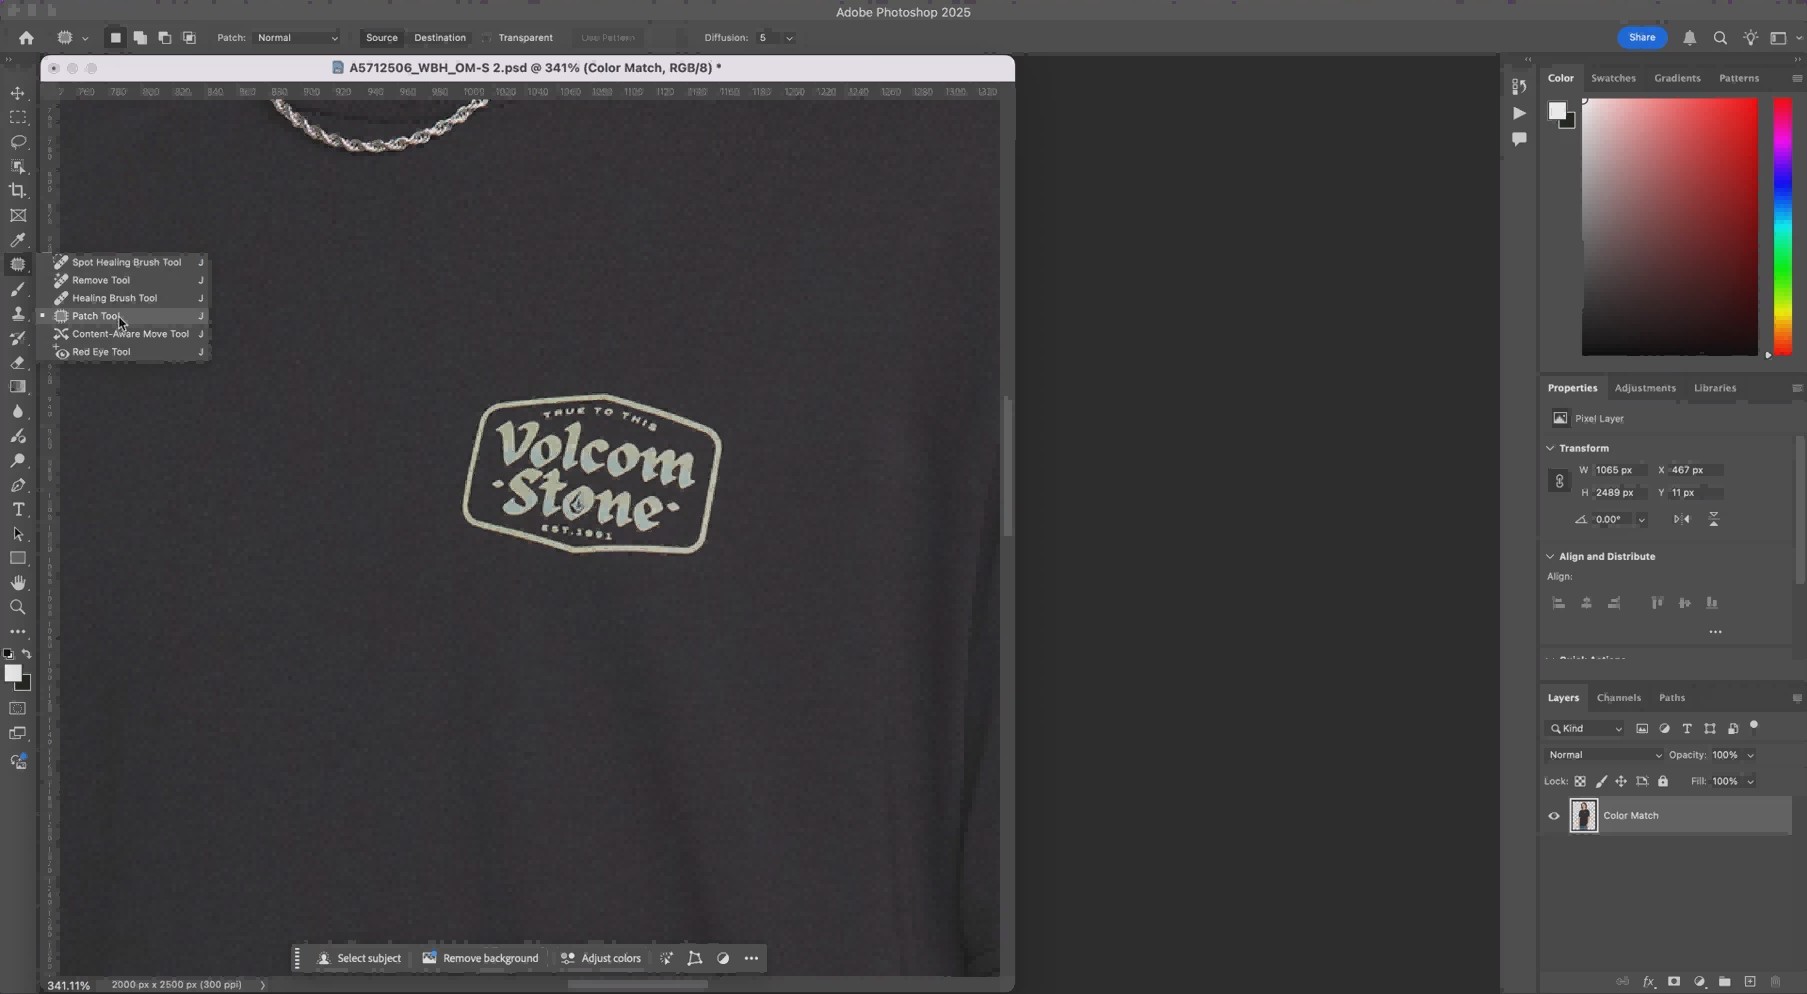
Method 5 - Patch Tool (Drag-and-Replace for Consistent Textures)
Drag-and-swap rather than paint-and-fill. Works well when the background texture on one side of the watermark matches what is on the other side.
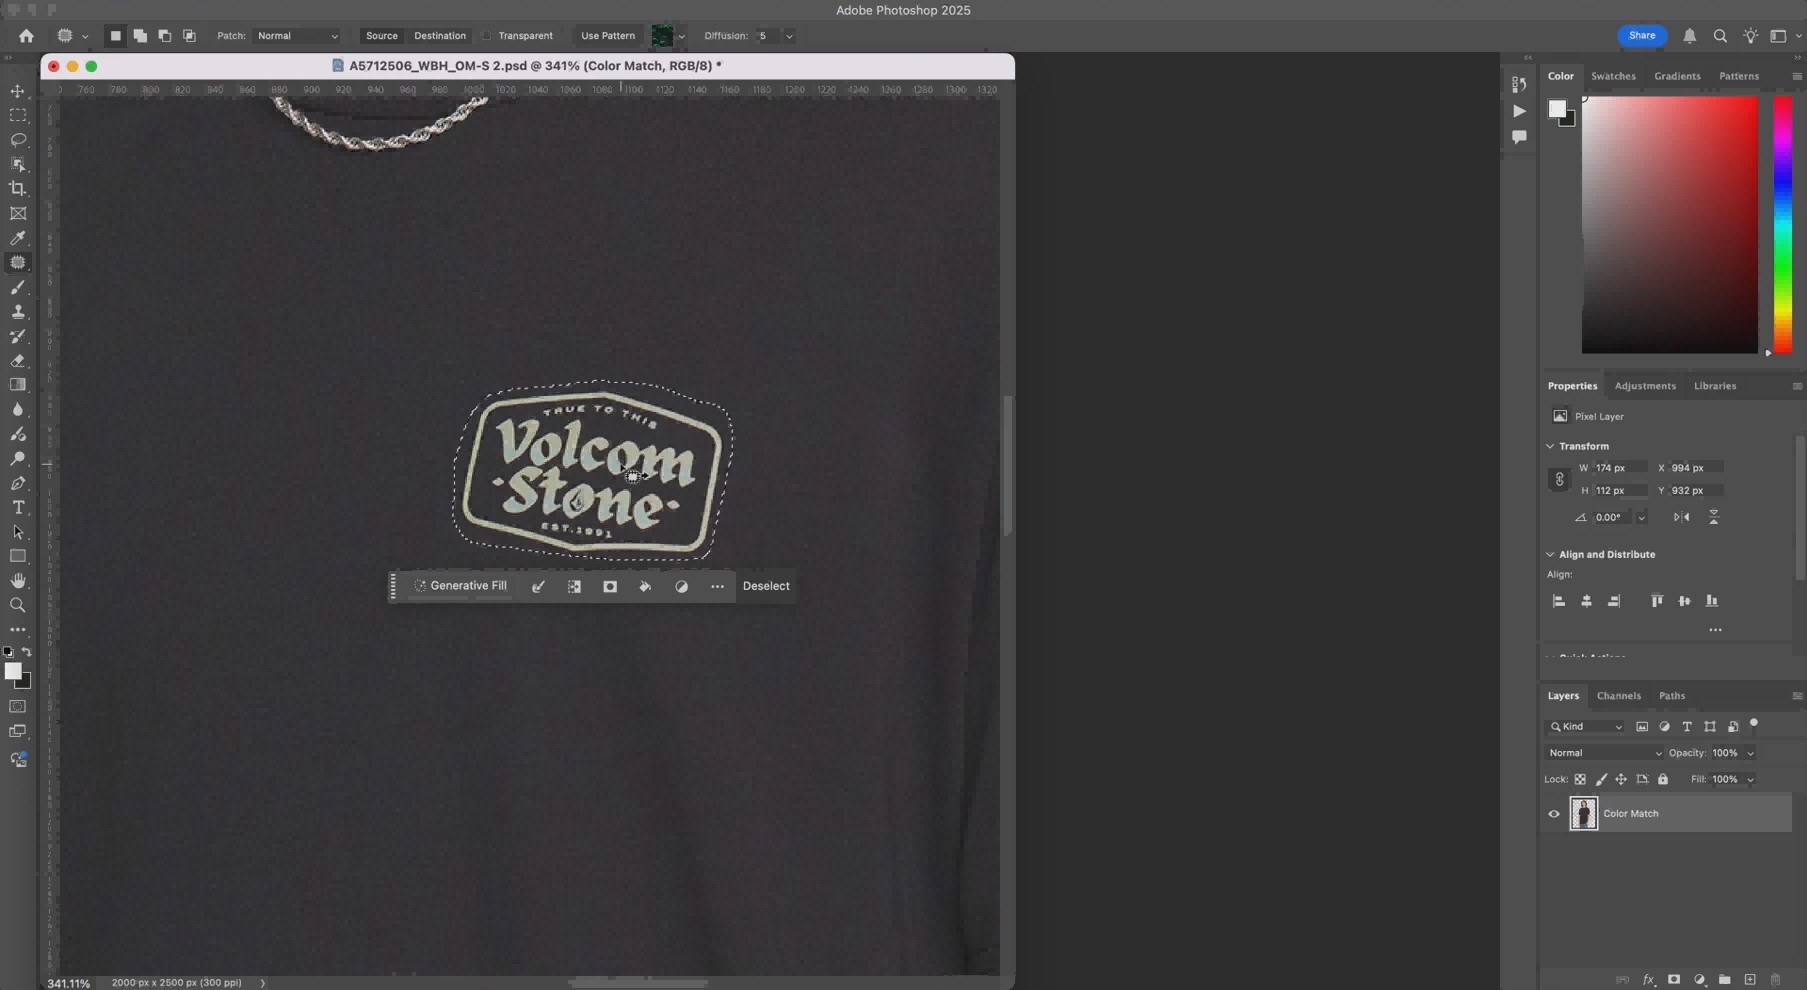
Step 1: Draw Around the Watermark
Duplicate the layer. Find the Patch Tool in the Healing tools group in the toolbar. Draw a selection around the watermark the same way you would with the Lasso. Keep the selection fairly tight to the edge of the watermark.
Step 2: Drag to a Clean Area
Click inside the selection and drag it across to a clean section of the background that has matching texture. Release the mouse and Photoshop swaps the watermark region with what you dragged to, blending the edges in automatically.
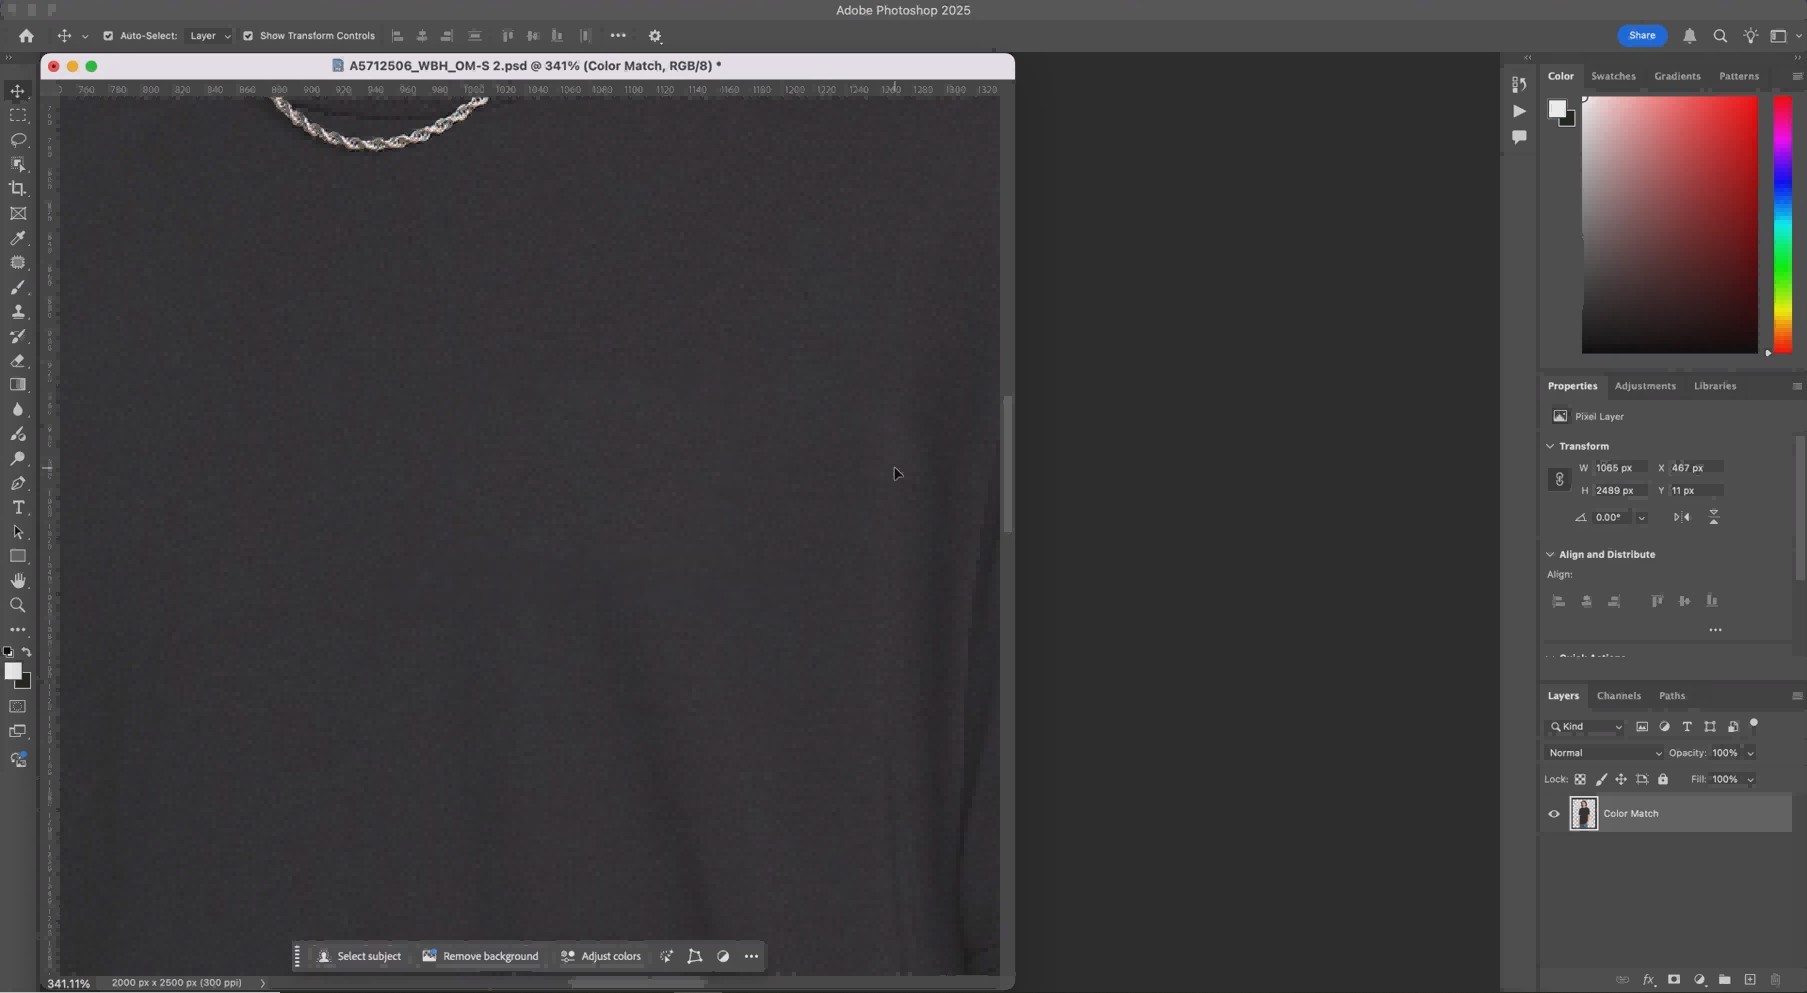
Step 3: Deselect and Check Edges
Press Ctrl+D to drop the selection. Zoom to 100 percent and examine the edges of the patch. If the blend looks rough, a pass with the Spot Healing Brush right along the boundary smooths it out in a few seconds.
Method 6 - Generative Fill (Photoshop 2024+, AI-Powered)
Requires Photoshop 2024 or later and an active Creative Cloud subscription. Uses Adobe Firefly AI. Plans on lower CC tiers have a monthly generative credit limit.
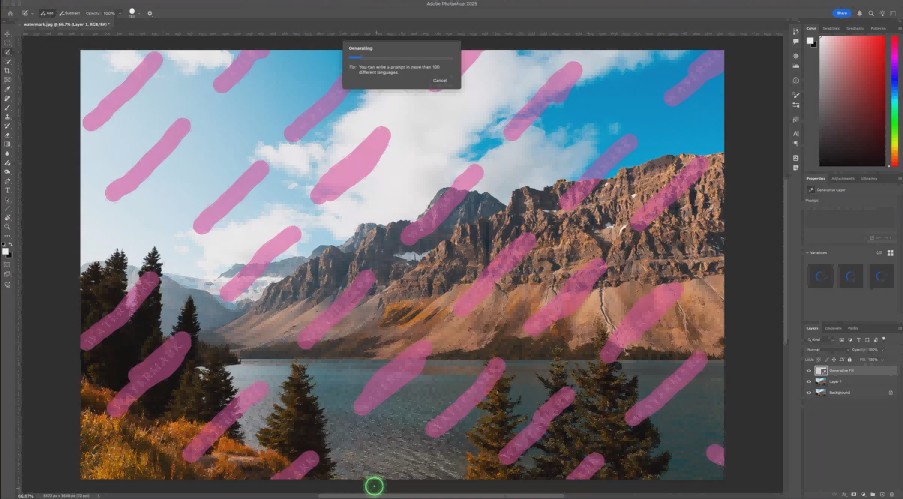
Step 1: Select the Watermark
Duplicate the layer. Choose the Selection Brush Tool and draw on the watermark. A slightly larger selection than you think you need tends to produce better results here than a tight boundary.
Step 2: Open Generative Fill
A contextual task bar appears at the bottom of the canvas after you make the selection. Click Generative Fill. Leave the text prompt blank for automatic background matching, or type a short description like plain wall or outdoor background if the context needs a nudge. Click Generate.
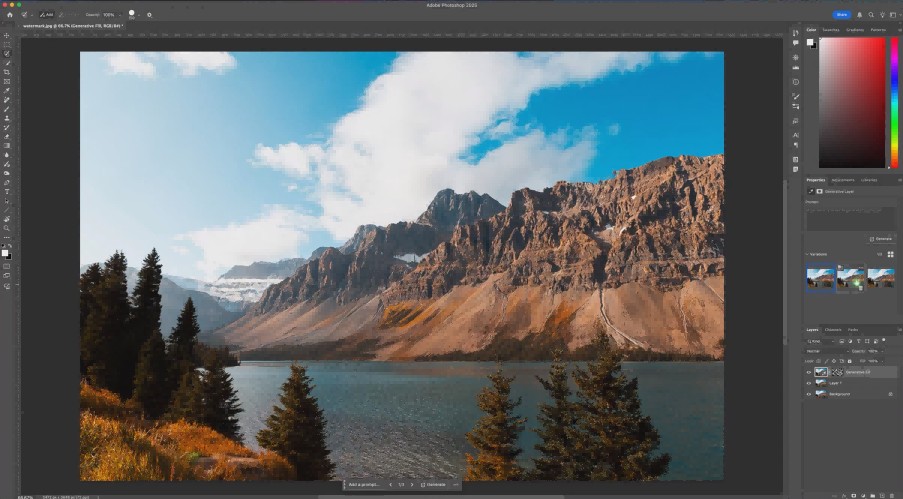
Step 3: Choose the Best Variant
Photoshop generates three variations. They appear as thumbnails in the Properties panel on the right. Click through each one. Select the most natural-looking result. The output sits on its own Generative Layer and can be deleted or regenerated at any time.
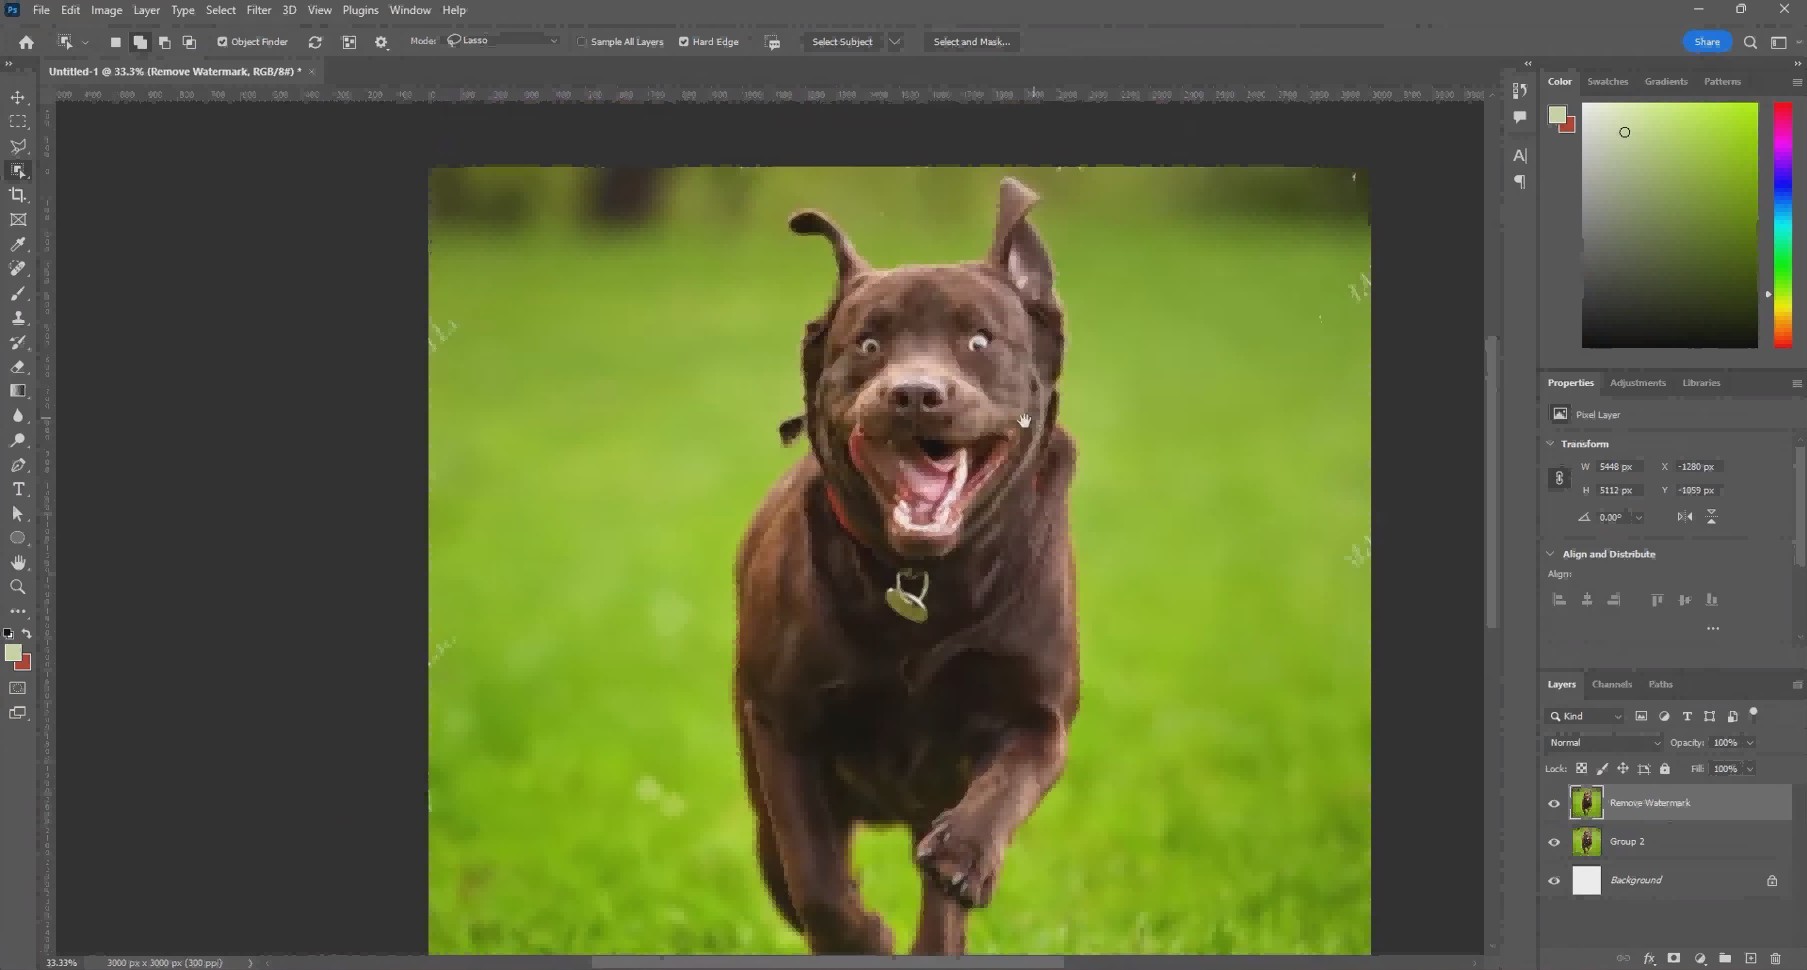
Method 7: Remove Tool (Photoshop 2025 and Later)
Introduced in Photoshop 2023 and upgraded with Firefly AI in 2025. Nested behind the Spot Healing Brush in the toolbar. Click and hold the Spot Healing icon to reveal it. Smarter edge detection than Spot Healing, particularly useful for subjects that overlap with other content.
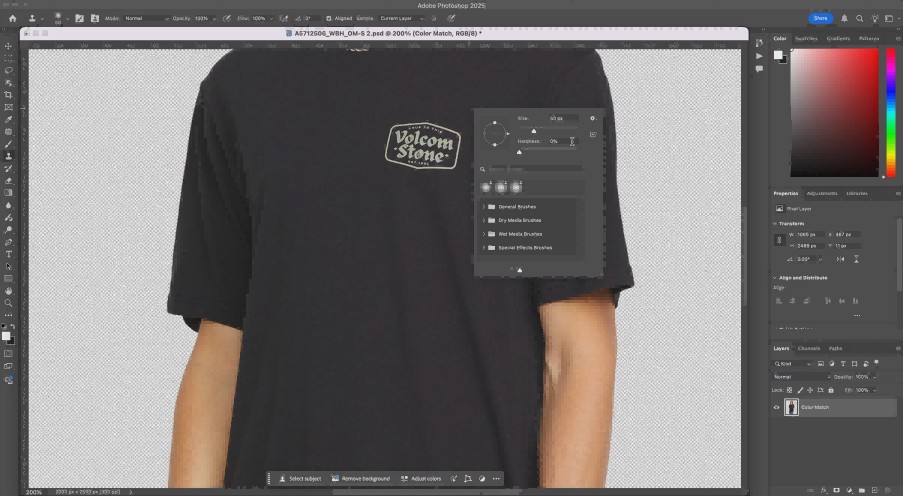
Step 1: Add a New Blank Layer
Add a blank layer above your image from the Layers panel. Select the Remove Tool. In the Options Bar, check Sample All Layers so the tool reads from the image below while writing to the blank layer above. This keeps the removal non-destructive.

Step 2: Paint Along Object Edges
Paint a brush stroke around the perimeter of the watermark rather than filling the whole area. The Remove Tool selects the enclosed region automatically when you lift the mouse. Include a thin margin of surrounding area in your stroke to give it blending room at the edges.

Step 3: Review and Refine
Photoshop removes the selected region and reconstructs the background. In Photoshop 2025 with generative AI on, it draws on Firefly for harder reconstructions. Check at 100 percent zoom. If a faint trace remains, paint over just that spot and let the tool run again.

Real Test Results: Before and After Across 3 Watermark Scenarios
All three tests were checked at 100 percent zoom. That is the only honest way to evaluate these. Thumbnail previews hide artifacts that are obvious on screen or in print.
Test 1: Text Watermark on an Open Sky
Method: Spot Healing Brush, Content-Aware mode
Done in 25 seconds. No visible seam, no color shift at 100 percent zoom. The sky gave the algorithm so much uniform surrounding data that the fill was essentially invisible. This is best-case territory for Photoshop. Plain backgrounds with consistent color or gradient produce clean results almost every time.
Test 2: Logo on Textured Fabric
Method: Clone Stamp Tool
At normal viewing distance it looked fine. At 200 percent zoom there was a visible repeating texture pattern after cloning from one area. Switching to three different source points across multiple passes cleared most of it. Total working time came to about 10 minutes. That is the Clone Stamp trade-off: it handles what other tools cannot, but it demands patience on textured backgrounds.
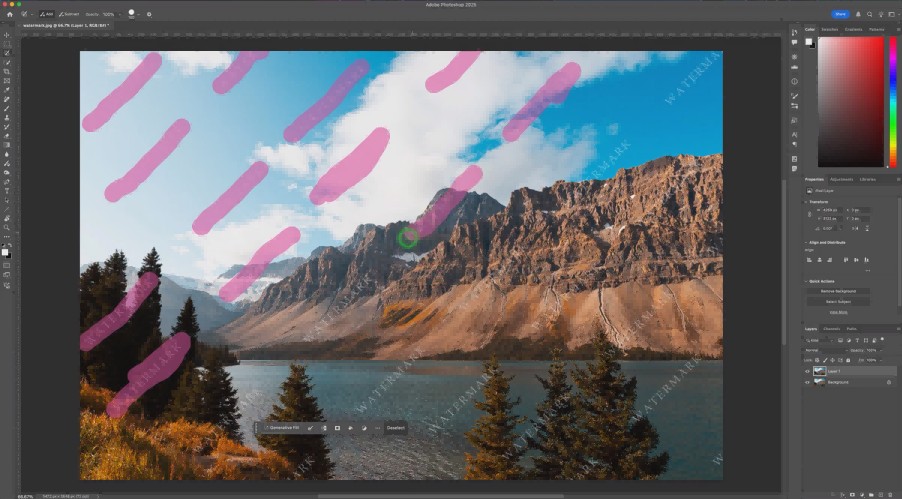
Test 3: Layered Watermark Over a Complex Scene
Method: Generative Fill, Photoshop 2024
The best-looking result of the three by a clear margin. Firefly reconstructed background elements that were not even partially visible in the original image. One of the three generated variants came out with a wrong color tone and went straight in the bin. The other two were both usable. Total time under two minutes including the generation wait. For removing watermarks from photos over complex backgrounds or faces, Generative Fill is faster and more convincing than any manual approach.
Common Mistakes That Leave Visible Artifacts
Almost every poor result comes from one of these. Check here before assuming the method itself is the problem.
-
Cloning from one source only: The texture repeats. It looks like a stamp. Sample from multiple points across the background every few strokes.
-
Skipping the layer duplicate: No Ctrl+J means no undo path. If you flatten and save, that edit is permanent. Always duplicate first.
-
Only checking at small zoom: Artifacts that would fail a print job are invisible at 25 or 50 percent zoom. Check at 100 percent before exporting anything.
-
Brush set too large: It samples from too wide an area and pulls in pixels from outside the watermark. The fill comes out with color or texture from somewhere else in the frame.
-
Content-Aware on dense pattern backgrounds: Chain-link fences, tight foliage, woven fabric weave, fine tile grids. The algorithm cannot reconstruct those accurately. Use Clone Stamp manually.
-
Treating the visible mark as the whole problem: Watermarks leave faint shadows and color tints even after the mark itself is gone. Select that residual area separately and treat it as a second removal pass.
Run through this list when a result looks off. Switching to a different method is often the second step. Fixing the approach is usually the first.
No Photoshop? Remove Watermarks Directly with Zawa
Photoshop is the strongest tool for this, but it costs $22.99 per month for a Creative Cloud subscription as of 2026. For a single image or a situation where Photoshop is not installed, that is a steep entry point.
There are times when you want to remove watermark in Photoshop but the subscription or the software is not available. Zawa AI Object Remover runs entirely in a browser. No install. For images with overlay watermarks or repeated text patterns, it produces results comparable to what Generative Fill handles in Photoshop, without the subscription requirement.
Step-by-Step: Using Zawa AI Object Remover
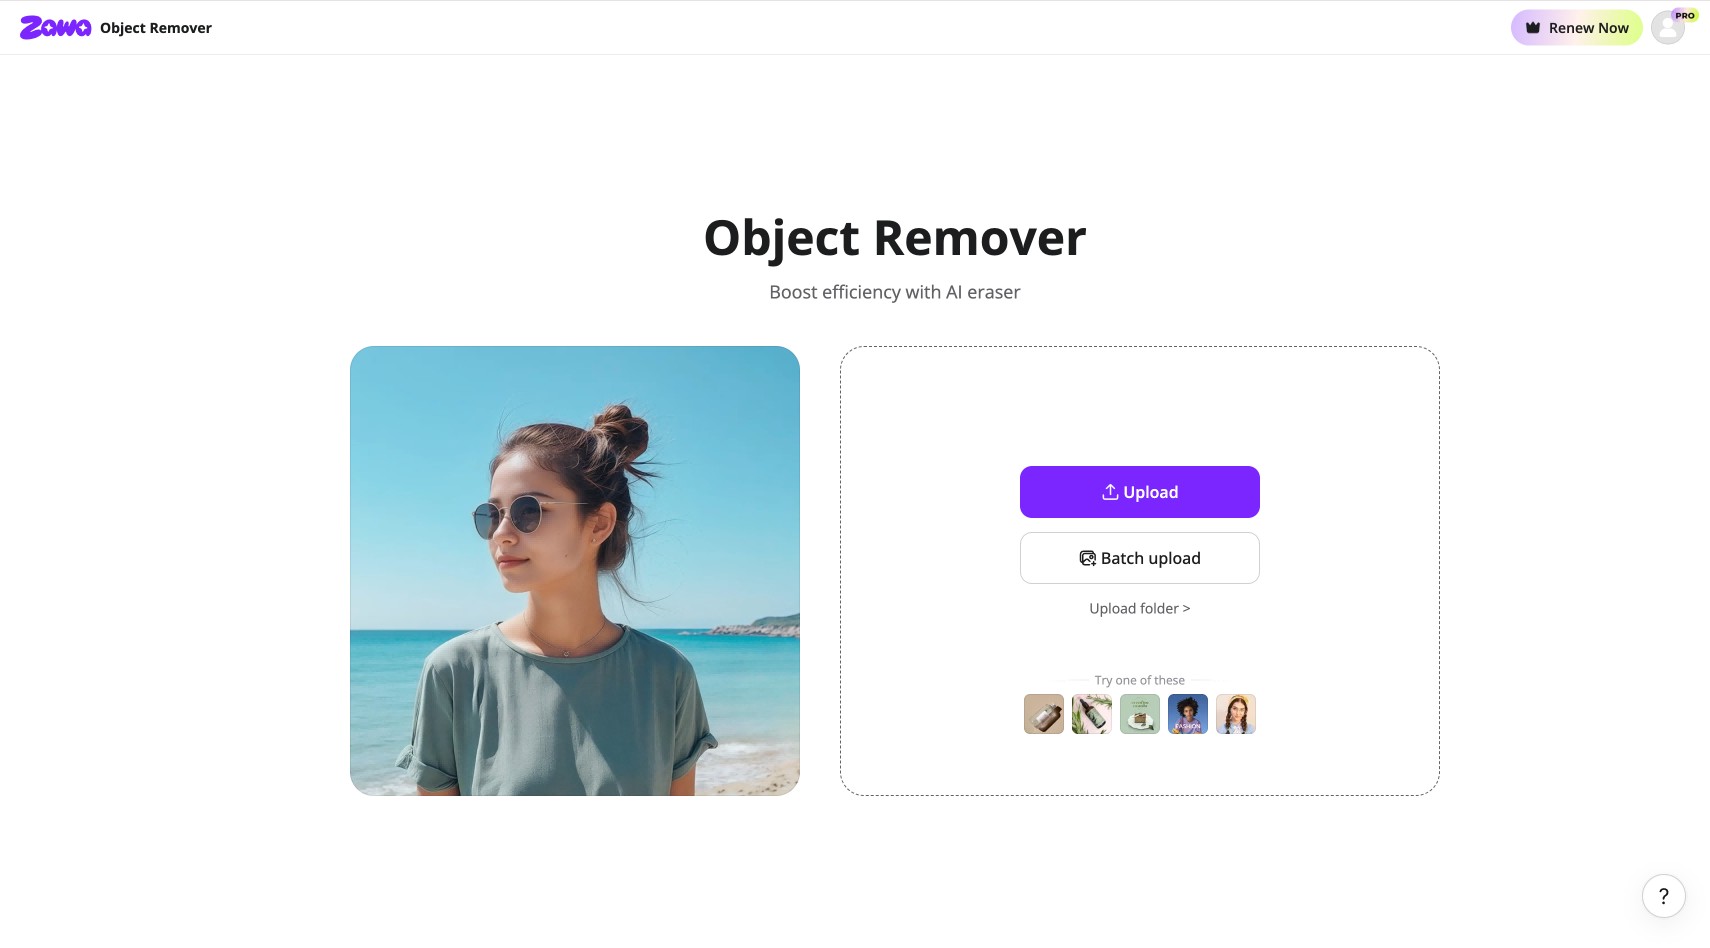
Step 1: Upload Your Image
Go to zawa.ai/object-remover/edit and click Upload. Use Batch upload if you have multiple files to process. Sample images are on the page if you want to run a test before uploading your own photo.
Step 2: Select Removal Mode
The left panel has two sections. Quick Start handles auto-detection: toggle on Overlay Watermark and Zawa finds and removes watermark regions without any manual selection. For a specific area you want to target precisely, use the Advanced section. Pick Brush, Box, or Draw, set the size, paint over the watermark, and click Apply Now.

Step 3: Download the Result
Click Download at the top right and choose JPG or PNG. The Advanced Editing panel that opens alongside the download button also gives direct access to Image Enhance, AI Background Removal, Image Upscale, and Photo Editor from the same page.

Conclusion
Knowing how to remove a watermark in Photoshop is not really about knowing one method. It is about reading the background behind the watermark and choosing accordingly. Spot Healing Brush for plain surfaces. Clone Stamp for texture. Content-Aware Fill panel when you need sampling control. Generative Fill or the Remove Tool when the scene is too complex for anything manual.
The right method to remove watermark in Photoshop also depends on your version. Generative Fill needs Photoshop 2024. The generative-upgraded Remove Tool needs Photoshop 2025. If you are on an older version, Methods 1 through 5 cover most situations well.
For removing watermarks from photos without Photoshop, Zawa handles the same job in a browser with no setup. Worth trying before paying for a subscription you will only need once.
FAQs
-
What is the easiest way to remove a watermark in Photoshop?
The Spot Healing Brush set to Content-Aware. Select it, paint over the watermark, and Photoshop fills automatically. Takes under a minute on plain or uniform backgrounds and requires no manual sampling setup.
-
Which Photoshop tool works best on complex or textured backgrounds?
Clone Stamp Tool. Alt-click a clean area to set the source, paint in short strokes, and change the source point every few strokes. Content-Aware Fill and Generative Fill both produce inconsistent results on fine-pattern backgrounds like fabric and foliage.
-
Can Photoshop remove watermarks from videos?
No. All seven methods above apply only to still images. For video, use Adobe After Effects or dedicated video watermark removal software.
-
How to remove watermark from photo without Photoshop?
Zawa AI Object Remover works in any browser without installation. Quick Start mode detects and removes overlay watermarks automatically. The Advanced brush gives manual control over specific areas. Works on any device.
-
Is removing a watermark in Photoshop legal?
Only if you own the image or have clear editing rights. Removing a watermark from licensed stock photos, branded content, or anything you do not own is a copyright violation. The tool being easy to use does not change the legal situation.
You May Be Interested

7 Best Background Remover Apps

Remove Fold of Scanned Image: Best AI Restoration Guide

How to Remove People From Pictures

[2026 Updated] Best Apps to Remove Person From Picture

How to Remove Gemini Watermark?

Hidden Tricks to Remove Getty Watermarks Using AI & Photoshop (2026 Guide)
