How to Remove Text From a Picture: Easy Methods for Any Device
Learn how to remove text from a picture using AI, Photoshop, Canva, or mobile tools. This guide explains how to restore simple and complex backgrounds, avoid blur, replace old wording, choose the right method, and protect image quality on any device.

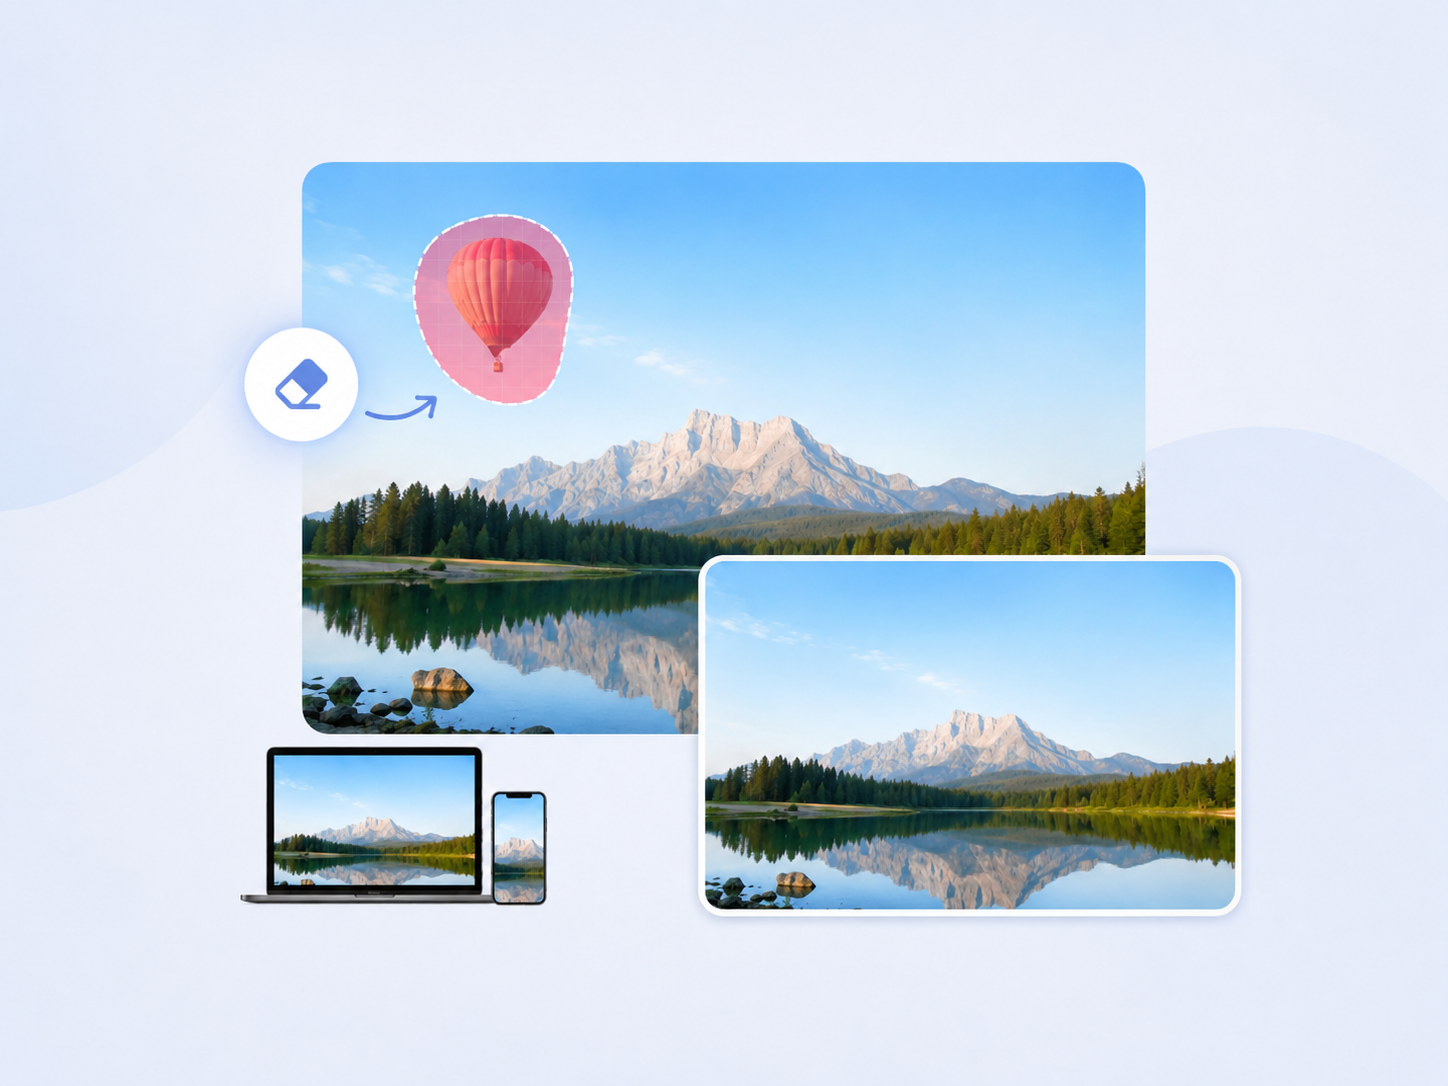
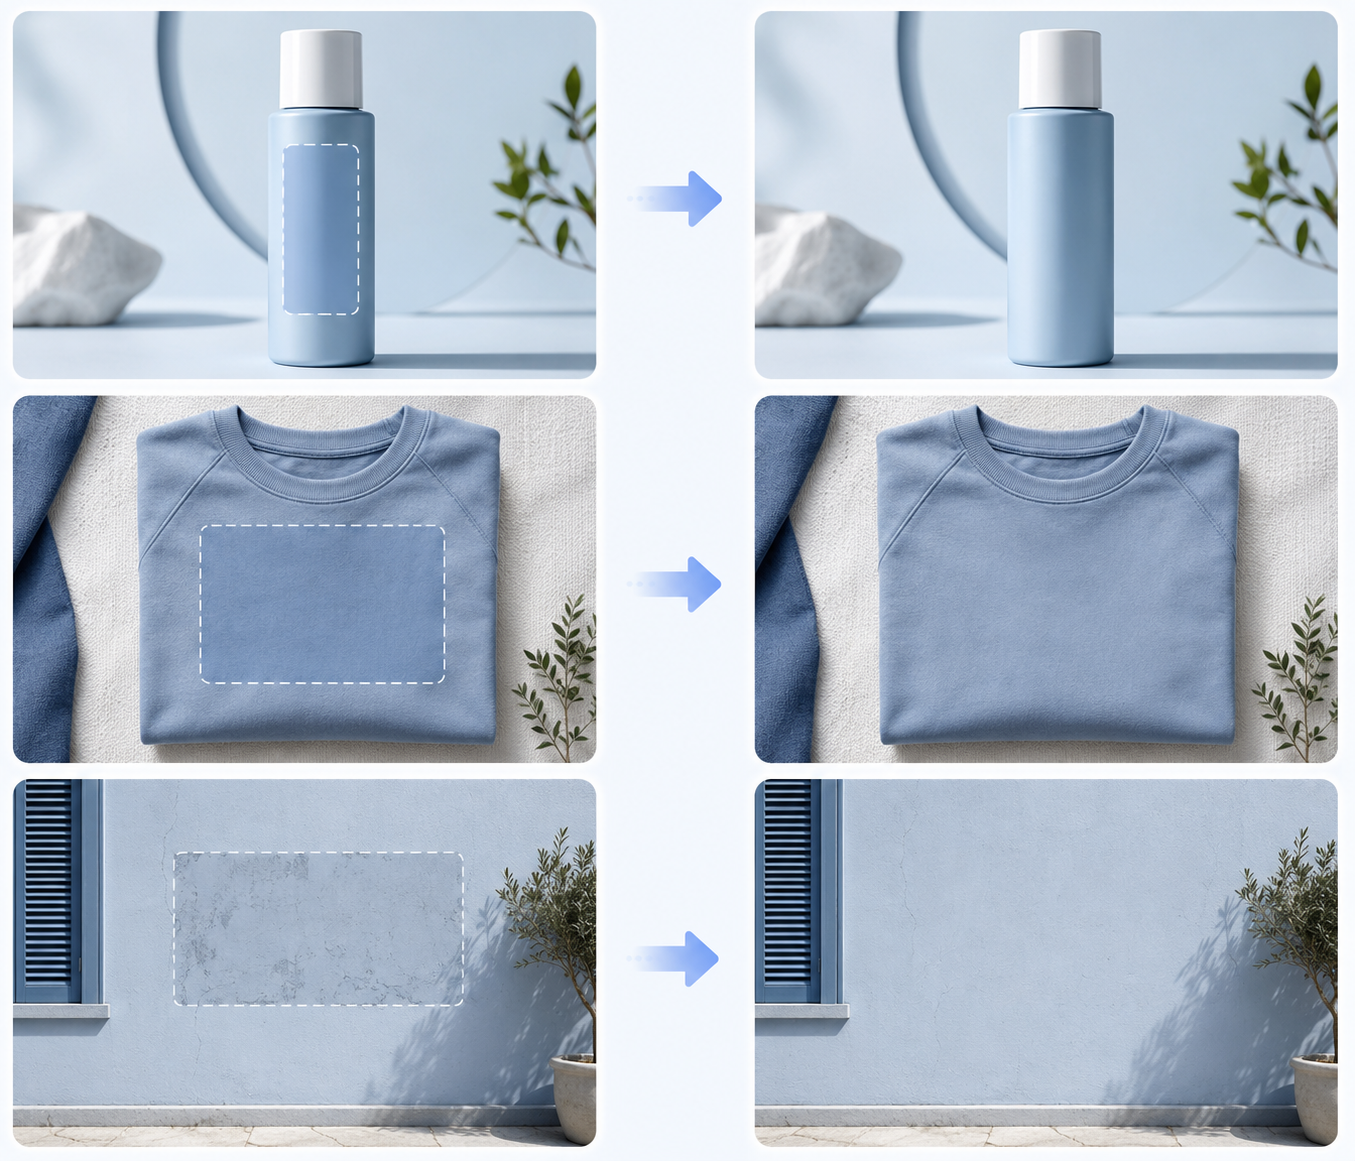
Text can be removed from a picture with an AI text remover, Photoshop, or a mobile photo editing tool. Simple backgrounds such as skies, walls, and blurred areas are usually easy to restore, while text placed over faces, products, fabric, or detailed patterns requires more careful repair.
The best approach depends on whether the text is still editable and what lies behind it. A small date stamp in the corner of a vacation photo may take seconds to erase, while lettering across a product label or patterned shirt may need a more controlled desktop workflow
How to Remove Text From a Picture
Start with the simplest method that can restore the background to the quality you need.
Method 1: Delete Editable Text From the Original File
When the original design file is available, remove the text layer instead of repairing a flattened image. Open the file in Canva, Photoshop, Figma, PowerPoint, or the program used to create it, then delete, hide, or update the text box. This preserves the untouched background and works best for posters, menus, presentations, ads, and social media graphics.
Method 2: Remove Text From a Picture With AI
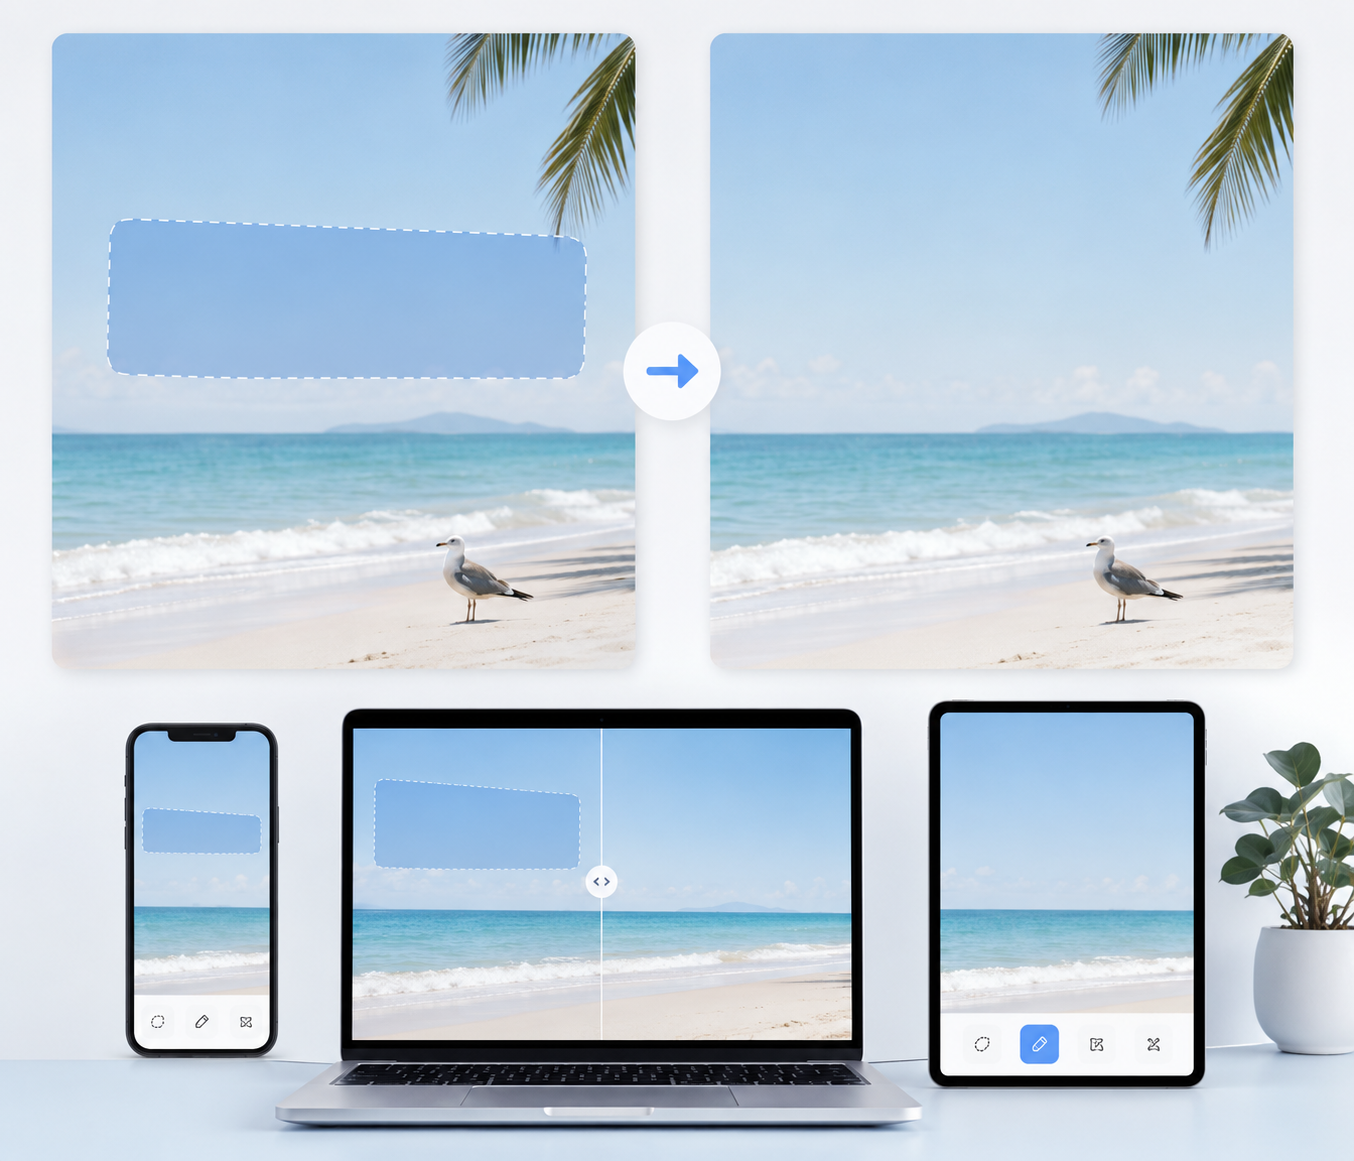
For a faster approach, Zawa can remove text without manual cloning or background rebuilding. Upload the picture, select or describe the unwanted words, and let the AI study nearby colors, textures, edges, and objects before filling the covered area. This approach works well for captions, dates, prices, labels, and text embedded in JPG, PNG, or screenshot images.
Step 1: Upload Your Picture
Choose the highest-quality copy available rather than an image repeatedly saved from a messaging app or social platform. A clearer source contains more edge and texture information, helping the AI produce a cleaner reconstruction around letters and nearby objects.
Step 2: Mark or Describe the Text
Cover the complete lettering, including shadows, outlines, underlines, and glow effects. Keep the selection close to the text so that faces, product edges, and important background details are not removed unnecessarily.
Step 3: Generate the Missing Background
The AI predicts what should appear beneath the selected area by examining the surrounding scene. A date over a blue sky may become a smooth gradient, while a label on a wooden table may be replaced with matching grain, lighting, and shadows.
Step 4: Review and Download the Result
Inspect the repaired area at full size before saving. Look for repeated textures, broken lines, blurred patches, or distorted details, then refine the selection and generate the area again if necessary. Save the finished image as a high-quality JPG or PNG.
Method 3: Remove Text in Photoshop
Photoshop provides more control when text overlaps an important edge, detailed texture, or recognizable object. Small lettering on a flat wall may need only an automatic fill, while semi-transparent text across fabric may require the layered techniques used when removing a watermark in Photoshop.
Use Generative Fill for Complex Scenes
Generative Fill is useful when the missing area contains clothing, foliage, furniture, reflections, or architecture. Select the text, expand the selection slightly, and generate several variations. Comparing the options makes it easier to choose a repair that follows the original shapes and lighting.
Use Content-Aware Fill for Simple Backgrounds
Content-Aware Fill works best on predictable areas such as painted walls, skies, sand, calm water, and softly blurred backgrounds. Photoshop samples nearby pixels and blends them into the selection, although strong lines and repeating patterns may need to be repaired in smaller sections.
Use Clone Stamp or Healing Tools for Precise Repairs
Clone Stamp and Healing tools are helpful when automatic fills distort a texture or edge. Clone Stamp copies pixels from a selected source, while Healing blends texture with the color and brightness of the repaired area. They are particularly useful for brick lines, fabric patterns, wood grain, and small facial details.
Method 4: Remove or Edit Text in Canva
Canva is convenient when the picture already belongs to a social post, flyer, presentation, or marketing design. Editable text can be changed directly, while flattened wording may be removed with an eraser tool or hidden with a shape that matches the background. It is quick for basic graphics but offers less control over detailed photo reconstruction.
Method 5: Remove Text With GIMP or Photopea
GIMP and Photopea provide accessible alternatives for users who do not have Photoshop. Both include selections, layers, masks, cloning, and healing tools, making them suitable for cleaning screenshots, updating banners, and repairing small text areas. Complex backgrounds may take longer because more of the reconstruction must be completed manually.
Method 6: Remove Text on iPhone or Android
Mobile tools are suitable for small edits that do not require pixel-level precision. The tools used to remove an object from a photo on an iPhone can also handle a short caption, timestamp, or label on a simple background. Android users can usually find a similar object eraser in the gallery app, Google Photos, or another photo editor.
Alternatives to Removing Text From a Picture
When rebuilding the hidden background is unnecessary, cropping, covering, or replacing the text may produce a faster and more practical result.
Crop or Cover the Unwanted Text
Text close to the edge of a photo may disappear with a small crop, provided the new framing does not cut off the main subject. For a social post or temporary graphic, a sticker, logo, color block, or new caption can also cover the wording. This method is useful when the concealed area does not need to look untouched.
Remove the Old Text and Replace It
Replacing outdated wording involves clearing enough of the original area to create a clean base and then adding new text. An AI photo editor can remove the existing words and place new content within the same workflow. Match the font, spacing, alignment, color, shadow, and perspective so the replacement belongs naturally in the design.
A restaurant, for example, could update an old menu price, while an event organizer might replace last year’s date without recreating the entire poster.
Which Text Removal Method Should You Use?
The most suitable option depends on the background complexity, available device, editing time, and final use of the picture.

Use AI for Fast and Automatic Text Removal
AI is usually the best starting point for captions, dates, sale labels, screenshots, and other common overlays. A dedicated AI text remover combines text selection, background generation, and blending in one workflow, making it useful for users without advanced editing experience. Plain or lightly textured backgrounds may be repaired in a single attempt.
Use Photoshop for Complex Background Repair
Photoshop is the stronger choice when lettering crosses a face, reflective product, patterned surface, or important structural line. Its automatic and manual tools can be combined within layers and masks, providing greater control over exactly which areas change. This precision is valuable for e-commerce images, print materials, and professional client work.
Use Mobile Tools for Small, Simple Edits
A mobile editor is practical for removing a corner timestamp or short caption while away from a computer. Android users may already have access to google photos magic eraser, while iPhone users can check their built-in photo editing options or use a browser-based alternative. Larger text blocks are harder to select accurately on a small screen.
Choose Based on the Final Output
The finished image determines how carefully the repaired area needs to be inspected. A temporary Instagram Story may tolerate a minor texture mismatch, whereas a product listing, printed brochure, or large banner requires sharper edges and consistent detail. Use the simplest method that still meets the quality expected at the final display size.
Is It Legal to Remove Text or Watermarks From a Picture?
Before editing visible text, consider who owns the image and why the wording was added.
Removing your own date, caption, draft price, or design element is generally different from erasing an ownership mark. Copyright watermarks, photographer credits, signatures, licensing notices, and brand identifiers should not be removed to present another person’s work as original or use it commercially without permission. When the image belongs to someone else, obtain authorization or use a properly licensed version.
Conclusion
The cleanest result usually comes from matching the editing method to the background rather than choosing the most advanced tool available.
Editable source files are the easiest to update, while AI provides a fast option for flattened images with straightforward backgrounds. Photoshop offers more control for difficult repairs, and mobile tools are useful for minor everyday edits. Whatever method you choose, inspect the restored area at full size before saving.
FAQ
These answers address common concerns about image quality, file formats, and replacing text after removal.
Can AI Remove Text From Any Picture?
AI can attempt to remove text from most photos, screenshots, and graphics, but the result depends on what the letters cover. Plain surfaces are easier to rebuild than faces, hands, detailed products, and repeating patterns. Difficult areas may require a tighter selection, another generation, or manual repair.
How Do I Remove Text Without Blurring the Background?
Keep the selection close to the letters and work from the highest-resolution source available. Large text areas are often easier to repair in several smaller sections. When the result looks soft, undo the edit and regenerate only the uneven part with a narrower selection.
How Do I Remove Text From a JPEG Image?
Open the JPEG in an AI remover, desktop editor, or mobile cleanup tool, then select the unwanted wording and apply the repair. Use the least-compressed copy available because JPEG blocks and halos around letters can make the reconstructed area less even. Save the edited picture as a separate file.
Can I Remove Text and Add New Text in the Same Place?
Yes. Clear the original wording first, repair the background, and add the replacement on a separate layer. Matching the original font, spacing, alignment, color, shadow, and perspective will help the new text look like part of the original image.
You May Be Interested

140+ Facebook Bio Ideas: Short, Professional, Unique, and More

1080p vs 4K: Key Differences, Real-World Results (2026)

15 Top AI Art Generators to Create the Best Masterpieces
215+ Thoughtful Father’s Day Ideas for Dad

35 AI Image Prompt Examples: How to Get Outstanding AI Images