How to Take Instagram Photos
Learn how to take Instagram photos that look natural, sharp, and ready to post. Explore simple tips for lighting, composition, focus, posing, and camera settings, plus the best sizes and export steps for preserving quality on Instagram after upload.

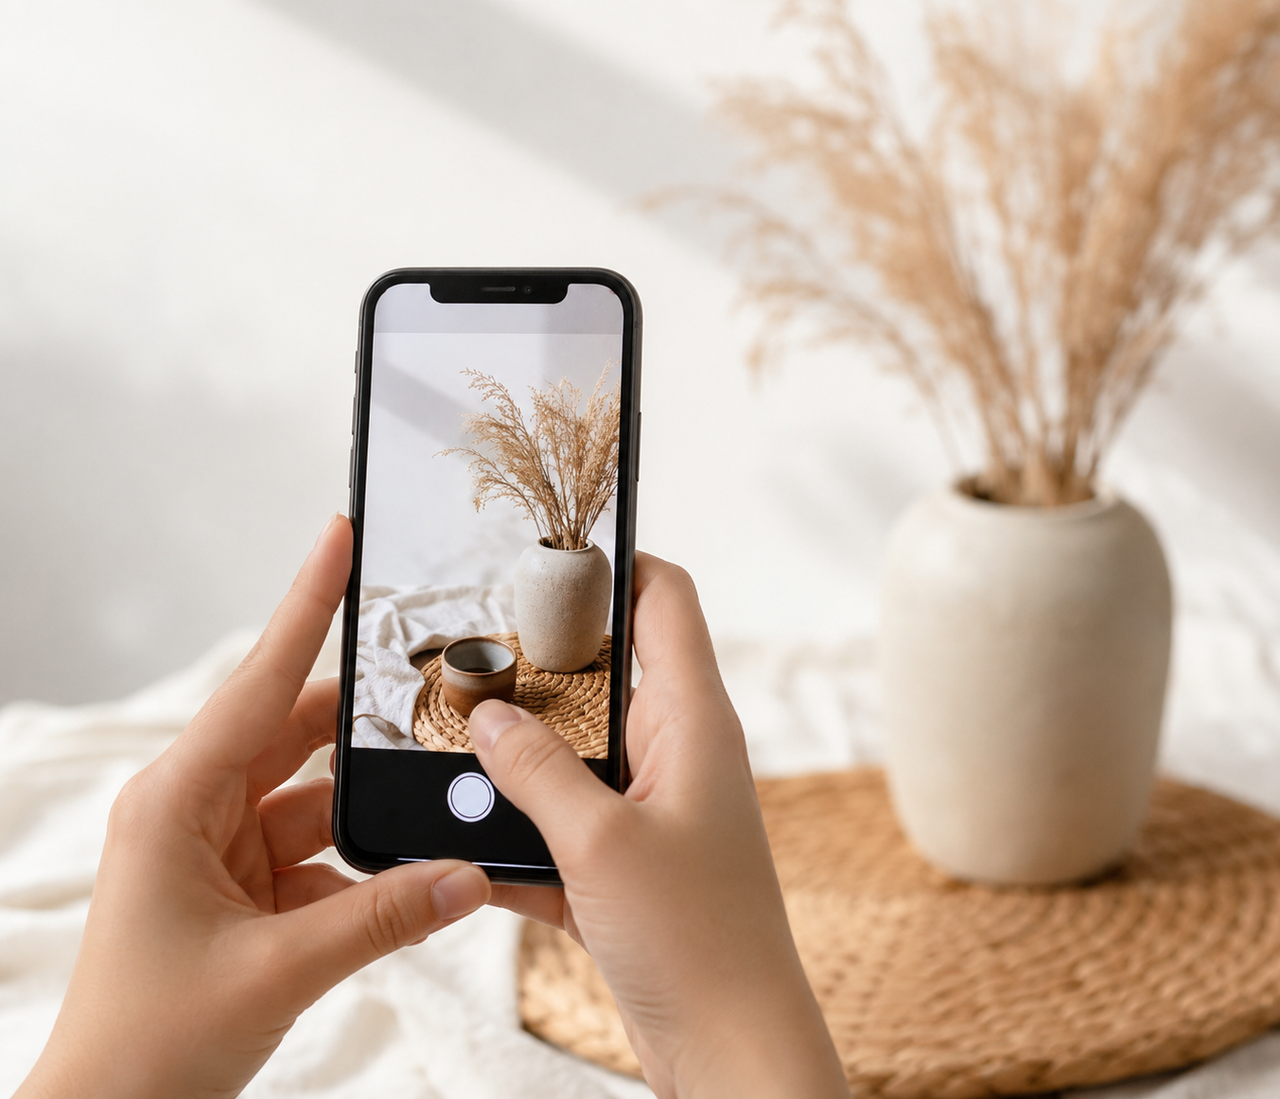
A memorable Instagram photo does not depend on expensive equipment. Light, timing, composition, and a clean original image usually matter more than the phone model in your hand. When those elements work together, even an ordinary coffee shop, outfit, or neighborhood street can become visually engaging.
The process begins before the shutter is pressed and continues through cropping, exporting, and uploading. This guide explains how to take Instagram photos that look natural, stay sharp, and fit the platform without turning every shot into a technical production.
What to Prepare Before Taking Instagram Photos
A few quick checks can prevent problems that editing may not fully correct later. Preparing the lens, camera guides, shooting mode, and quality settings gives you a cleaner starting point without slowing down the actual photo session.
Clean the Camera Lens
Because a phone is handled throughout the day, its camera lens quickly picks up fingerprints, dust, and skin oils. The result may look like poor focus, especially when lights develop a hazy glow or the entire frame loses contrast. A gentle wipe with a clean microfiber cloth takes only a few seconds and often produces a more noticeable improvement than sharpening the photo afterward.
Turn On the Grid and Level
Straight horizons and deliberate subject placement are easier to judge when the grid and level are visible on the camera screen. These guides are especially helpful for flat lays, architecture, beach scenes, and room interiors, where a slight tilt becomes obvious. They will not appear in the saved photo, so there is no need to turn them off before shooting.
Select the Right Lens and Camera Mode
Not every phone lens delivers the same image quality or perspective. The main rear camera is usually the most dependable choice, while an ultrawide lens can emphasize a large interior and a telephoto lens can produce a more flattering portrait from farther away. Standard Photo mode suits most situations; Portrait and Night modes are better reserved for scenes that genuinely benefit from their specific effects.
Use the Highest Available Image Quality
A large, detailed source file leaves more room for straightening and cropping without making the finished image noticeably soft. High-resolution modes can be useful for products, landscapes, or photos containing small details, although they also require more storage. It also provides a stronger starting point if you later use ZaWa to edit or repurpose the image for social content. Whether the phone records JPEG or HEIF, keep the original until the Instagram-ready version has been exported.
8 Tips for Taking Good Instagram Photos
Good Instagram photography is built around a handful of repeatable decisions rather than a single visual formula. The following techniques address different parts of the shot—from controlling light to capturing expressions—so each one has a distinct role.
1. Look for Soft Natural Light
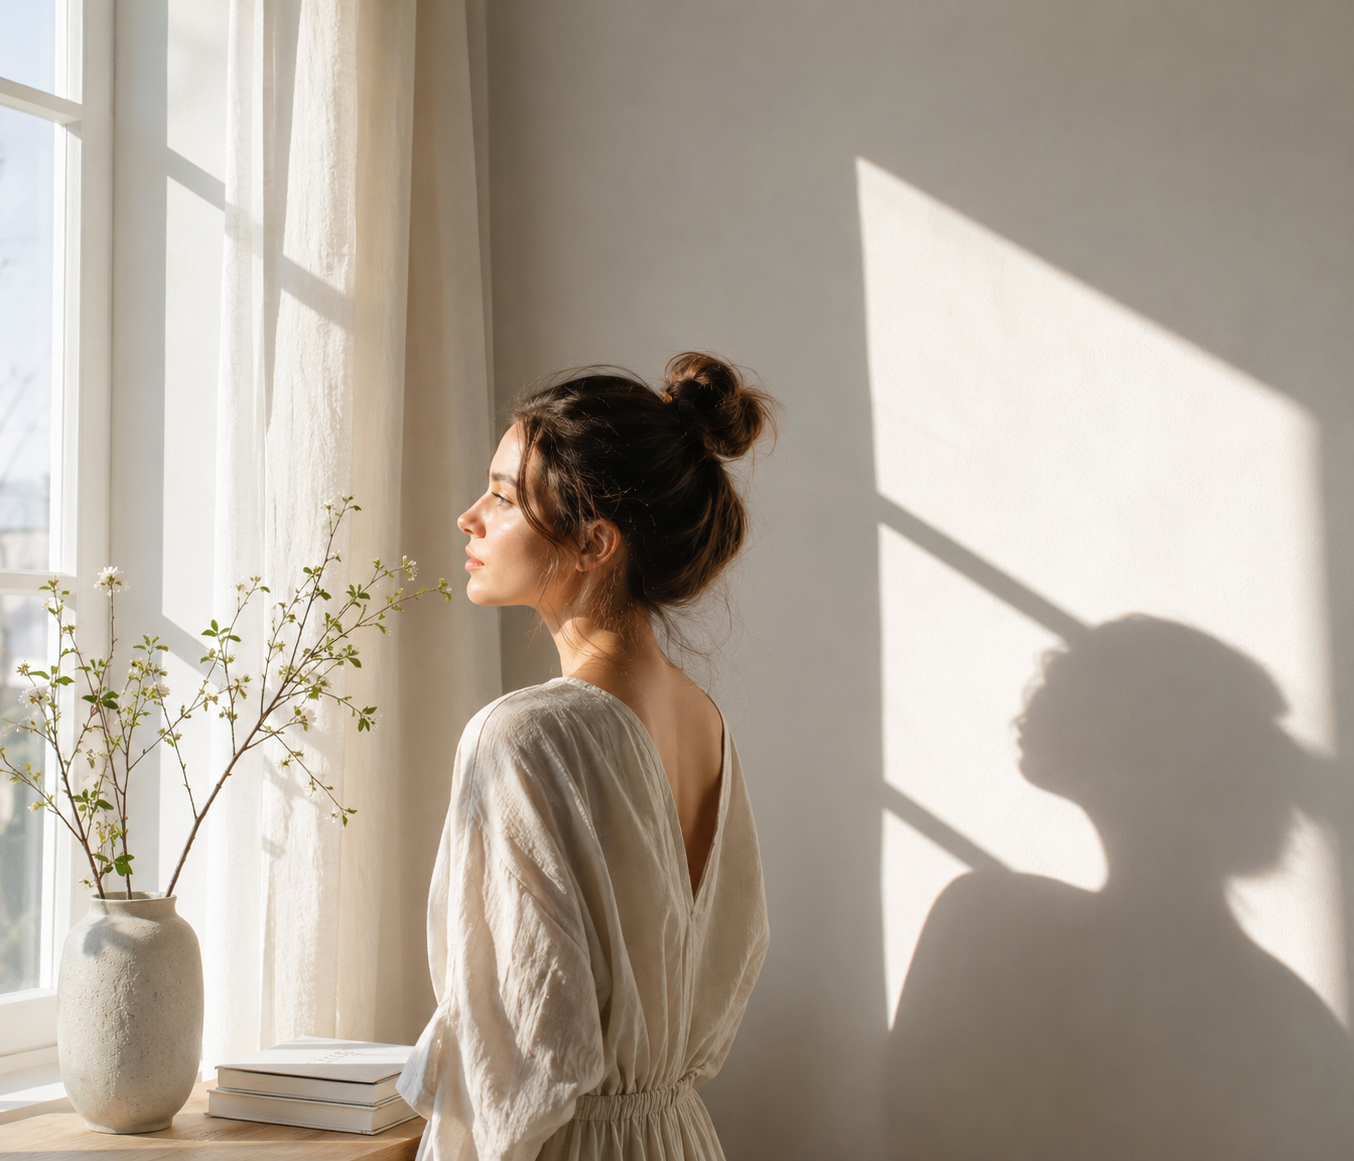
Soft daylight creates smooth transitions between highlights and shadows, which makes skin, food, and products easier to photograph. Indoors, a subject placed beside a window often looks better than one standing directly beneath a ceiling light. Outside, open shade next to a building can prevent squinting and harsh facial shadows when the midday sun is too strong.
2. Set the Focus and Exposure Manually
Bright windows, white walls, and dark backgrounds can cause automatic exposure to change unexpectedly. Tapping the main subject sets the focus where it matters, while the exposure control lets you protect important highlights from turning completely white. If a person is standing beside a sunny window, lowering the brightness slightly may preserve the outdoor view without leaving the face impossible to recover.
3. Apply the Rule of Thirds
An off-center subject often gives the surrounding space a clearer purpose. A traveler positioned on the right third of the frame, for instance, can look naturally toward a mountain view extending across the left side. Symmetrical buildings and close-up faces may still work better in the center, so the rule of thirds should guide composition rather than dictate it.
4. Use Leading Lines and Natural Frames
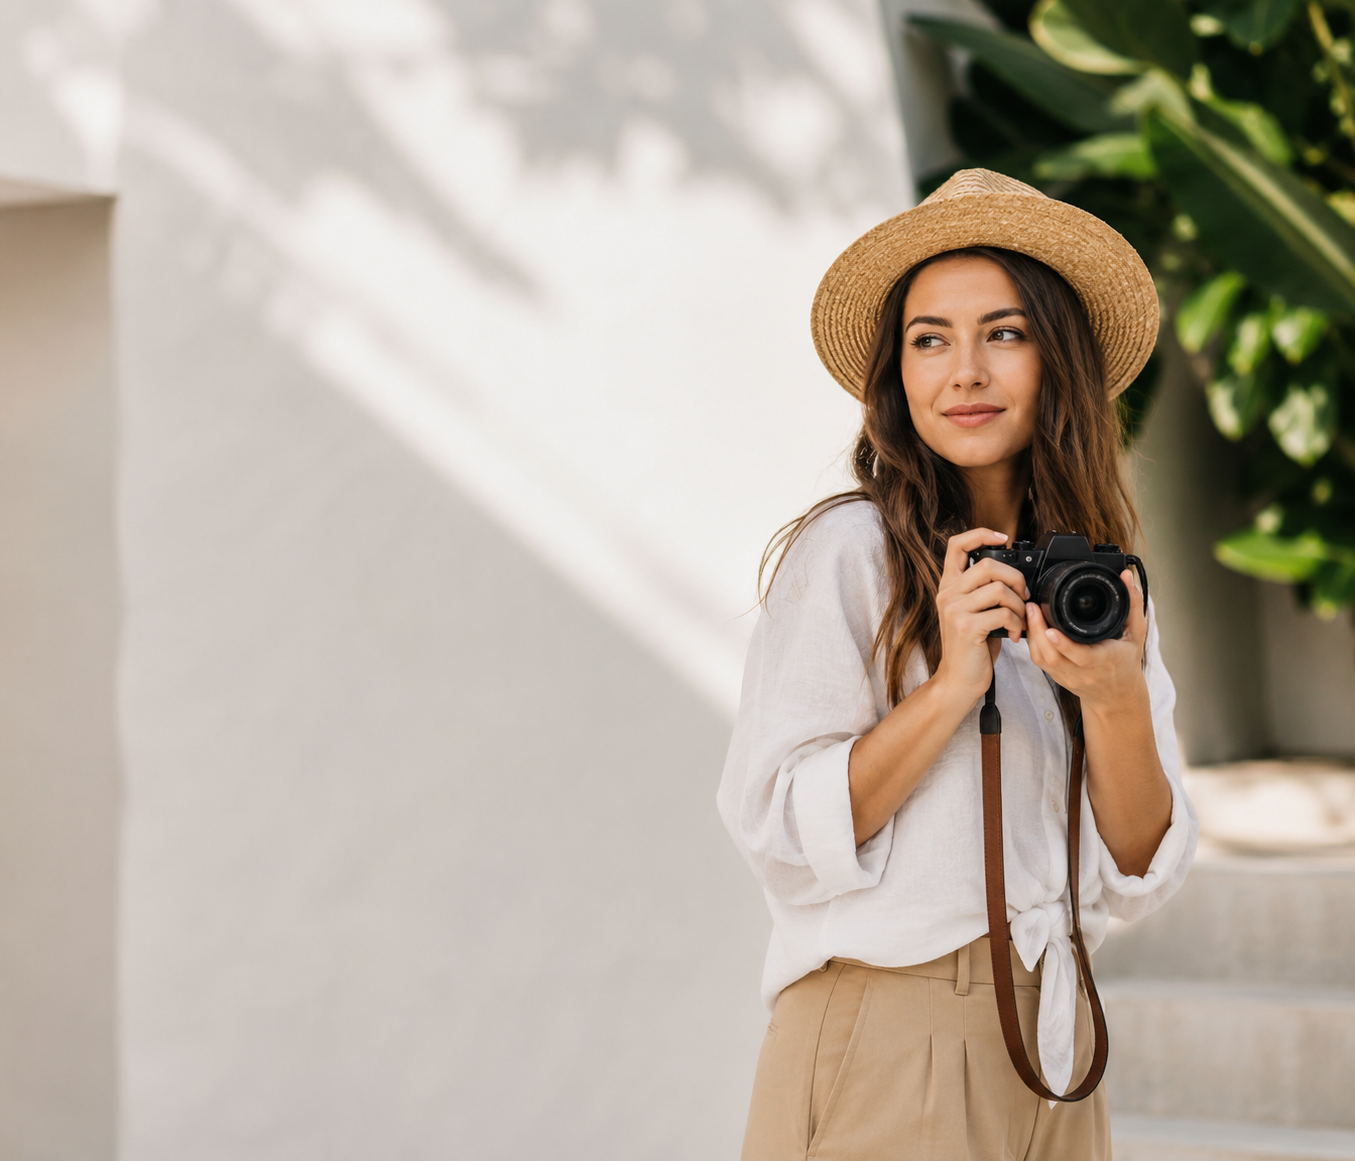
Roads, railings, shadows, and rows of lights can direct attention through the image. Doorways, windows, and tree branches serve a different function by creating a visual boundary around the subject. Before taking the shot, follow these elements with your eyes; if they lead toward an empty edge instead of the focal point, a small change in angle may strengthen the composition.
5. Create Depth With Foreground and Background
A photograph can feel flat when every object sits on the same visual plane. Placing a soft foreground element near the lens—such as leaves beside a coffee cup—adds another layer without competing with the subject. Extra distance between the subject and background may also produce gentler separation, particularly in portraits and close-up product shots.
6. Change Your Position Instead of Using Digital Zoom
Digital zoom enlarges a portion of the existing frame rather than recording more detail. Walking closer, when practical, usually creates a sharper result, while an optical telephoto lens offers a better option when physical distance must be maintained. Perspective may improve at the same time: crouching can make a building feel taller, and stepping sideways may remove a distracting sign from the background.
7. Keep Colors and Backgrounds Simple
When too many bright colors compete within one frame, the main subject can become difficult to identify. A limited palette gives the image a clearer visual direction—a red jacket against gray concrete will usually stand out more than the same jacket in a crowded store. Checking the edges for cables, trash cans, signs, or unrelated people also prevents minor distractions from weakening the final shot.
8. Take Multiple Shots With Burst Mode
Expressions and movement rarely peak at the exact moment expected. Burst mode records a short sequence, increasing the chance of catching a natural smile, a dog looking toward the camera, or fabric falling into a clean shape. During review, pay attention to posture, gestures, and facial expression rather than automatically selecting the technically sharpest frame.
Better Instagram Photos for Different Subjects
Each subject brings its own visual priorities. Portraits depend on believable expressions, products require accurate detail, and movement rewards anticipation. Adjusting the setup to the subject produces stronger results than applying the same angle and lighting style to every Instagram photo.
Natural Portraits and Instagram Selfies
Relaxed movement often creates a more believable portrait than a rigid pose. Asking someone to walk slowly, adjust a sleeve, or glance toward a window gives the face and hands something natural to do. For selfies, broad light from the front or side is usually flattering, while a little distance between the phone and face reduces the distortion associated with a very close wide-angle camera.
Taking Instagram Photos of Yourself
A small tripod and camera timer provide more freedom than holding the phone at arm’s length. Leave room around your body for cropping, then place an object where you intend to stand so focus and framing can be checked in advance. A Bluetooth remote speeds up repeated attempts, although keeping it inside a pocket or behind one hand makes the finished pose feel less staged.
Product Photos With a Clean Background
Accurate color, visible surface detail, and clean edges are essential when learning how to take good product photos. Indirect window light paired with a white foam board can brighten the shadow side without producing the flat appearance of direct flash. Physical preparation matters too: cleaning fingerprints, straightening labels, and aligning packaging edges before the shoot can save considerable editing time.
Food Photos and Flat Lay Composition
The structure of the dish should influence the camera angle. Burgers, layered cakes, and tall drinks reveal more from a lower viewpoint, whereas pizza and carefully arranged ingredients often suit an overhead composition. Keep supporting objects limited, and photograph the food while it still looks fresh—melted ice, drying sauces, and wilted herbs become difficult to disguise.
Travel and Landscape Photography
A landmark does not need to dominate every travel photo. Streets, people, signs, and foreground details can establish scale while showing what the place actually felt like. Many effective landscape photography tips center on light, depth, and timing: side lighting reveals texture in buildings and terrain, while clouds, rain, or mist may create more character than a perfectly clear sky.
Moving Subjects and Candid Moments
Successful action photos begin with anticipating where the subject will be next. Leave space in front of a runner, child, or cyclist, follow the movement smoothly, and start the burst just before the key moment. Brighter surroundings help a phone freeze motion, so an indoor scene that repeatedly looks blurred may improve near a window or outside.
Instagram Photos in Low Light
Stability becomes more important as available light decreases. Resting the phone against a table, wall, or compact tripod allows Night mode to gather detail without as much camera shake, provided the subject remains fairly still. For friends in a dim restaurant, light from a nearby lamp generally creates a more natural atmosphere than direct flash, which can brighten faces while leaving the room almost black.
Best Instagram Photo Sizes and Export Settings
Once the photo is edited, export choices determine how much control remains during upload. The goal is not to create the largest possible file, but to deliver a correctly shaped image with dependable color and enough detail for Instagram’s processing.
Portrait, Square, and Landscape Photo Dimensions
Instagram currently accepts feed photos with aspect ratios from 1.91:1 to 3:4 and recommends a width of at least 1080 pixels. Practical exports include 1080 × 1440 pixels for a 3:4 portrait, 1080 × 1080 for a square, and 1080 × 566 for a 1.91:1 landscape image. A file outside the supported range may be cropped to fit.
The Best Aspect Ratio for Instagram Posts
No single ratio suits every photograph. A 3:4 portrait occupies more vertical screen space and works well for people, outfits, food, and tall products; square framing feels balanced when the scene is already compact. Wide landscape formats remain useful when horizontal context—such as a skyline, group portrait, or room interior—is essential to the image.
Consistent Sizing for Instagram Carousels
A carousel feels connected when every slide uses the same aspect ratio, margins, and visual hierarchy. For launches or product showcases, ZaWa’s AI social media post generator can turn uploaded product photos into branded carousel designs while producing suitable layouts, copy, and hashtags. Before exporting, review the sequence as a complete story and correct any inconsistent crops, awkward text placement, or sudden changes in scale.
JPEG Quality and sRGB Color Settings
JPEG remains a practical choice for most Instagram photos because it balances image quality with a manageable file size. Exporting in sRGB usually gives colors a more predictable appearance across phones, browsers, and editing apps, while a quality range around 80–90% can limit visible compression without creating an unnecessarily heavy file. Gradients, hair, small text, and dark shadows deserve a final check because artifacts tend to appear there first.
Uploading Instagram Photos at the Highest Quality
Within Instagram’s settings, the relevant option is found under Media quality as Upload at highest quality. A stable connection and the latest version of the app can make the upload process more reliable, but the source file still matters: post the final export rather than a screenshot or a copy downloaded from a messaging app. Instagram will process the image, yet providing a clean original reduces avoidable quality loss.
Why Instagram Photos Sometimes Look Blurry
A blurry Instagram post does not always begin with poor focus. Detail can disappear during capture, cropping, file sharing, or platform resizing. Tracing the problem back to the correct stage is more effective than adding heavy sharpening to an already damaged image.
The Original Image Is Too Small
Cropping a small file leaves very little visual information for the final post. This commonly occurs with web thumbnails, partially downloaded cloud previews, or distant subjects occupying only a tiny section of the original frame. Returning to the full-resolution camera file gives the edit a stronger foundation; enlarging a thumbnail cannot accurately recreate every missing texture.
Digital Zoom Reduced the Detail
Heavy digital zoom may look acceptable on the phone’s small camera preview but appear soft once the image fills more of the Instagram feed. Hair, fabric, foliage, and small lettering are often the first details to disappear. If the wider version from the main lens looks cleaner, the better solution is a closer shooting position or a more conservative crop.
The Photo Was Compressed Repeatedly
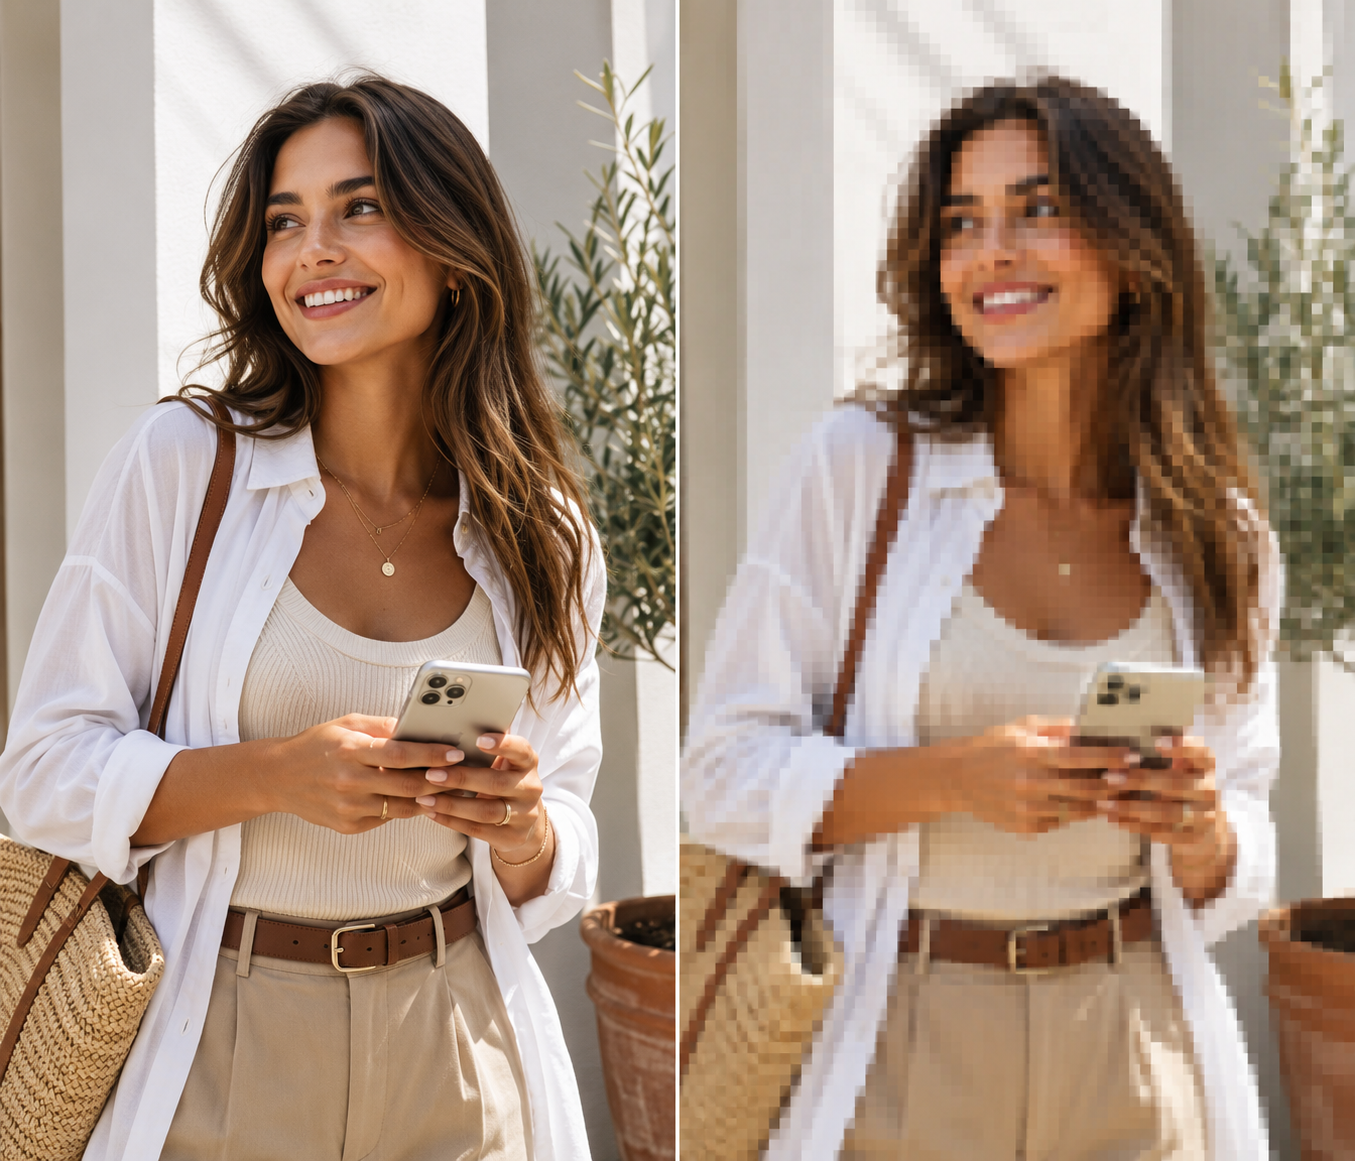
Every platform transfer may create another compressed copy. A picture that has been sent through a chat app, downloaded, edited, posted elsewhere, and saved again can develop blocky edges and smeared textures. Maintaining one high-quality master avoids this chain of deterioration and makes it possible to create a fresh Instagram export whenever needed.
Instagram Resized the Image
An unusually large file is not guaranteed to look sharper after posting. Instagram processes images to fit its supported dimensions and ratios, which may alter the size or framing when the source is not prepared for the feed. Exporting at 1080 pixels wide within the accepted ratio range lets you decide the crop before the platform handles the file.
Low-Light Noise Became More Visible
In a dark scene, the phone may increase sensor sensitivity to produce a usable exposure. Grain then becomes more noticeable, while built-in noise reduction can smooth eyelashes, hair, and fabric. Understanding how to fix grainy photos helps you balance noise reduction with detail preservation, although steadier capture and better ambient light will usually produce a cleaner result from the start.
FAQs
Do I Need to Shoot Instagram Photos in RAW?
No. RAW is helpful when a photo needs extensive highlight recovery, white-balance correction, or detailed color work, but it is unnecessary for most everyday Instagram posts. Since RAW files require processing and occupy more storage, a correctly exposed HEIF or JPEG will usually provide enough quality.
What Is the Best Time of Day for Instagram Photos?
The ideal time depends on the location and desired mood. Early morning and late afternoon often produce warm, angled sunlight, while an overcast sky can provide soft illumination for much of the day. Indoor timing follows a different pattern, so observe when the chosen window receives bright indirect light rather than assuming golden hour will always be best.
Why Do My Photos Look Different After Uploading?
Instagram processing, color-profile conversion, and HDR display behavior can all change how an image appears. Compare the exported file with the Instagram preview on the same phone and at the same screen brightness to eliminate display differences. If colors or brightness still shift, try a separate SDR JPEG exported in sRGB instead of judging the result from a screenshot.
Conclusion
Learning how to take Instagram photos is mainly about making deliberate choices before the shutter is pressed. A clean lens and strong source image establish the technical foundation, while light, perspective, composition, and timing determine how the photograph feels.
The subject should guide the setup rather than being forced into one repeated style. Once the edit is complete, an appropriate aspect ratio, sRGB export, and high-quality upload help preserve the work already done. With a consistent process, individual posts become stronger and the Instagram feed develops a more recognizable visual identity.
You May Be Interested

100+ Father’s Day Jokes That Dad Will Actually Laugh At

100 Short Success Quotes to Inspire Your Creative Journey
133 Independence Day Captions for Social Media

150+ Instagram Bio Ideas to Catch Eyes at a Glance in 2026

2D logo vs 3D logo: Which One is More Impactful for Branding