
Photo Editing vs Retouching Explained: Key Differences
Photo editing vs retouching explained through simple examples of overall corrections and detailed cleanup. Learn what each process includes, how they work together, and when portraits, product shots, or event photos need editing, retouching, or both.

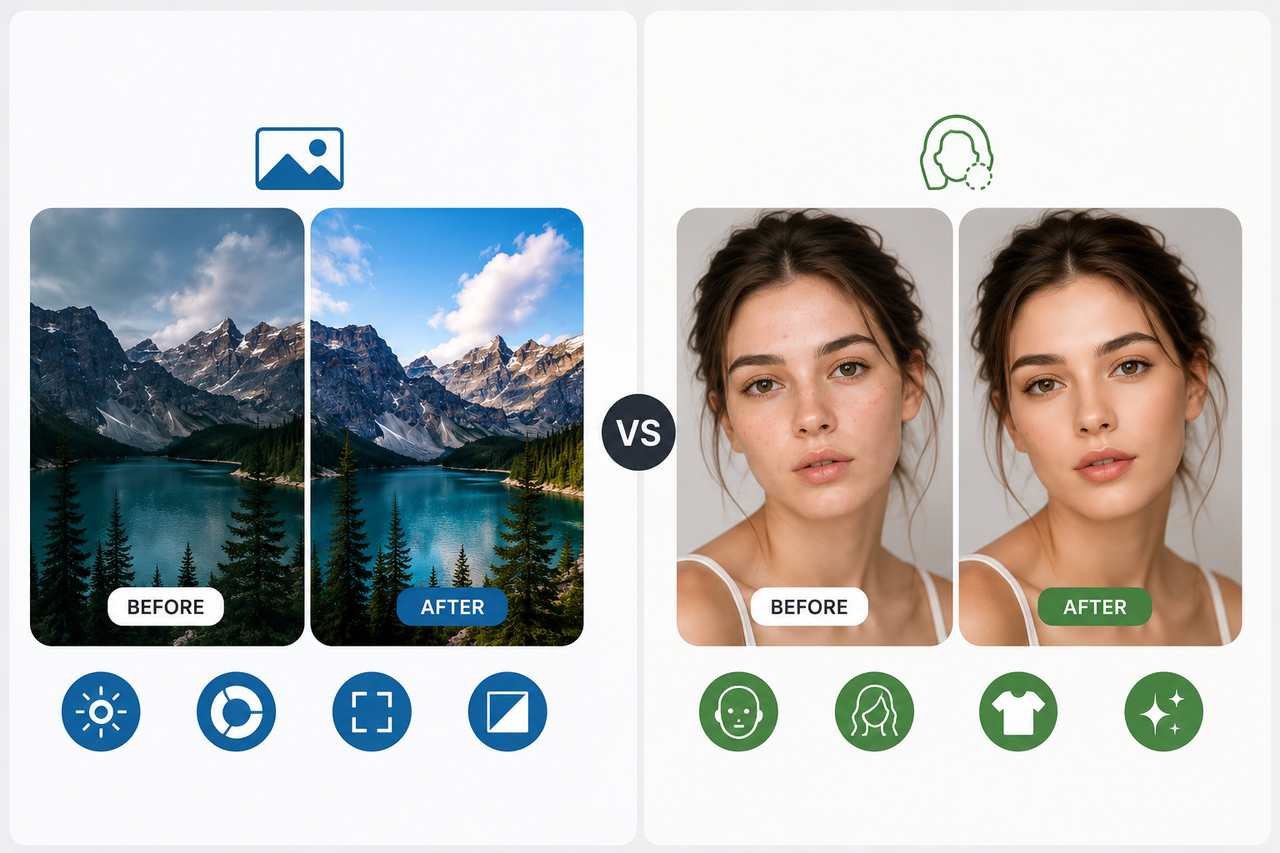
Look at two finished photos side by side, and both may appear professionally polished even though they required very different work. One might only need better exposure, balanced color, and a tighter crop. The other may involve removing blemishes, controlling flyaway hairs, smoothing clothing, or cleaning reflections from a product surface. These processes are commonly described as photo editing and photo retouching.
While the terms are often used interchangeably, they refer to different levels of post-production. Think of editing as shaping the overall image and retouching as refining individual details within it. Knowing where one process ends and the other begins can help you choose the right service, estimate the time involved, and avoid requesting more correction than the photo actually needs.
Photo Editing vs Retouching
Start with the scale of the changes when comparing photo editing vs retouching. Editing affects the overall presentation, whereas retouching focuses on particular areas that need closer attention.
What Is the Main Difference?
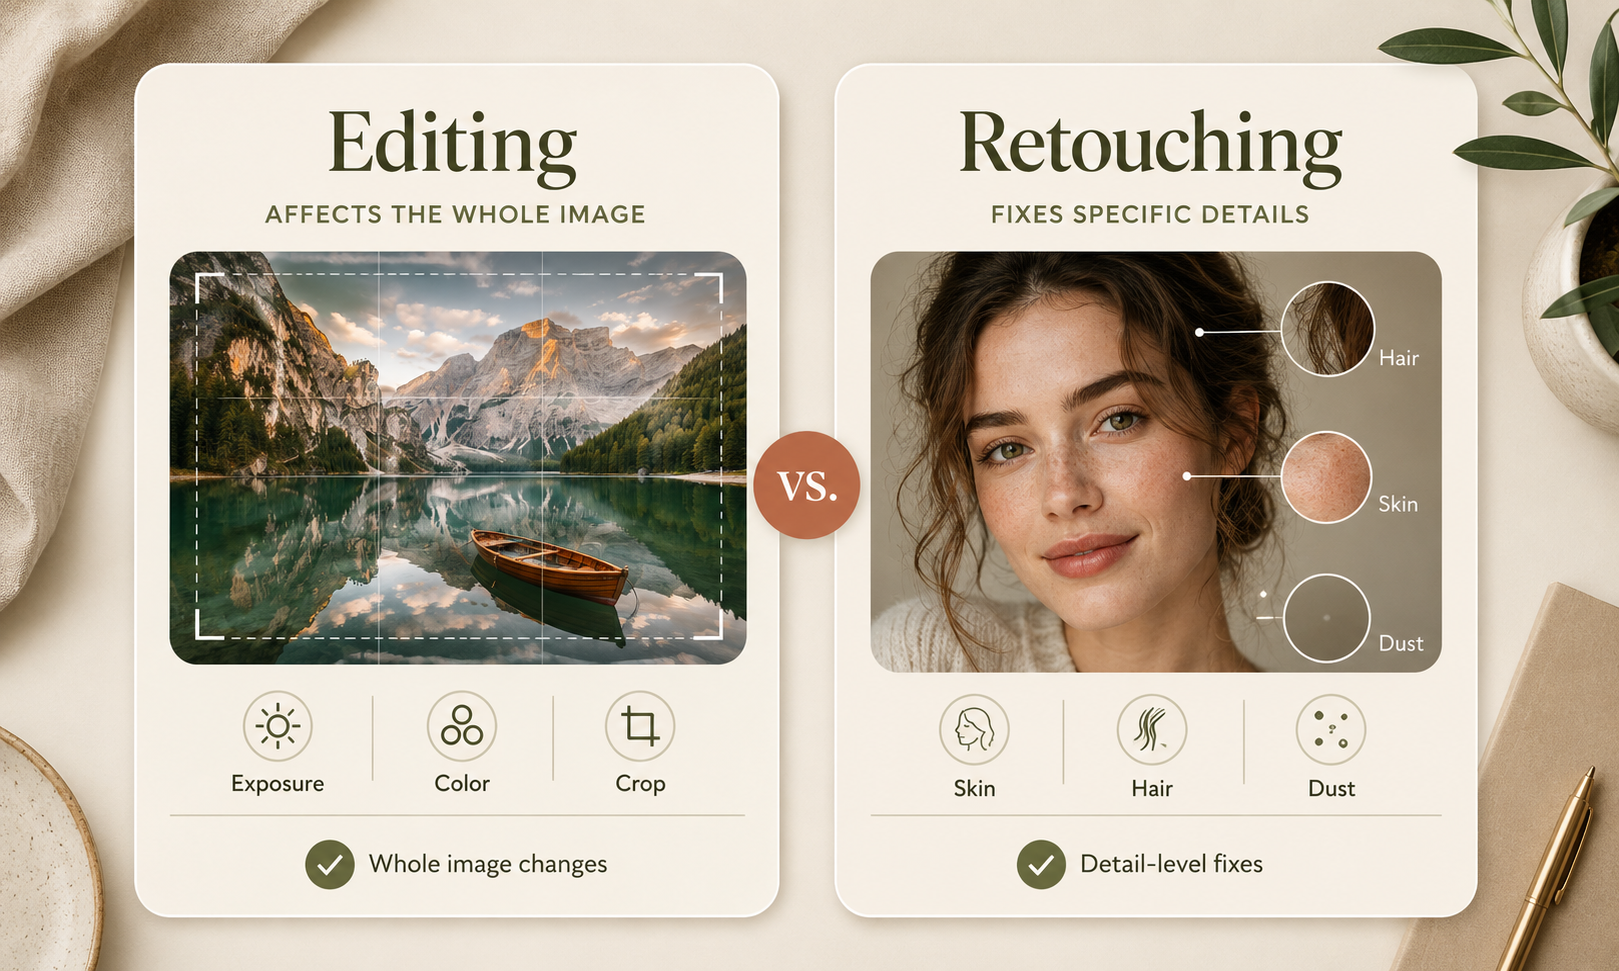
Adjusting the entire image is the primary purpose of photo editing. Common photo editing tools can crop the frame, correct exposure, balance colors, reduce noise, and improve contrast. Retouching moves closer to the subject to remove blemishes, clean product surfaces, repair clothing wrinkles, or eliminate distracting objects. In simple terms, editing establishes the visual direction, while retouching controls the finer details.
Is Retouching Part of Photo Editing?
Think of retouching as a more specialized stage within the larger editing process. An editor usually corrects composition, lighting, and color first, then decides whether individual areas require additional work. Not every image needs this second stage, since travel photos and event galleries may look complete after basic editing. Beauty portraits, fashion campaigns, and commercial product photos, however, often require both processes to reach the expected standard.
What Does Photo Editing Include?
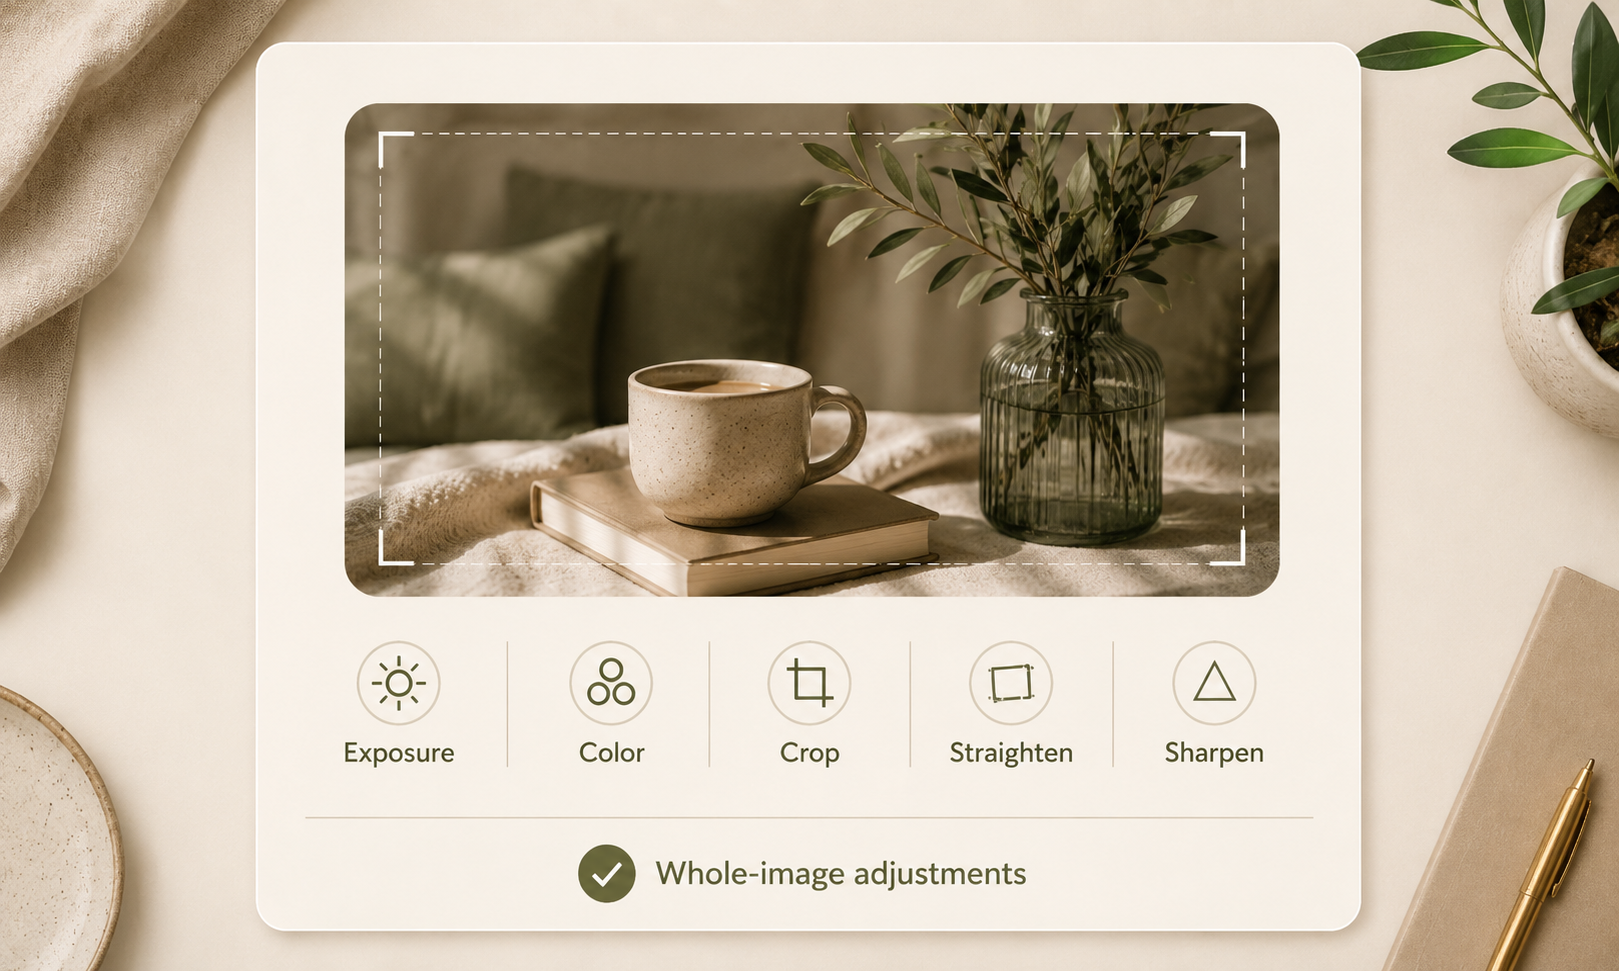
Photo editing works at the image level, improving how the entire frame looks without substantially changing what was photographed. The adjustments below belong to editing because they correct presentation, composition, and visual consistency rather than rebuilding individual details.
Fix Exposure, Color, and White Balance
Exposure correction changes the overall brightness and tonal balance of a photo, which makes it an editing task. For example, a window-lit portrait that looks slightly dark may need an exposure increase of about 0.3 to 0.7 stops, while an outdoor image may require lower highlights to recover detail in the sky. White balance also affects the entire frame, with daylight often starting near 5200K to 5600K and tungsten lighting closer to 2800K to 3200K. Unlike retouching, these adjustments improve the existing light and color without removing or reconstructing specific features.
Crop, Straighten, and Sharpen Photos
These operations belong to editing because they improve framing and clarity while leaving the main content intact:
Cropping removes unnecessary space around the frame rather than erasing individual objects. A 4:5 crop may suit social media, while 16:9 works better for a website banner.
Straightening corrects the orientation of the whole image. Landscape horizons and architectural lines can be leveled without changing the photographed scene.
Sharpening increases edge contrast across visible details. Product labels may tolerate stronger sharpening, while portraits need a lighter setting to avoid emphasizing pores and fine lines.
If a person, object, or background defect is individually reshaped or removed, the work has moved beyond standard editing and into retouching.
Add Color Grading and a Consistent Look
Color grading belongs to editing because it gives the full image or photo series a shared visual direction. Warm highlights and richer reds can make restaurant photography feel more inviting, while neutral whites and restrained saturation may better suit skincare products. Unlike retouching, grading does not remove flyaway hairs, repair clothing, or clean product surfaces. It changes the mood and color relationships across the frame while preserving the photographed details.
What Does Photo Retouching Include?
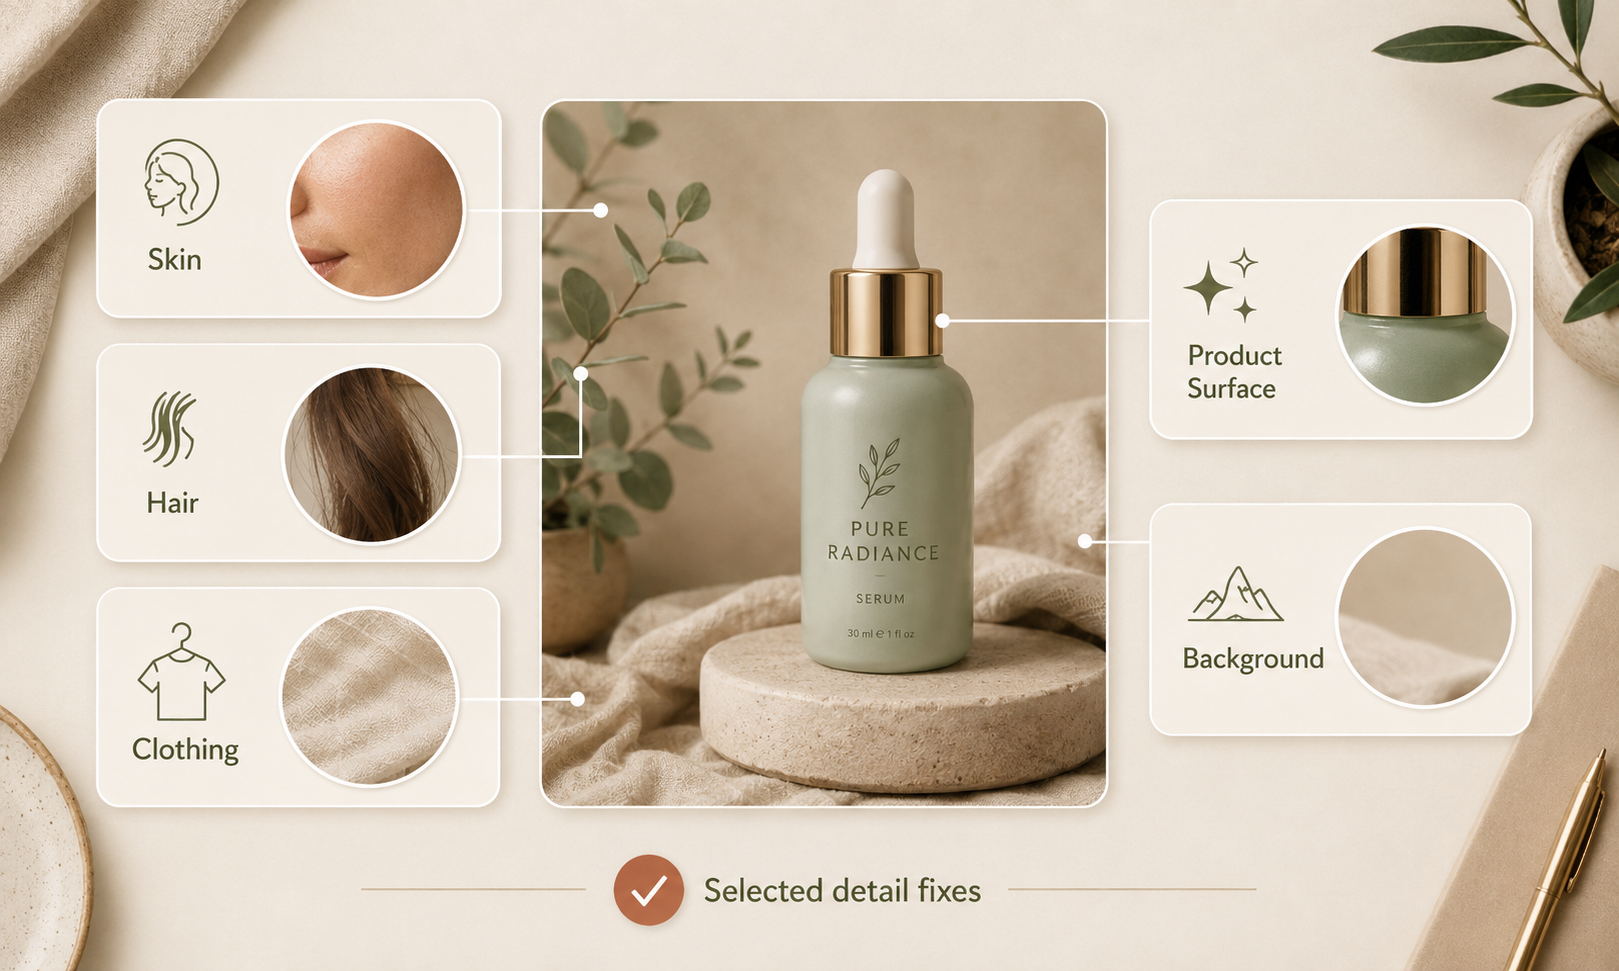
Retouching begins where broad image adjustments are no longer enough. Instead of changing the entire frame, the retoucher works on selected pixels, surfaces, or features to correct details that remain visible after editing.
Remove Blemishes and Flyaway Hairs
Removing a blemish requires selecting and rebuilding a small area of skin, so it is considered retouching rather than general editing. The same applies to stray hairs crossing the face, temporary redness, or small makeup smudges. These corrections do not affect the overall exposure or color of the photograph. They alter specific details, usually with healing, cloning, masking, or frequency separation tools, while preserving natural skin texture.
Clean Up Products and Background Details
Dust, fingerprints, scratches, packaging dents, and unwanted reflections are usually corrected one area at a time. This makes product cleanup a retouching task, even when the final change appears minor. A retoucher may also remove a visible backdrop seam, light stand, sensor spot, or distracting cable by reconstructing the pixels behind it. By comparison, editing could brighten or recolor the background, but removing an individual defect requires more precise intervention.
Refine Skin, Clothing, and Small Distractions
Some details are not temporary blemishes but still need controlled refinement. A retoucher might soften uneven skin transitions, reduce deep clothing wrinkles, correct a folded collar, or remove lint from dark fabric. Because these changes target selected parts of the subject instead of the whole image, they fall under retouching. The goal is usually to reduce distractions without erasing pores, changing body shape, or making materials look unnaturally smooth.
When Does Retouching Become Manipulation?
Retouching becomes manipulation when it changes the meaning, identity, or factual content of the photograph rather than simply refining its presentation. Removing temporary skin blemishes may be acceptable portrait retouching, but reshaping facial features or significantly changing body proportions creates a different representation of the person. In product photography, cleaning dust is retouching, while changing the product color, size, or included features can mislead customers. This distinction also matters when using AI tools for product photography, since generated backgrounds and automated cleanup should not alter the product customers will actually receive. The boundary depends on purpose, but documentary, journalistic, and ecommerce images generally require stricter accuracy than beauty or conceptual advertising.
How Editing and Retouching Work Together
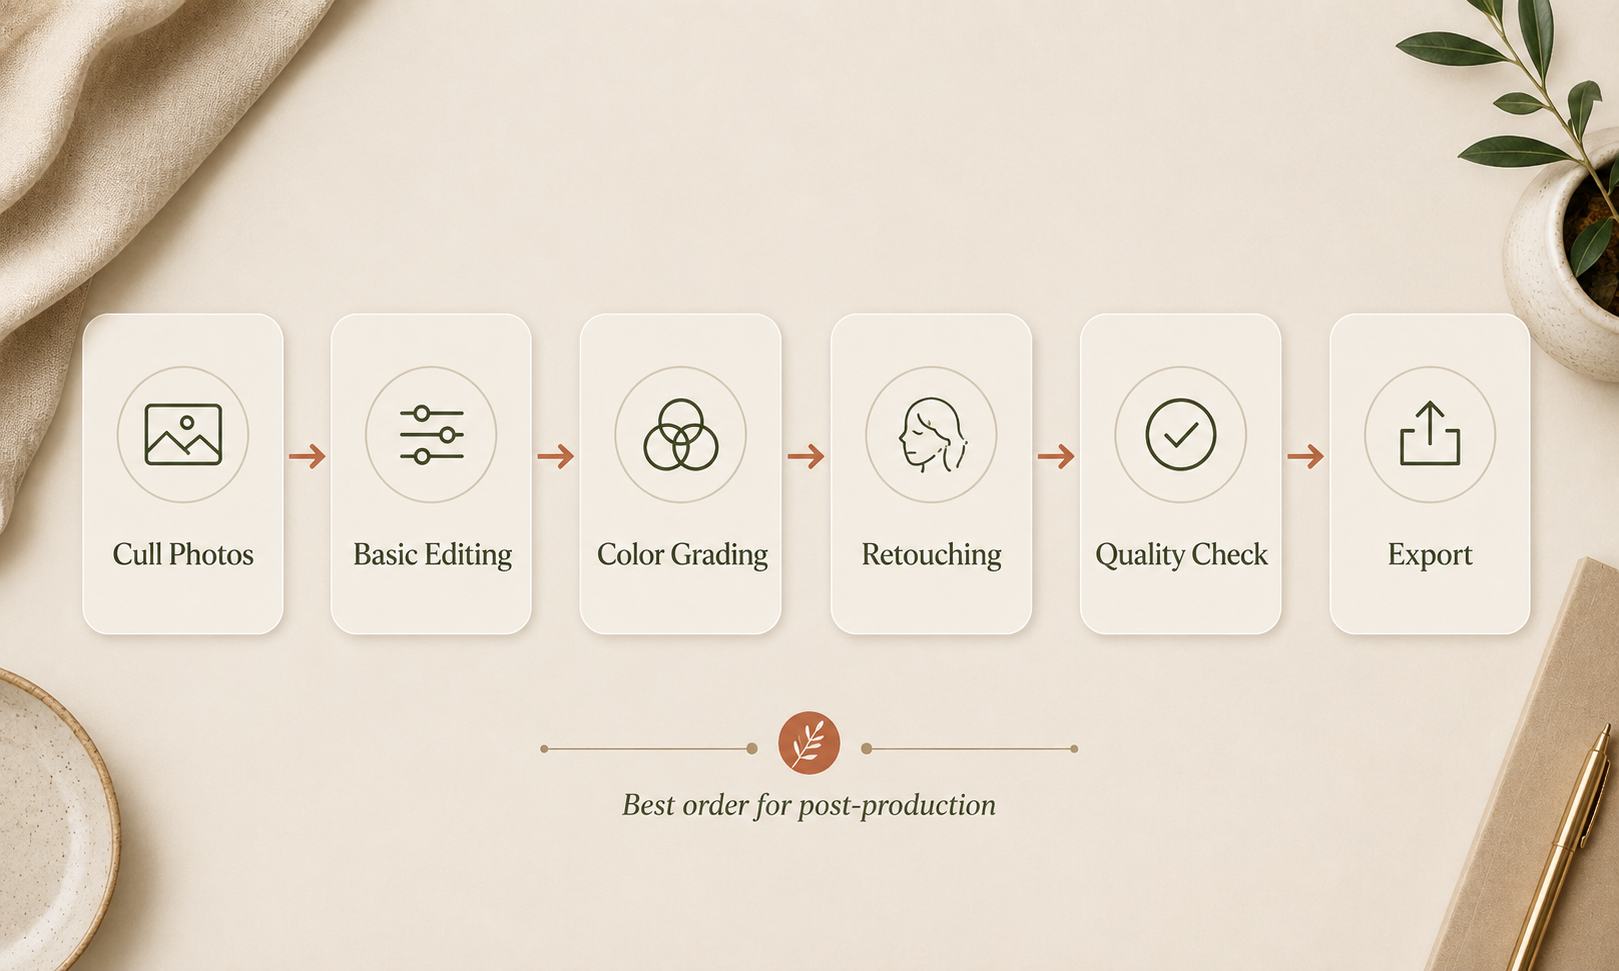
Editing and retouching produce the best results when they follow a clear order. Broad corrections should establish the image first, allowing detailed retouching to respond to the final brightness, color, and composition rather than an unfinished file.
Start With Culling and Basic Corrections
Begin by culling duplicate, blurred, poorly focused, or badly composed photos before spending time on detailed adjustments. Once the strongest images are selected, use editing to correct exposure, white balance, contrast, cropping, and lens distortion across the frame. For high-ISO or heavily compressed files, test noise reduction software before sharpening, because sharpening untreated noise can make grain and compression artifacts more visible. These broad changes establish a clean foundation and may reveal which details actually require retouching. Working in this order also prevents time being wasted on files that will not appear in the final selection.
Apply Color Grading Before Retouching
Set the main color grade before repairing skin, products, or background details. Changes in color and contrast can reveal problems that were difficult to see in the original file.
| Color Adjustment | Visual Effect | What to Check During Retouching |
| Warmer highlights | Creates a softer, more inviting mood | Increased redness in skin and warm reflections on products |
| Cooler shadows | Adds a cleaner or more editorial feel | Blue or gray color casts in skin, clothing, and white backgrounds |
| Higher contrast | Gives the image more depth and definition | Dust, pores, wrinkles, and uneven texture becoming more visible |
| Lower saturation | Produces a muted and understated look | Skin or products appearing dull and losing important color detail |
| Richer reds and oranges | Makes food and interiors feel warmer | Reds becoming oversaturated or blending into nearby details |
Establishing this overall look first allows the retouching to match the intended final image. Minor color adjustments can still be made later, but major grading changes may expose missed details or make earlier corrections look unnatural.
Finish With Quality Checks and Exporting
After retouching, inspect the image both at full size and at its intended display size. If the final image still looks soft or lacks sufficient resolution at its intended size, compare the best AI photo enhancers before applying stronger sharpening or enlarging the file manually. Look for repeated cloning patterns, rough mask edges, missed dust, unnatural skin texture, color shifts, and excessive sharpening. Export web images as JPEG files in the sRGB color space, using the required dimensions and enough compression to balance quality with loading speed. For print, retain a high-resolution master file and use the file format and color profile requested by the printer.
Which One Does Your Photo Need?
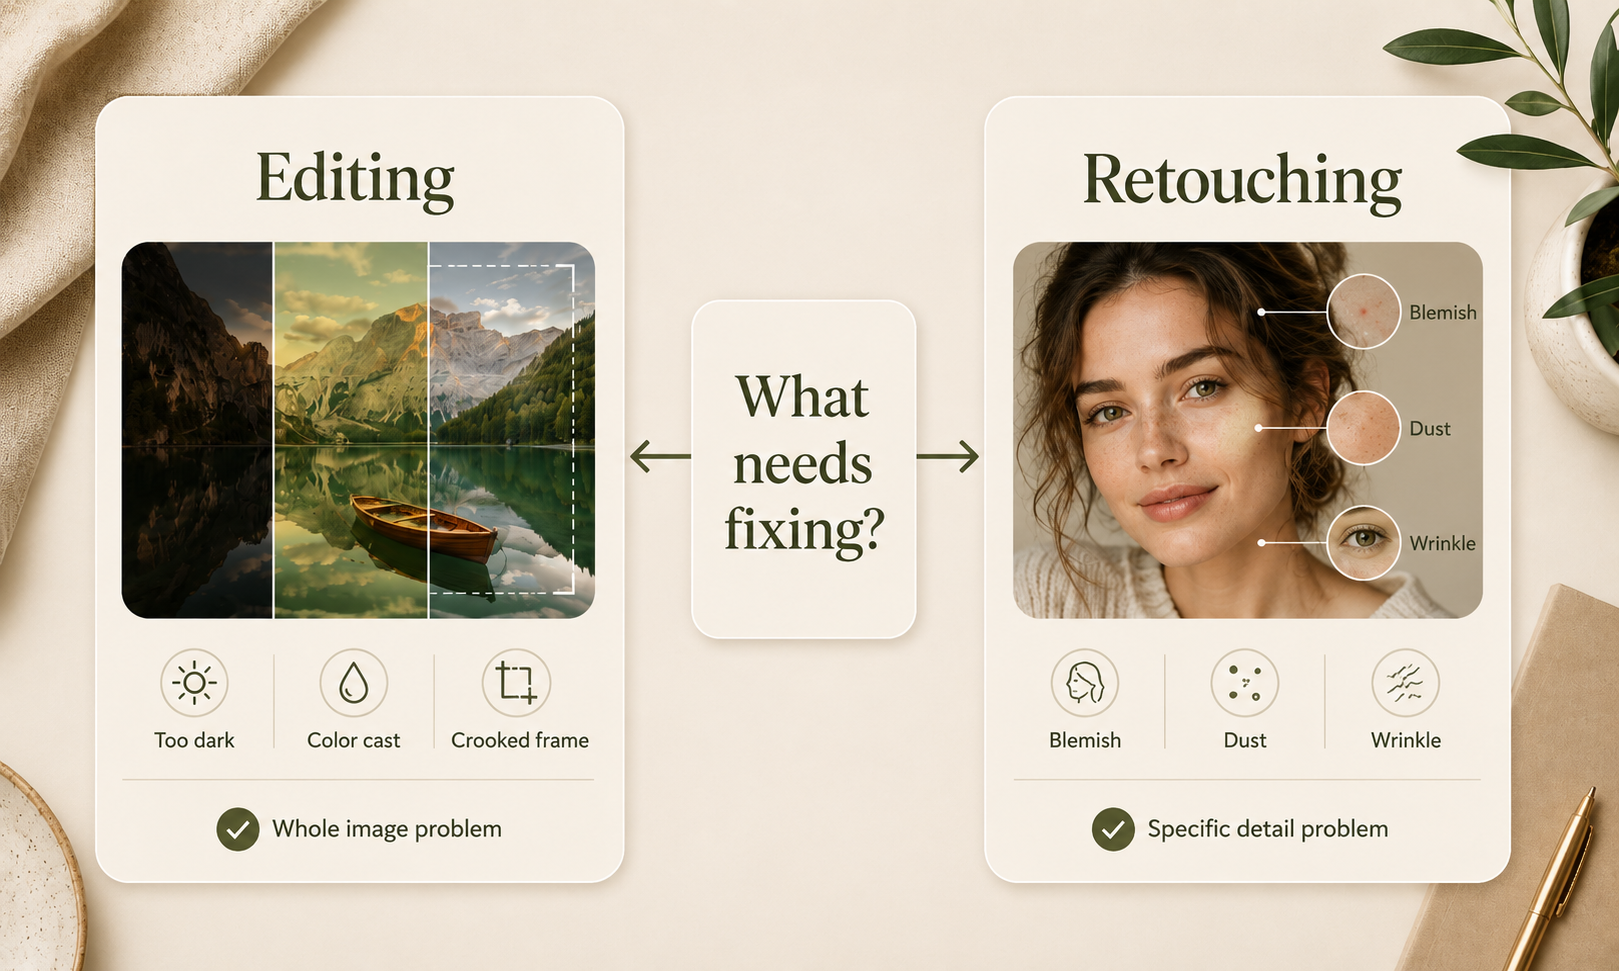
The right choice depends on what is wrong with the image and where it will be used. If the entire frame needs improvement, begin with editing. When the problem affects a specific feature, object, or surface, retouching becomes the more suitable option.
When Basic Photo Editing Is Enough
Choose basic editing when the subject already looks good but the photo feels too dark, poorly framed, or slightly unbalanced. When softness is the main issue, first determine how to make a picture less blurry before moving into detailed pixel-level retouching. Exposure correction, white balance, cropping, and light sharpening are often enough for travel photos, casual portraits, and large event galleries. Because these changes improve the frame as a whole, detailed pixel-level work is unnecessary. Editing is also the practical choice when many images need a consistent look within a limited timeframe.
When Detailed Retouching Is Worth It
Look more closely at the final use of the photo. Beauty portraits, advertising images, and close-up product shots often reveal dust, skin texture, reflections, fabric wrinkles, or background defects that broad adjustments cannot fix. Detailed retouching is worth the additional time when an image will appear in print, on a product page, or in a large campaign format. Rather than changing the entire frame, it concentrates effort on the details viewers are most likely to notice.
Editing Portraits, Products, and Events
Different subjects call for different combinations of editing and retouching. Portraits may need balanced skin tones and light blemish removal, while product images often require cleaner surfaces, accurate colors, and consistent backgrounds. Event photos usually rely more heavily on batch editing, with retouching reserved for selected images. Zawa AI Editor brings these tasks together, letting you remove unwanted objects, refine small details, improve image quality, resize photos, and replace or generate backgrounds before exporting them for web, social media, or marketing.
FAQs
How Long Does Photo Retouching Take?
A light portrait touch-up may take only 5 to 15 minutes, while a polished beauty or jewelry image can require an hour or more. Much of that time goes into making corrections difficult to notice. The more natural and precise the expected finish, the longer the work usually takes.
Is Removing a Background Considered Retouching?
Background removal is usually treated as retouching because the editor must separate the subject from part of the original image. With a plain studio wall, the process may be almost automatic. Hair, glass, fur, or reflective packaging changes the situation, since those edges must be rebuilt carefully before a new background looks believable.
Do Professional Photos Always Need Retouching?
No. A well-lit and carefully styled photograph may already communicate what it needs to without detailed correction. Retouching becomes more useful when the camera captures details that distract at close range, which is common in beauty and product advertising. For documentary or event work, too much intervention can make the result feel less authentic.
Does Retouching Reduce Photo Quality?
Retouching itself does not lower image quality when the editor works from the original high-resolution file and keeps the changes reversible. Problems usually appear later, after the image has been resized too aggressively or compressed several times. Saving a master copy protects the detail, while separate exports can be prepared for web, social media, or print.
Conclusion
Photo editing and retouching solve different problems, but they often work best as parts of the same process. Use editing to correct the overall exposure, color, composition, and style of an image. Turn to retouching when individual details, such as skin, clothing, products, or background distractions, still need attention. Before choosing either service, consider the condition of the original photo, its final size, and where it will appear. The best result is not necessarily the most heavily altered image, but the one that looks polished while remaining appropriate for its purpose.
You May Be Interested
20 Best Lettermark (Monogram) Logos in the World

6 Free Art Prompt Generators
[2026 Updated] Best Apps to Remove Person From Picture

AI for eCommerce: 15 Best Use Cases Every Business Owner Should Know
12 Best Free Photoshop Alternatives – AI Photo Editor Tools
